Replaced by BCC+ Grain
We recommend use of BCC+ Grain instead of BCC Grain. The newer BCC+ filter is GPU accellerated for fast, speedy results, and includes access to the FX Editor.
Overview
Film Grain creates an auto-animated noise effect designed to simulate the appearance of grain particles in the emulsion of movie or photo film.
Function
Presets and Common Controls
BCC filters come with a library of factory installed presets plus the ability to create your own custom presets and preview them with the BCC FX Browser™.
BCC filters also include common controls that configure global effect preferences and other host-specific effect settings.
For more information about working with presets and other common controls, Click Here.
Compare Mode
The BCC Compare Mode provides a convenient mechanism to compare the effect result with the original source layer. It provides several variations on basic split-screen views with the filtered clip placed next to the unedited original.
For more information on the Compare Mode,Click Here.
Compare Mode: Controls what is displayed by the Compare Mode. The options are:
- Off: shows the output of the filter.
- Side By Side: the left side of the output shows half of the incoming image, and the right side shows the same half of the image as processed by the filter. When in Side-by-Side mode, the corresponding Slide and Right Offset sliders become available.Wipeenables the user to interactively wipe the effect across the image. The left side of the wipe bar on the image output shows the unfiltered image, while the right side of the wipe bar shows the filtered result. When in Wipe mode, the corresponding Wipe slider becomes available.
- Wipe/Slide: operates as a Wipe function when Wipe is selected in Compare Mode, and as a Slide function when Side-‐By-‐Side is selected in Compare Mode. When in Wipe mode, adjustments to this parameter moves the vertical wipe bar across the image; the region on the left of the wipe bar shows the original unfiltered image, while the region on the right shows the filtered result. When in Slide mode, adjustments to this parameter pans the image in the viewer window, maintaining the spatial relationship in the viewer between the before and after images.
- Right Offset: provides a way to adjust the spatial relationship between the unfiltered original image and the filtered result in the viewer window. Adjustments to this parameter will offset the position of the filtered image in the viewer.
When the Monochromatic checkbox is selected, the Red Amount, Green Amount, and Blue Amount settings add luma noise to each color channel, creating a grayscale grain effect. When this checkbox is deselected, the Amount settings add colored noise to each color channel
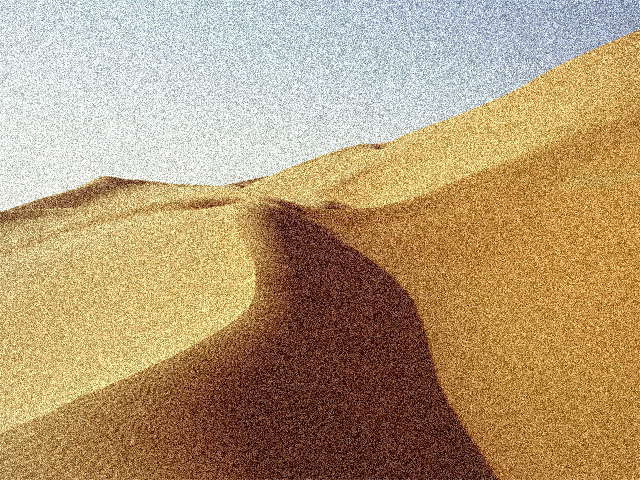 | 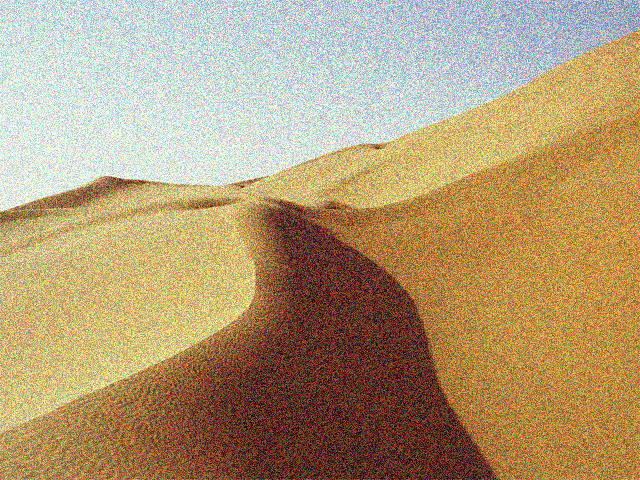 |
| Monochrome on | Monochrome off |
- Note: For the most realistic film grain effects, select Monochromatic for grayscale images, and deselect this option when working with color footage.
Red Amount, Green Amount, and Blue Amount adjust the amount of grain added to each respective color channel.
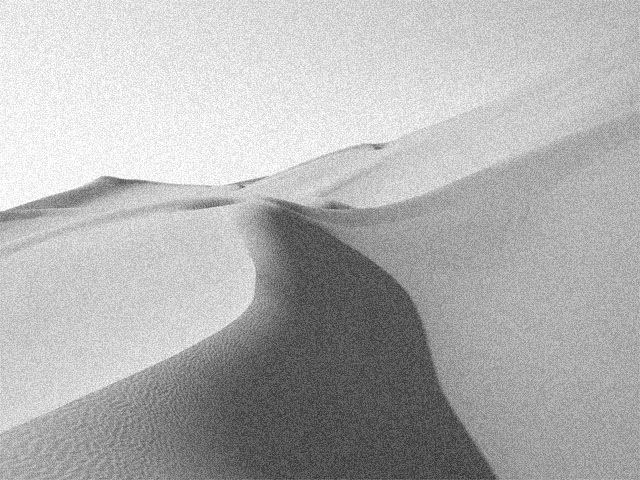 | 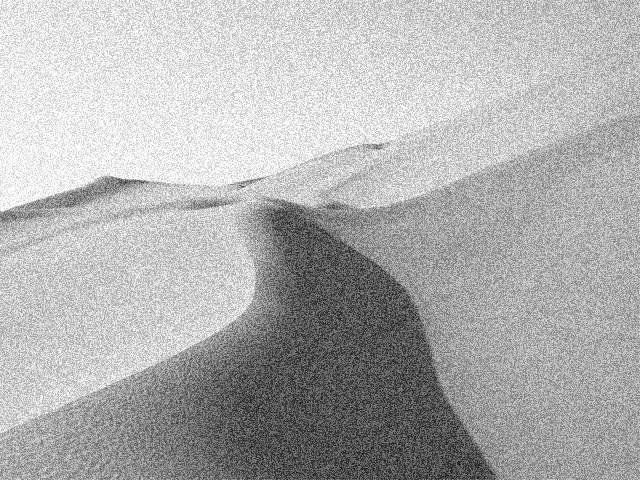 |
| Red Amount=50 | Red Amount=100 |
Red Grain Size, Green Grain Size, and Blue Grain Size set the size of the grains in each respective color channel.
The Blur Quality menu controls the quality of the post blur applied to the grain in all three channels. Pyramid is the fastest option and is generally adequate. It produces a blur similar in quality to the Pyramid Blur filter. Pyramid Smoother produces a better quality pyramid blur and increases rendering times slightly***.*The remaining choices, Gaussian Low, Gaussian Medium, Gaussian High, Gaussian Higher, and Gaussian Highest produce gaussian blurs of increasing quality. These options increase rendering times proportionately.
Random Seed determines which value is input to the random number generator used by the filter. Adjust this value when you like the overall effect but want to adjust the random configuration of the grain pattern.
Select the Auto Animate checkbox to create an animated effect in which the configuration of the grain pattern changes throughout the duration of the effect. Deselect this option to manually animate the effect, or to create a static effect.
Select the Film Tint On checkboxto use the chosen Film Tint Color to tint the image.
Tint Amount adjusts the amount of the Film Tint Color that is applied to the image. At a value of 0, the Film Tint Color has no affect. At a Tint Amount value of 100, the image is fully tinted with the selected color. Intermediate values produce a partially tinted image.
 | 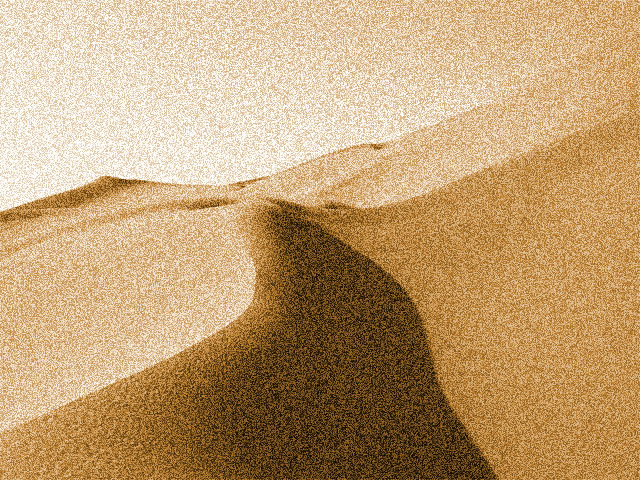 |
| Tint Amount=25 | Tint Amount=100 |
Motion Tracker
The BCC Motion Tracker allows you to track the motion of an object, then use the motion path to drive other geometric properties of the effect without the need for keyframing.
For more information on the Motion Tracker, Click Here.
PixelChooser
The BCC PixelChooser provides simple, built-in masking of the effect result. The PixelChooser is generally used to select a portion of the image and restrict an effect to just the selected area while maintaining the original image content in unselected regions. The selection can be based on geometric shapes or on the image’s luma/color properties.
For more information on the PixelChooser, Click Here.


