Replaced by BCC+ DeNoise ML
We recommend use of BCC+ DeNoise ML instead of BCC Noise Reduction. The newer BCC+ DeNoise ML filter is a machine learning based image denoiser featuring drag and drop ease of use.
 |
 |
 |
 |
 |
 |
 |
 |
 |
Overview
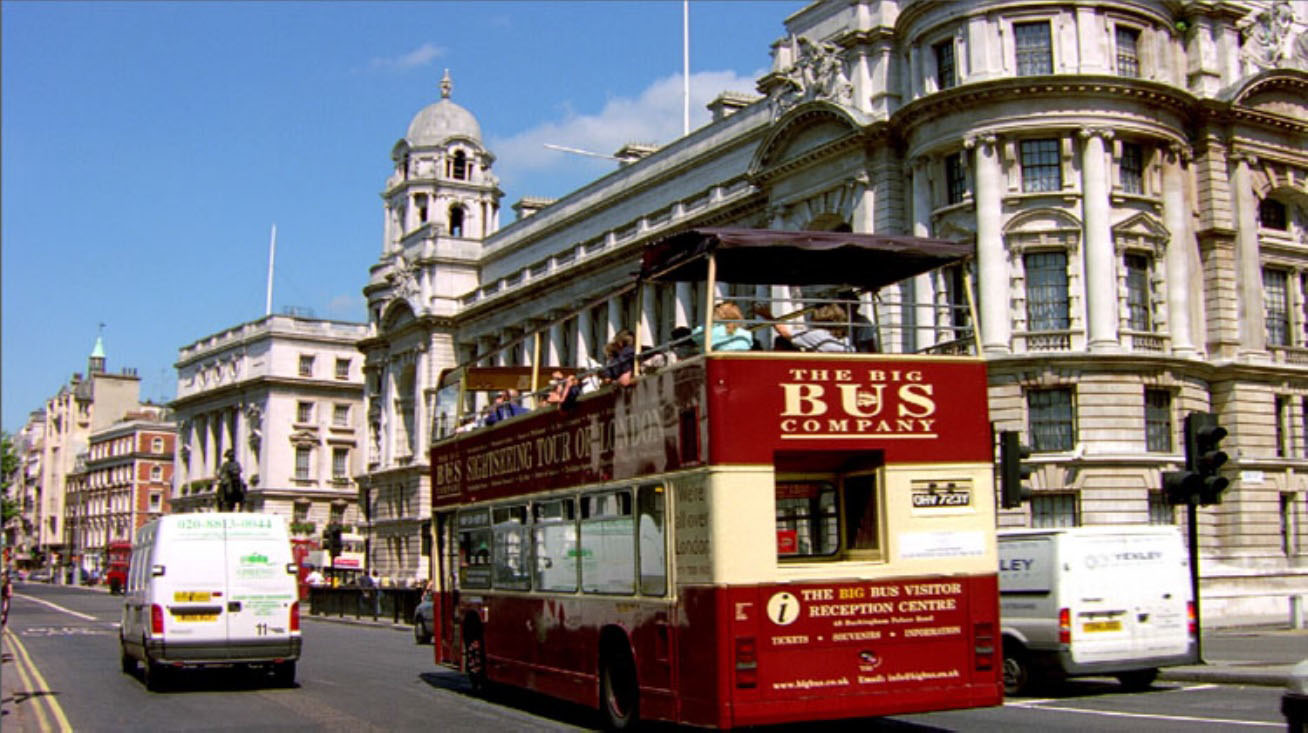
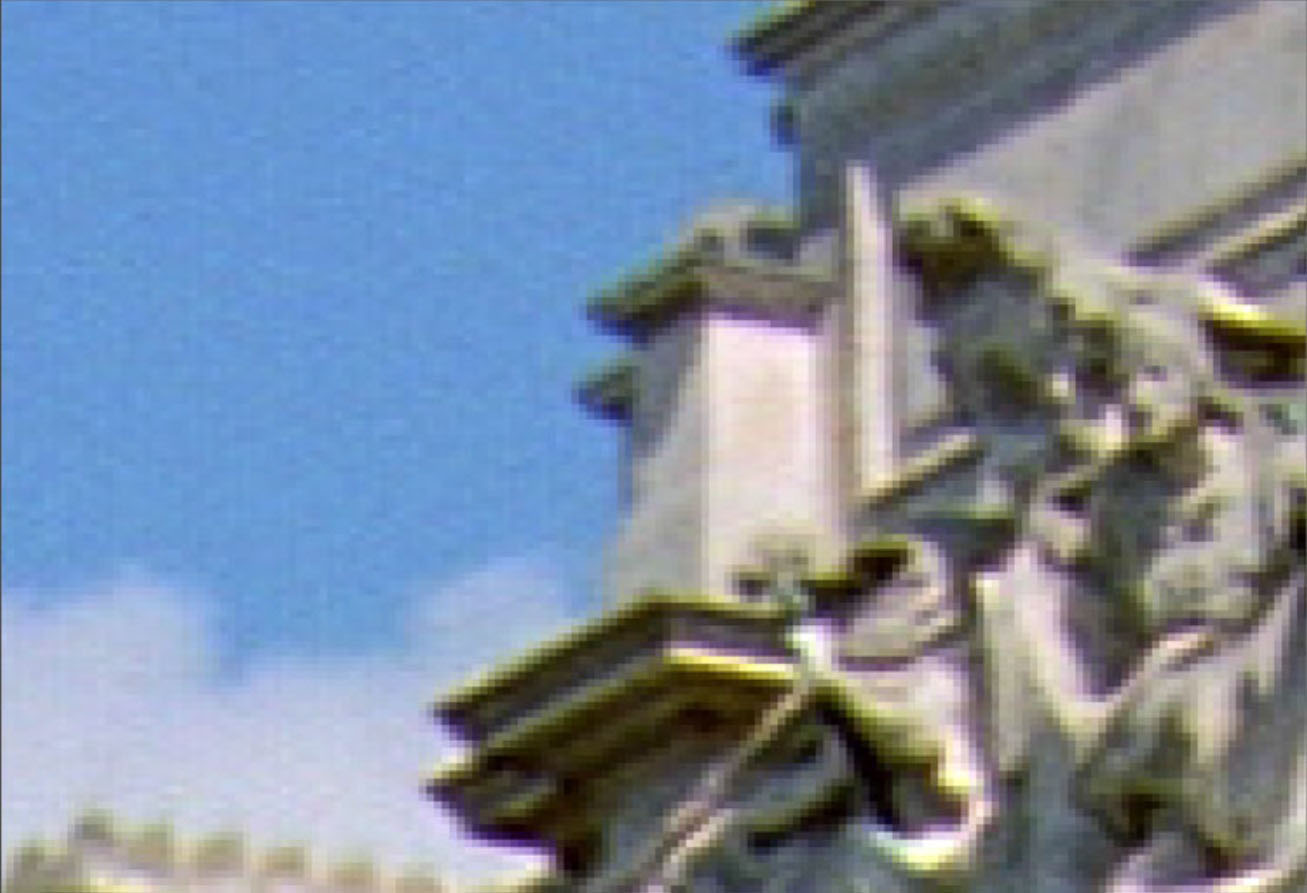
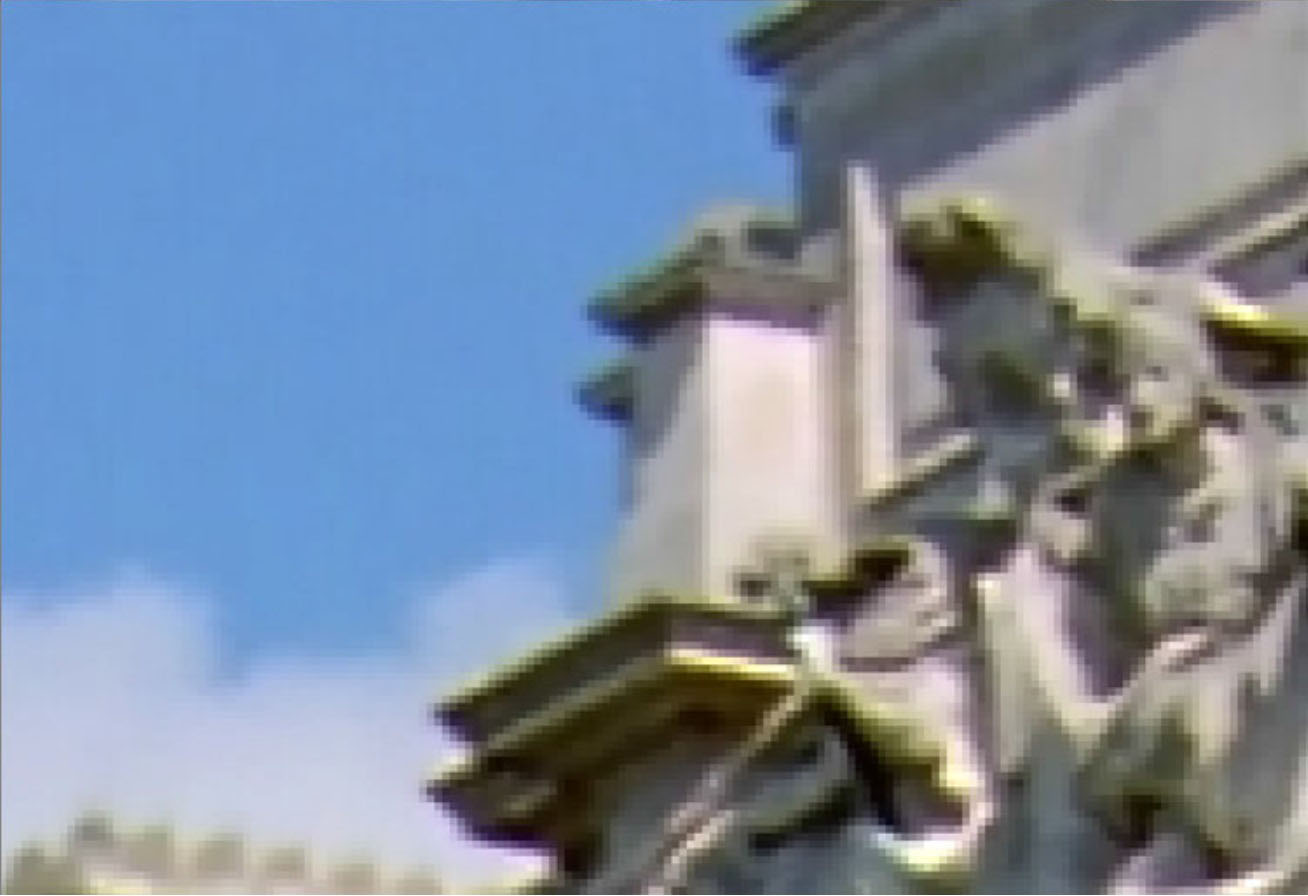
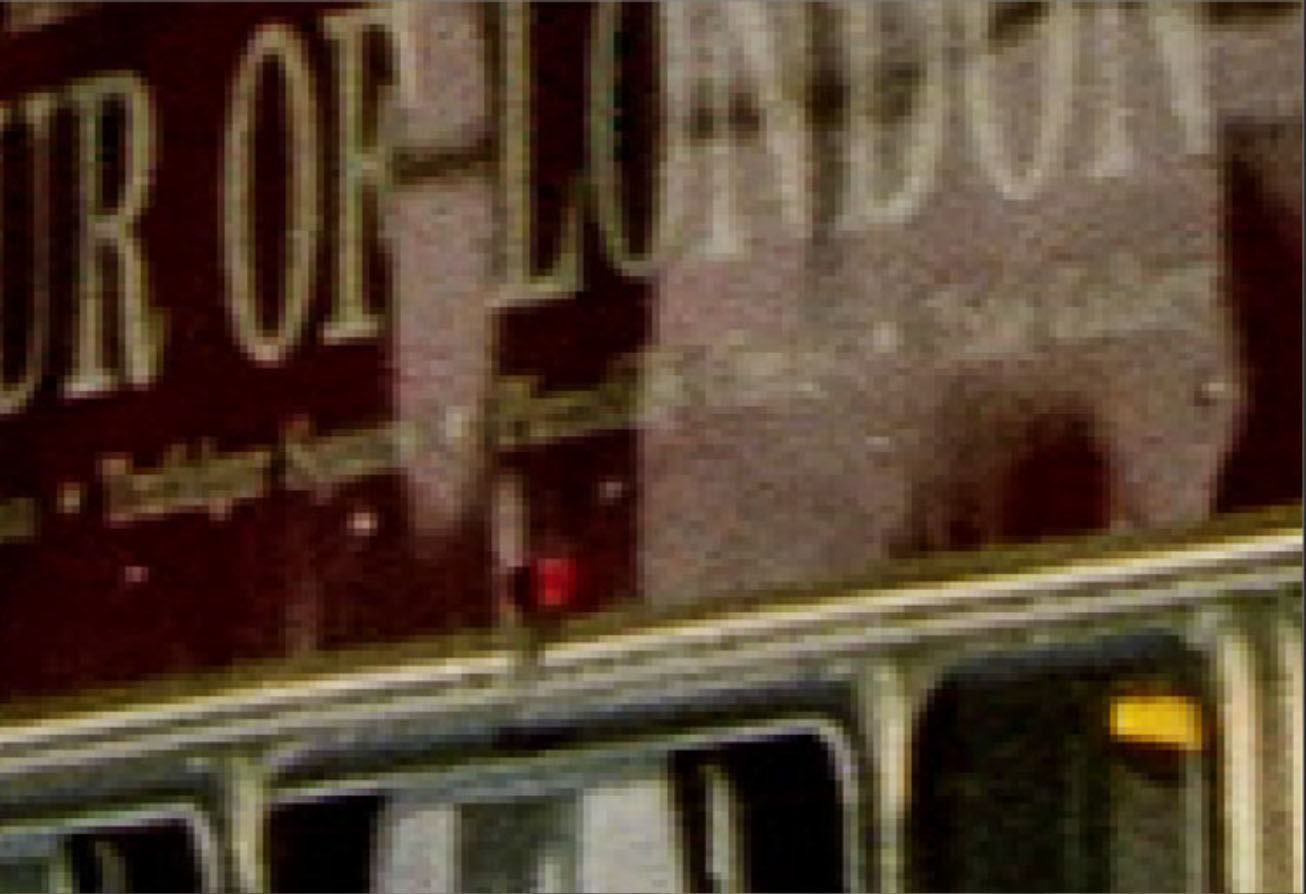
The BCC Noise Reduction filter smooths out noise by comparing each pixel with the pixels in it’s immediate temporal and spatial neighborhood. For each pixel, it blends in pixels that are close (in color) to the pixel, while ignoring pixels that are distant in color. This allows us to smooth out the noise without losing detail.
This filter is designed to remove noise from camera images, and will not work properly unless the input is fully opaque.
Function
The filter works in YCrCb color space, which is the color space in which video signals are delivered. The signal to noise ratio is generally highest in the Y channel, and often higher in Cr than it is in Cb, The filter allows most of its settings to be made independently in the three channels—generally you will want to do a lot less smoothing in Y than in Cr and Cb, and may (depending on your camera) want to do more smoothing in Cb than you will in Cr. The default settings for the filter assume there will be slightly more noise in Cb than in Cr.
The filter gives better results when the host is set to render in 16 bit or float, even if the source media is 8 bit. This is automatically handled in FCP—in other hosts we recommend that you set your project to render in 16 bit or float.
We suggest that you pick a typical shot from your project and tweak the filter in detail to get the best results for this shot. If you save the filter setting as a preset, it should give good results on other shots from the project shot with the same camera and lighting conditions. You will likely find that one or two presets will handle most or all of your shots in a given shoot, but you can always get into the guts of the filter if their is a vital shot that needs further adjustment.
Presets and Common Controls
BCC filters come with a library of factory installed presets plus the ability to create your own custom presets and preview them with the BCC FX Browser™.
BCC filters also include common controls that configure global effect preferences and other host-specific effect settings.
For more information about working with presets and other common controls, Click Here.
Compare Mode
The BCC Compare Mode provides a convenient mechanism to compare the effect result with the original source layer. It provides several variations on basic split-screen views with the filtered clip placed next to the unedited original.
For more information on the Compare Mode,Click Here.
Compare Mode pop-up: Controls what is displayed by the Compare Mode. The options are:
- Off: Shows the output of the filter.
- Wipe: Enables the user to interactively wipe the effect across the image. The left side of the wipe bar on the image output shows the unfiltered image, while the right side of the wipe bar shows the filtered result. When in Wipe mode, the corresponding Wipe slider becomes available.
- Side By Side: The left side of the output shows half of the incoming image, and the right side shows the same half of the image as processed by the filter. When in Side-By-Side mode, the corresponding Slide and Right Offset sliders become available.
- Wipe/Slide: Operates as a Wipe function when Wipe is selected in Compare Mode, and as a Slide function when Side-By-Side is selected in Compare Mode. When in Wipe mode, adjustments to this parameter moves the vertical wipe bar across the image; the region on the left of the wipe bar shows the original unfiltered image, while the region on the right shows the filtered result. When in Slide mode, adjustments to this parameter pans the image in the viewer window, maintaining the spatial relationship in the viewer between the before and after images.
- Right Offset: Provides a way to adjust the spatial relationship between the unfiltered original image and the filtered result in the viewer window. Adjustments to this parameter will offset the position of the filtered image in the viewer.
Smoothing Mode pop-up: This popup determines the type of smoothing that will be applied. The choices are:
- Temporal-Spatial: The incoming image is smoothed temporally, and the temporally smoothed image is then smoothed spatially.
- Spatial: The incoming image is smoothed spatially. Temporal: The incoming image is smoothed temporally.
- Temporal Smoothing: This sets the amount (in frames) of temporal smoothing to be applied. Note that the smoothing is limited by the setting of the Max Frames popup in the Temporal group.
Temp. Color Range: This scales the color ranges for smoothing of the Y, Cr and Cb channels. The individual ranges for the channels are set inside the Temporal group. A wider color range allows colors that are further from the pixel being processed to be mixed with the pixel, causing more smoothing.
- Note: Setting the temporal color ranges too high can result in ghosting or color shifts in areas of the image with rapid motion.
Temporal Group
Contains advanced controls for tuning the temporal smoothing.
Max Frames: Sets the maximum number of frames (ahead of and behind the current frame) that will be blended with the current frame. Increasing this increases render time. There isn’t usually much advantage to making this greater than the Temporal Smoothing setting.
- Note: Temporal Smoothing has less effect at the ends of the clip, because the smoothing can only be done in one direction. When setting up temporal smoothing controls, it is best to be at least Max Frames away from the start and end points of the media.
Y Range, Cb Range, and Cr Range. This sets the color ranges for smoothing for the three channels. Note that the default for Y is less than the defaults for Cr and Cb, because detail tends to be concentrated in the Y channel. You may want to adjust the balance between the Cr and Cb settings depending on the noise produced by your specific camera.
Spatial Smoothing: This sets the radius (in pixels) of spatial smoothing to be applied. Note that increasing this increases render time.
Spat. Color Range: This scales the color ranges for smoothing of the Y, Cr and Cb channels. The individual ranges for the channels are set inside the Spatial group. A wider color range allows colors that are further from the pixel being processed to be mixed with the pixel, causing more smoothing.
- Note: Setting the spatial color ranges or smoothing too high can result in loss of detail.
Spatial Group
Contains advanced controls for tuning the spatial smoothing.
Y Range, Cb Range, and Cr Range. This sets the color ranges for smoothing for the three channels. Note that the default for Y is less than the defaults for Cr and Cb, because detail tends to be concentrated in the Y channel. You may want to adjust the balance between the Cr and Cb settings depending on the noise produced by your specific camera.
Soften On Checkbox: This applies a small clamped blur to the smoothed image. This blur will help get rid of unwanted posterization that can be a side effect of the smoothing process.
Softening Group
This contains controls for the softening process.
Soften: Sets the radius, in pixels, of the blur that is applied.
Y Clamp, Cb Clamp, Cr Clamp: Limits the amount of change to the specific channel.
- Note: The default values for the controls in the Soften group are set quite conservatively. Boosting them is likely to result in the loss of image detail.
Sharpen Popup: This popup allows you to apply sharpening to either the Y channel (where detail tends to be concentrated), or to all three YCC channels. The main purpose of this sharpening is to restore edges that may have been softened by the smoothing process. You can also use it to make edges sharper than they were in the original image if that is desired.
Sharpen Group
This group contains two controls that are activated when sharpening is enabled.
Sharpen Amount: Controls the amount of sharpening.
Sharpen Clamp: Limits the amount of change that can occur to each channel (YCC) as a result of the sharpening.
Mix Group
Contains controls that let you limit the noise reduction in any of the 3 channels, or mix back to the original image.
Y, Cb, and Cr Noise Reduction: Scales the noise reduction in each of the 3 YCC channels. Pushing any of these to 0 eliminates noise reduction for it’s channel.
Mix with Original: Mixes back the original image as in other BCC filters. Motion Tracker and Pixel Chooser: These function as they do in other BCC filters.
Here are two possible applications of the Pixel Chooser when reducing noise:
Noise tends to be more noticeable in dark regions of the image. If you find that the filter is successfully removing noise in dark regions, but losing detail in light regions, you can use the Pixel Chooser to reduce or eliminate the effect of the filter in light areas.
You may have a shot in which there is a region with fine detail that the noise reduction is overly softening. You can use the Pixel Chooser to protect this region from softening.
Motion Tracker
The BCC Motion Tracker allows you to track the motion of an object, then use the motion path to drive other geometric properties of the effect without the need for keyframing.
For more information on the Motion Tracker, Click Here.
PixelChooser
The BCC PixelChooser provides simple, built-in masking of the effect result. The PixelChooser is generally used to select a portion of the image and restrict an effect to just the selected area while maintaining the original image content in unselected regions. The selection can be based on geometric shapes or on the image’s luma/color properties.
For more information on the PixelChooser, Click Here.


