Replaced by BCC+ Channel Blur Dissolve
We recommend use of BCC+ Channel Blur Dissolve instead of BCC RGB Blur Dissolve. As with all BCC+ filters, BCC+ Channel Blur Dissolve is GPU accellerated for fast, speedy results, and includes access to the FX Editor.

Overview
The RGB Blur Dissolve filter generates a blur from either a single or multiple color channels which automatically animates in intensity as your transition progresses to obscure the underlying dissolve between clips.
Parameter Controls
Presets and Common Controls
BCC filters come with a library of factory installed presets plus the ability to create your own custom presets and preview them with the BCC FX Browser™.
BCC filters also include common controls that configure global effect preferences and other host-specific effect settings.
For more information about working with presets and other common controls, Click Here.
Main Transition Group
Layer to Reveal – This layer selection popup is not relevant when you have applied the filter as a true NLE-style transition and it will be hidden or disabled in that context. When applied as a normal “effect” as opposed to a transition, however, this menu is used to select the “Incoming” or “Reveal” layer for the transition.
Animation: Menu controlling what drives the animation of the transition.
- Auto – automatically generates a transition based on the transition length (when used as a transition) or the clip length (when used as a filter).
- Percent Done – requires the user to set keyframes to control the transition progression. Can be useful in customizing the exact timing of the transition or when applying the filter as a stylized effect as opposed to a direct NLE-style transition.
Percent Done: Disabled/Hidden by default. When the Animation menu is changed to Percent Done then this slider can be manually keyframed to control the transition progression.
RGB Blur Parameters
Master Blur: Sets the overall blur for the transition. Higher values will produce a more intense blur effect.
 Master Blur Adjusts the blur from all color channels.
Horizontal Scale: adjusts the horizontal blur for the transitions. Higher values will produce a more pronounced blur along the X axis.
Vertical Scale: adjusts the vertical blur for the transitions. Higher values will produce a more pronounced blur along the Y axis.
Red Blur: adjusts the overall blur in the red color channel.
Green Blur: adjusts the overall blur in the green color channel.
Blue Blur: adjusts the overall blur in the blue color channel.
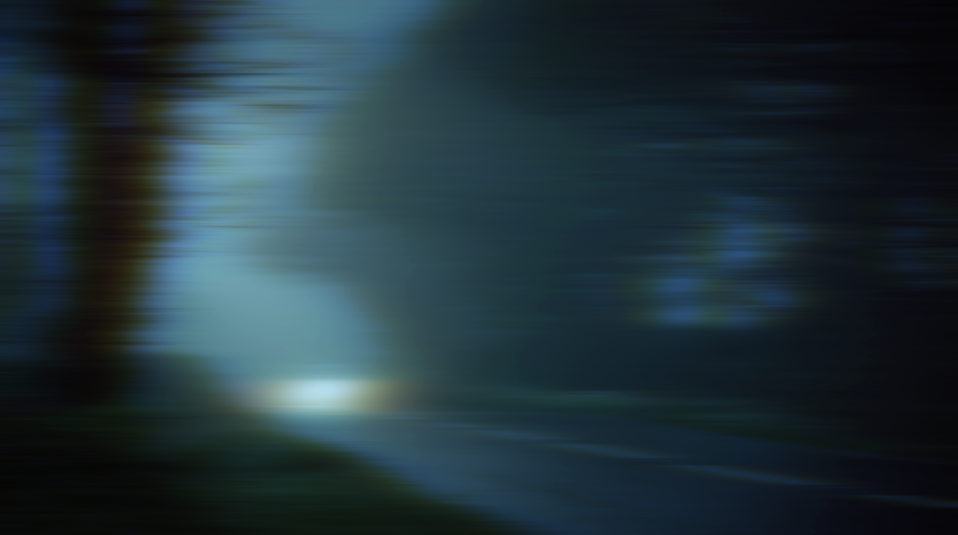
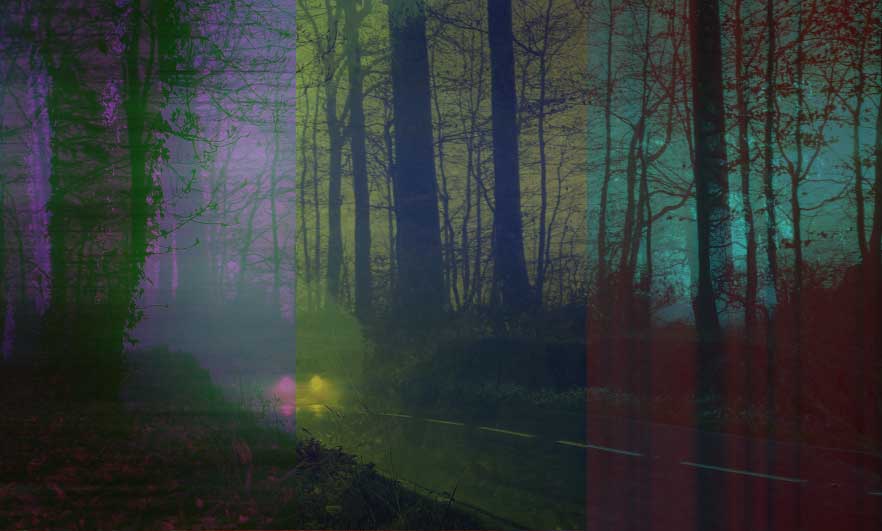
 Blurs can be applied to individual color chanels, for example blurs have been applied to the Red, Green and Blue channels respectively.
Region Transition Group
Region Animation allows you to fine tune the style and direction of the transition effect with various settings. These settings are disabled by default until an animation type is selected.
Animation Type sets the direction of the transition animation.
- None will set the transition animation to affect the entire image at once. This is the default setting.
- Out: the transition will begin at a central point and move outwards towards a edges.
- In: the transition will begin along the outer edge and move inwards towards a central point.
- Out & In: The transition will animate outwards and then rebound inwards over the course of the animation.
- In & Out: The transition will animate inwards and then rebound outwards over the course of the animation.
Region Type: determines the shape of the transition effect.
- Circle will cause the effect to appear as a circular wipe over the dissolve.
Line will cause the transition to appear as a letterbox wipe over the dissolve.
Direction: Sets the angle of the transition. Only available when the Region Type is set to Line.
Softness: sets the edge feathering of the transition region. Lower values will produce a sharper edge.
Center Point: Sets the XY position of the transition’s animation.
Color settings allow you to set the brightness and contrast values of the transition at it’s peak point. Values will increase as the effect transitions in and then decrease as the new layer is revealed.
Brightness Peak: Sets the maximum brightness value for the transition.
Contrast Peak: Sets the maximum contrast value for the transition.
Animation Tuning Group
These parameters control the overall timing of the transition. On hosts which permit on-screen heads up display widgets (such as AE, Premiere, and Avid) you should never need to modify these sliders directly since they can be configured in a more convenient and intuitive manner by manipulating the widgets directly in your comp/preview pane. On hosts without heads up display widgets you can use these sliders directly to fine tune your animation timing, taking advantage of the View Ease Curve option to help visualize the animation rates.
**Glow Ease In:**Control how quickly or slowly the glow amount increases at the beginning of the transition.
**Glow Ease Mid:**Control the rate of change of the glow amount (how quickly it reaches its peak amount and how long it holds there) during the middle of the transition.
Glow Ease Out: Control how quickly or slowly the glow amount decreases at the end of the transition.
Dissolve Duration: Control the timing of the underlying dissolve relative to the timing of the rest of the transition.View Ease Curve: (Only visible/enabled in hosts that don’t support heads up display widgets for manipulating these controls directly on screen.) Enable this control to display a preview graph of the the animation curves rendered into in the composite window*.*


