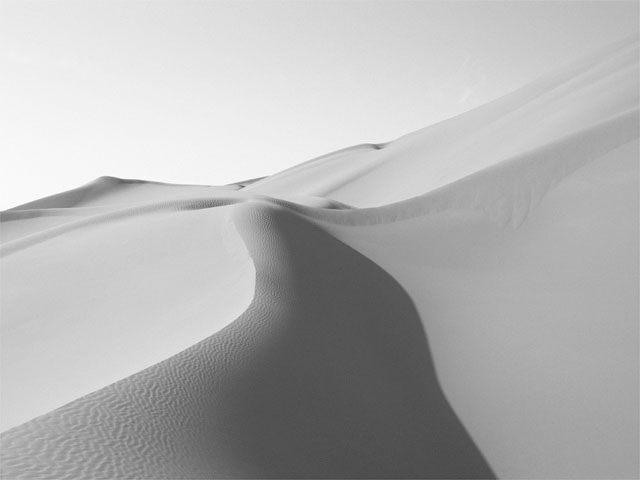
 | 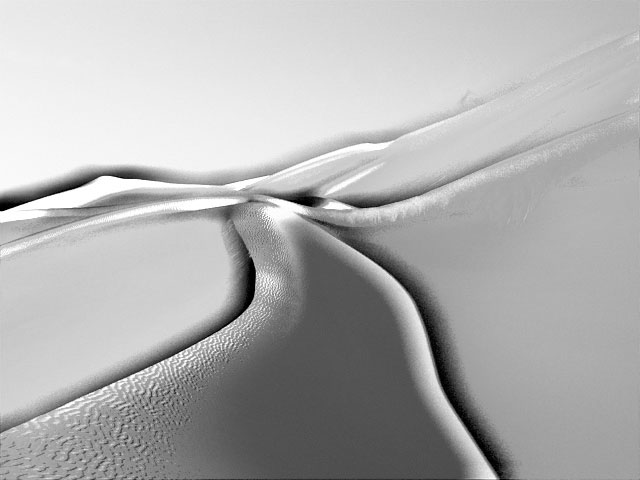 |
| Source image | Filtered image |
Deprecated – replaced by BCC Fast Film Glow
We recommend use of BCC Fast Film Glow instead of the older BCC Rough Glow. The newer BCC Fast Film Glow generates superior looking glows and is also fully GPU accelerated using OpenCL for much faster rendering.
Overview
The Rough Glow filter uses a blur to create a glowing effect, highlighting the edges in the image. In very early versions of BCC, this filter was named BCC Glow. If you are creating a new effect, you should use the BCC Fast Film Glow filter. This filter is included to provide compatibility with older settings.
Function
Presets and Common Controls
BCC filters come with a library of factory installed presets plus the ability to create your own custom presets and preview them with the BCC FX Browser™.
BCC filters also include common controls that configure global effect preferences and other host-specific effect settings.
For more information about working with presets and other common controls, Click Here.
Compare Mode
The BCC Compare Mode provides a convenient mechanism to compare the effect result with the original source layer. It provides several variations on basic split-screen views with the filtered clip placed next to the unedited original.
For more information on the Compare Mode,Click Here.
**CompareModepop-up:**Controls what is displayed by the Compare Mode. The options are:
- Offshows the output of the filter.
- Side BySidethe left side of the output shows half of the incoming image, and the right side shows the same half of the image as processed by the filter. When in Side-by-Side mode, the corresponding Slide and Right Offset sliders become available.Wipeenables the user to interactively wipe the effect across the image. The left side of the wipe bar on the image output shows the unfiltered image, while the right side of the wipe bar shows the filtered result. When in Wipe mode, the corresponding Wipe slider becomes available.
- Wipe/Slideoperates as a Wipe function when Wipe is selected in Compare Mode, and as a Slide function when Side-‐By-‐Side is selected in Compare Mode. When in Wipe mode, adjustments to this parameter moves the vertical wipe bar across the image; the region on the left of the wipe bar shows the original unfiltered image, while the region on the right shows the filtered result. When in Slide mode, adjustments to this parameter pans the image in the viewer window, maintaining the spatial relationship in the viewer between the before and after images.
- Right**Offsetprovides a way to adjust the spatial relationship between the unfiltered original image and the filtered result in the viewer window. Adjustments to this parameter will offset the position of the filtered image in the viewer.
Glow Scale adjusts the scale of the image. This value is expressed as a percentage of the image’s original size.
Glow Aspect stretches the image. Decreasing negative values stretch the image vertically. Increasing positive values stretch the image horizontally.
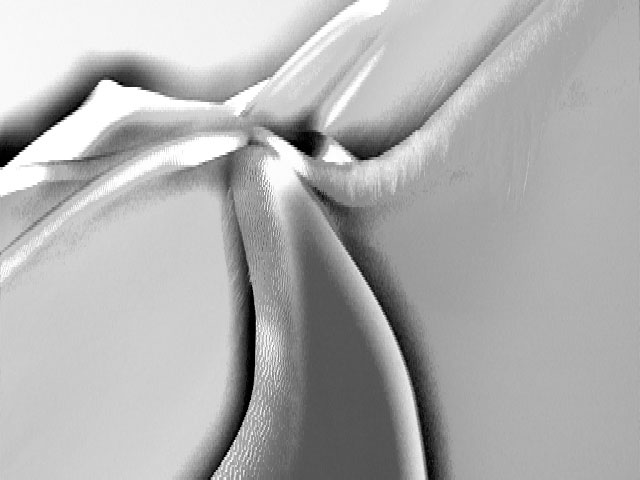 | 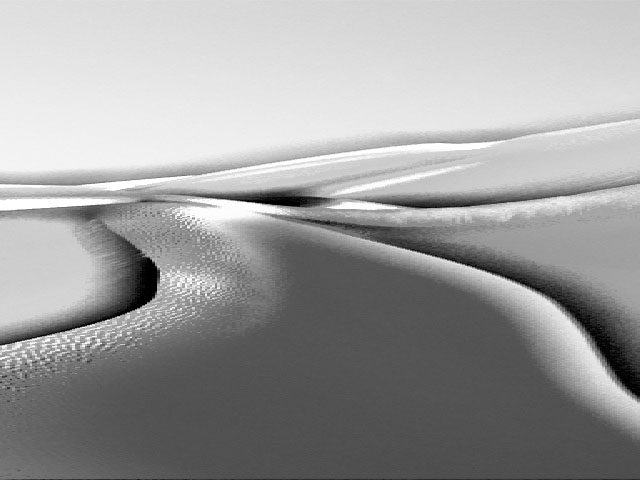 |
| Glow Aspect= -15 | Glow Aspect=15 |
Blur Amount controls the amount of blur applied to the image to produce the glow effect. At a value of 0, no blur is applied, so no glow is visible. Higher values produce more blur and, therefore, more glow.
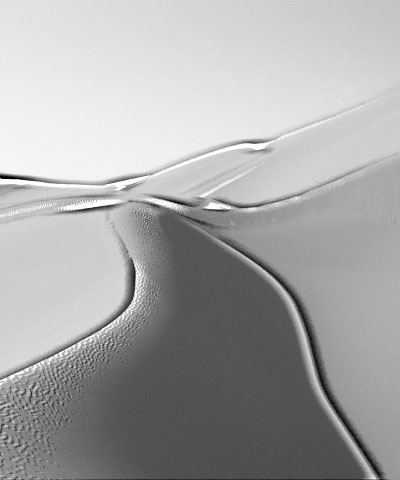 | 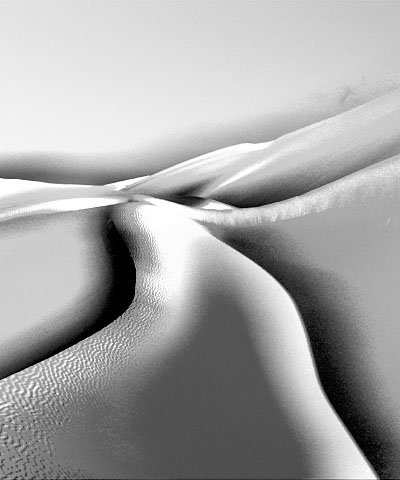 | 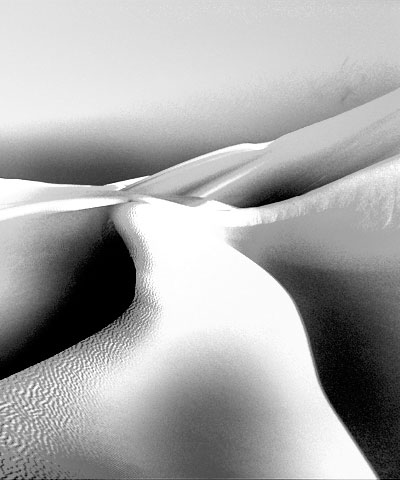 |
| Blur Amount=5 | Blur Amount=25 | Blur Amount=50 |
Increasing Spread causes each point in the rendered output to be affected more by points farther away in the blur. Animating Spread can cause visible jumps in the animated effect.
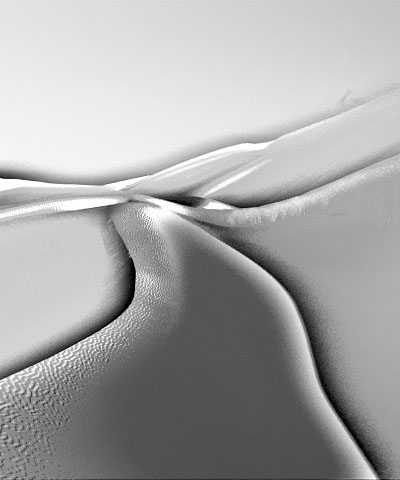 |  |  |
| Spread=0 | Spread=50 | Spread=100 |
The Blur Quality menu sets the quality of the blur used to generate the glow. Low produces a blur similar in quality to the Blur filter. Medium is adequate for most applications; High and Higher produces even smoother blurs. The Highest setting is much slower than High; only choose Highest if you see pixilation when using lower settings.
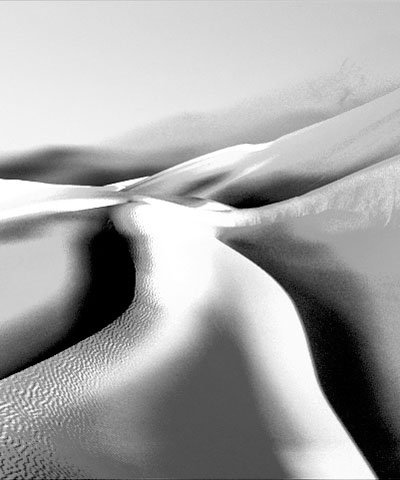
Threshold adjusts the sensitivity of the filter to edges in the image. Increasing Threshold reduces the amount of glow created by weaker edges in the image, so less glow appears on smaller details in the source image.
- Warning: Reducing this value to 0 tends to add noise to the image. For best results, use Threshold settings of 1 or above.
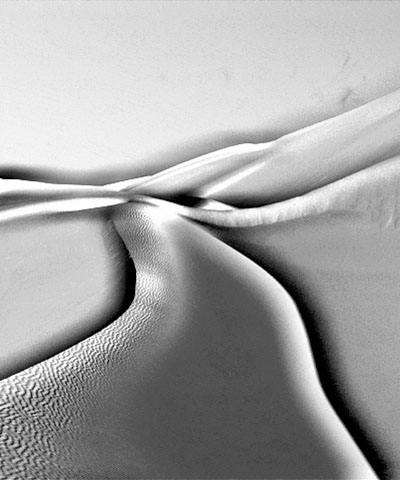 | 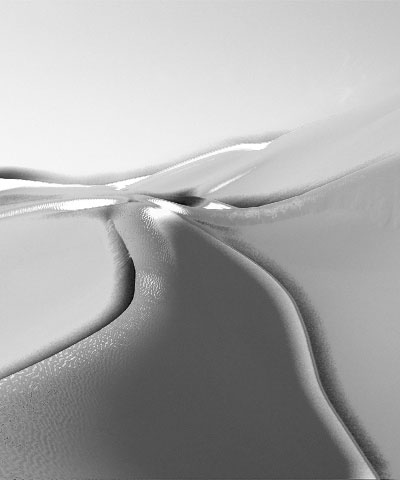 | 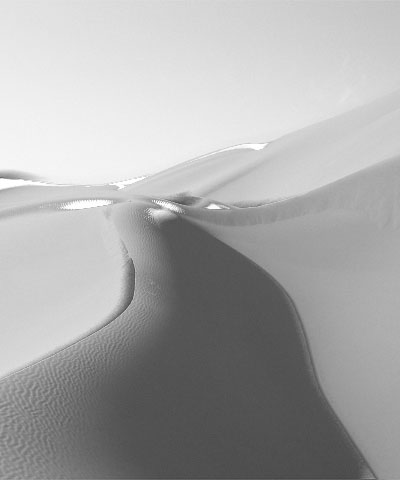 |
| Threshold=1 | Threshold=15 | Threshold=30 |
Overdrive Amount adjusts the overall intensity of the glow created by the blur. Lower values producing a softer glow, mixing the blurred image with the resulting glow. Higher values produce a harder, more dramatic glow effect.
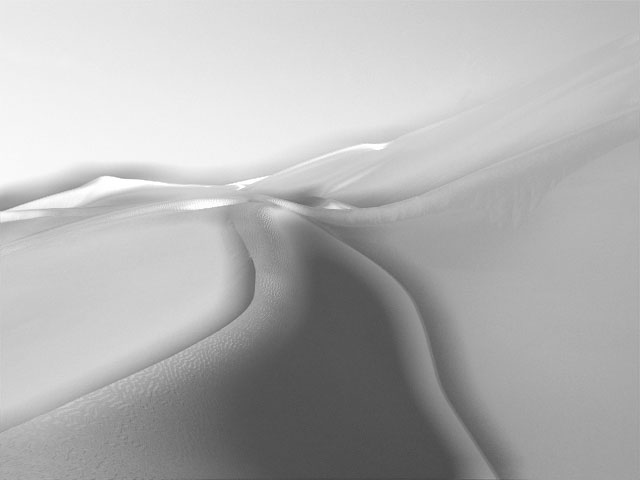 | 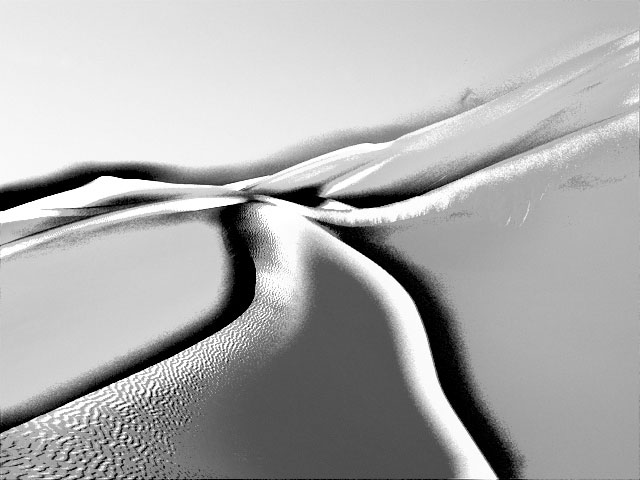 |
| Overdrive=10 | Overdrive=210 |
The Overdrive menu controls how the glow portion of the effect composites over the blurred portion of the effect. The resulting filtered image is then composited with the source image using the chosen global Apply Mode. For information on the available apply modes, Click Here.
In the following illustrations, Overdrive is set to Difference X2, so the glow composites with the blur using the Difference X2 apply mode. In the illustration on the left, Apply Mode is None, so the filtered image completely replaces the source. In the image on the right, the filtered image is composited with the source using the Lighten apply mode.
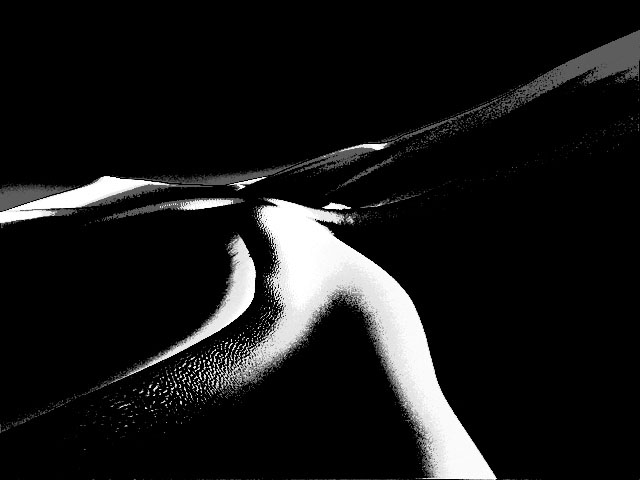 | 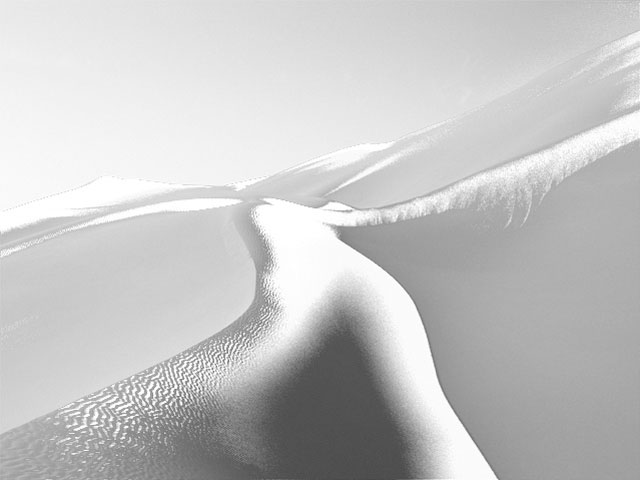 |
| Apply Mode=None | Apply Mode=Lighten |
Softness blurs the overdriven glow output before it is composited with the source.
Enabling the Scale Opacity From Luma checkbox causes the glow image to have an alpha channel based on its luminance. This allows the original image to shine through the glow in places where the glow is dark.
The Glow Opacity Scale parameter scales the opacity of the glow image. This parameter can be overdriven, which means it will only have an affect if the image is not opaque or if Scale Glow Opacity From Luma is enabled.
The Apply Mode menu controls how the filter is composited over the source image. For information on the Apply Modes, Click Here. However, this filter has additional Apply Mode parameters: None and Behind:
- None simply renders the light and ignores the underlying image.
- Behind renders the light behind the image that is lit, and is only useful for images that are not opaque.
Apply Mix controls the mix of the specified Apply Mode with the Normal apply mode. If Apply Mode is Normal, Apply Mix has no affect. If Apply Mix is 0, Apply Mode has no affect. Increase Apply Mix to blend the Apply Mode setting with the Normal apply mode. This parameter has no affect on the Overdrive Apply Mode.
Many hosts process media one field at a time which can cause flickering to occur on filtered effects. The Reduce Flicker menu allows you to reduce flicker in the rendered image. The only way to evaluate a deflicker setting is to render and play back the effect on an NTSC monitor. Choose from the following options in the Reduce Flicker menu.
- 1-2-1 mixes each pixel with the pixels above and below it, with the input pixel getting twice the weight as the ones above and below. For After Effects users, this works the same as applying the AE Reduce Flicker filter at a setting of 0.5.
- 2-3-2 provides more softening than 1-2-1.
- 1-1-1 provides the most softening for effects that still contain flicker with the
- above options.
- Off is the default. If Off is chosen, no deflickering will be done.
Mix with Original blends the source and filtered images. Use this parameter to animate from the unfiltered to the filtered image without adjusting other settings, or to reduce the effect of the filter by mixing it with the source image.
Motion Tracker
The BCC Motion Tracker allows you to track the motion of an object, then use the motion path to drive other geometric properties of the effect without the need for keyframing.
For more information on the Motion Tracker, Click Here.
If you are using the controls in the PixelChooser parameter group, the Apply PixelChooser menu determines when the PixelChooser controls are applied to the blurred image.
- Choose Post-Effect for the PixelChooser to affect the image before the blur is applied.
- Choose Pre-Effect for the PixelChooser to affect the image after the blur is applied.
- Choose Both for the PixelChooser to affect the image both before and after the blur is applied.
PixelChooser
The BCC PixelChooser provides simple, built-in masking of the effect result. The PixelChooser is generally used to select a portion of the image and restrict an effect to just the selected area while maintaining the original image content in unselected regions. The selection can be based on geometric shapes or on the image’s luma/color properties.
For more information on the PixelChooser, Click Here.


