 | 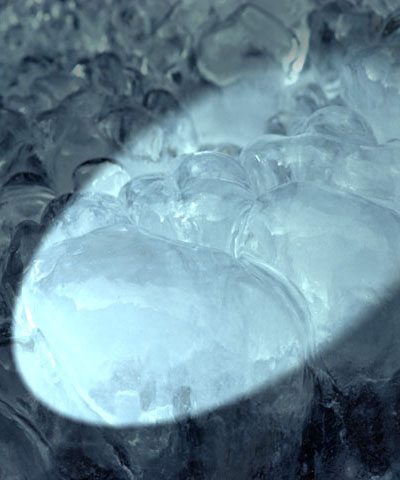 |
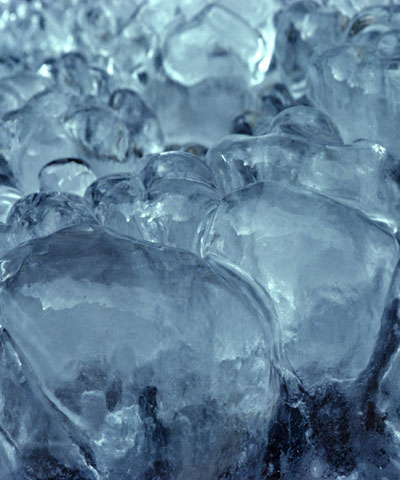
| Source image | Filtered image |
Overview
Spotlight generates a realistic spotlight that can be placed and aimed at a target point on the image using on-screen position points. A range of parameters provide full control over the shape, width, color, and elevation of the light; offer edge lighting capabilities; and even allow you to place gels over the light source.
Function
Presets and Common Controls
BCC filters come with a library of factory installed presets plus the ability to create your own custom presets and preview them with the BCC FX Browser™.
BCC filters also include common controls that configure global effect preferences and other host-specific effect settings.
For more information about working with presets and other common controls, Click Here.
Light Source sets the point coordinates of light source.
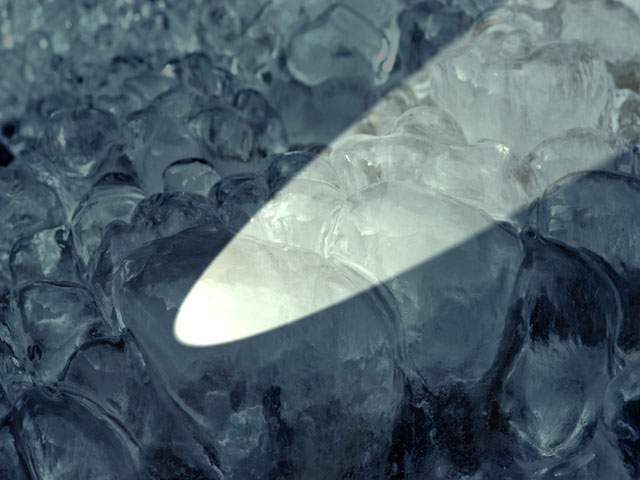 | 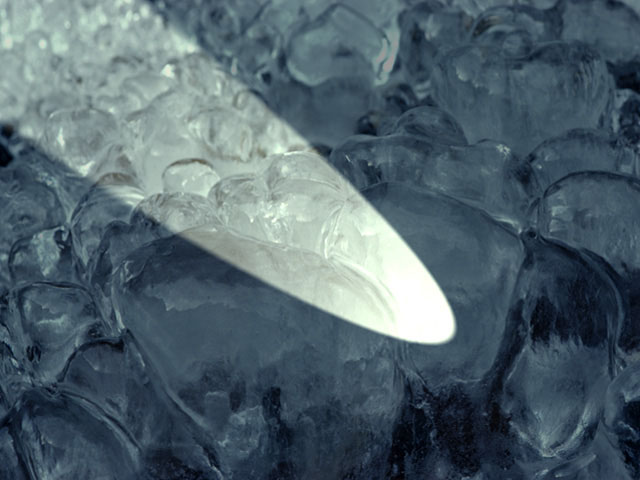 |
| Light Source=10, 450 | Light Source=610, 450 |
Target sets the point on the image plane at which the spotlight is aimed.
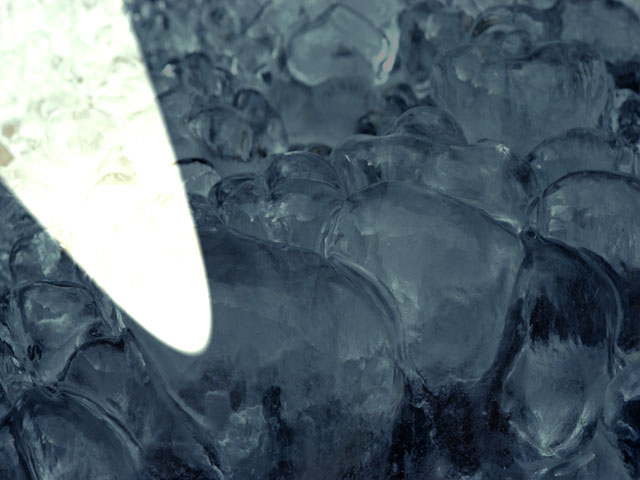 | 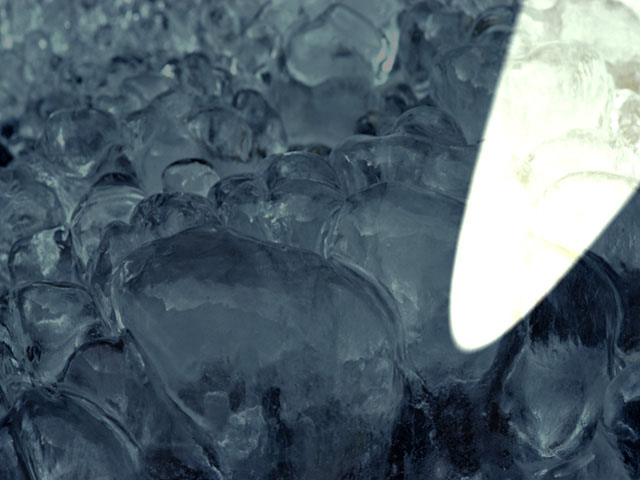 |
| Target=0, 0 | Target=640, 0 |
Displace Light displaces the light source and target point by the same amount. Use this control if you want to animate the spotlight to sweep across the image without altering its shape or intensity.
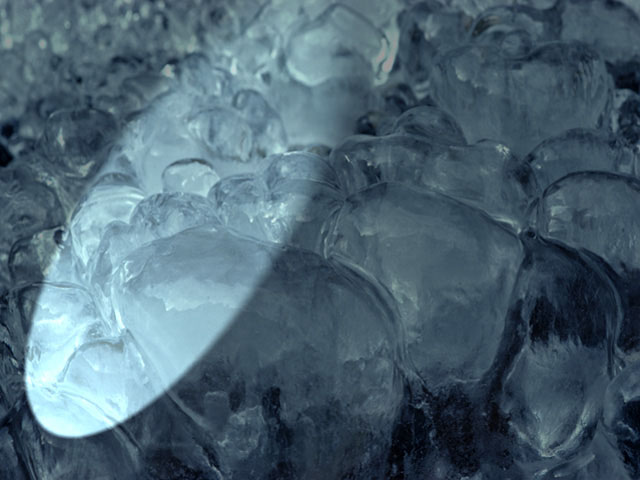 | 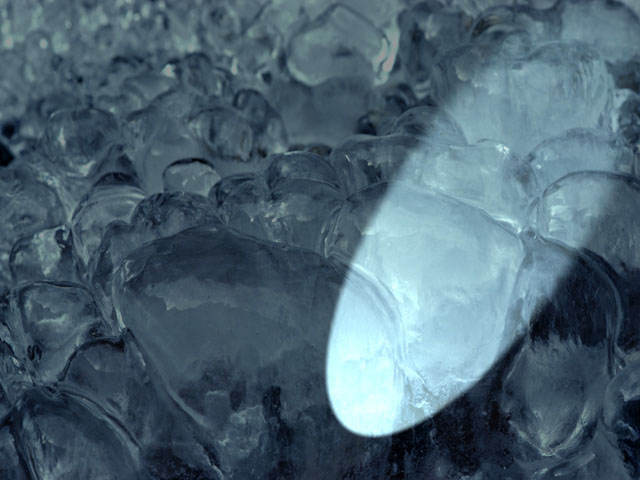 |
| Displace Light X=200 | Displace Light X=500 |
Light Elevation controls the height of the light source above the image plane. The portion of the image that is lit is either an ellipse or a hyperbola, depending on the angle at which the beam of light strikes the image. The shape of the lit region is determined by the Light Elevation and the distance between the Light Source and Target points. Reducing Light Elevation produces a an increasingly stretched ellipse, or a hyperbola, and moves the center of the lit region farther from the Target point. Increasing Light Elevation produces an increasingly circular lit region.
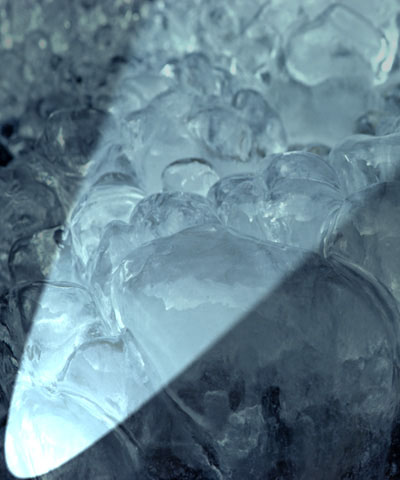 | 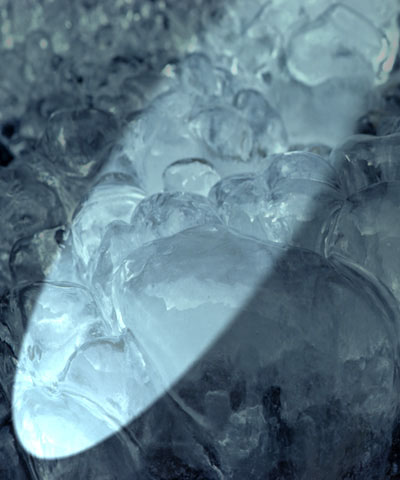 | 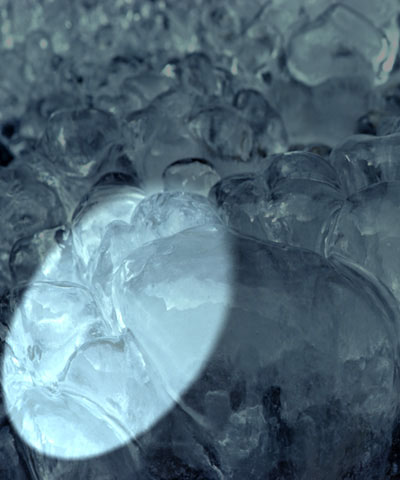 |
| Light Elevation=50 | Light Elevation=100 | Light Elevation=200 |
Light Cone Width controls the width (in degrees) of the cone that defines the edge of the light as it spreads from the light source in three dimensions. Changing the Light Cone Width is analogous to altering the placement of a physical spotlight within its enclosure.
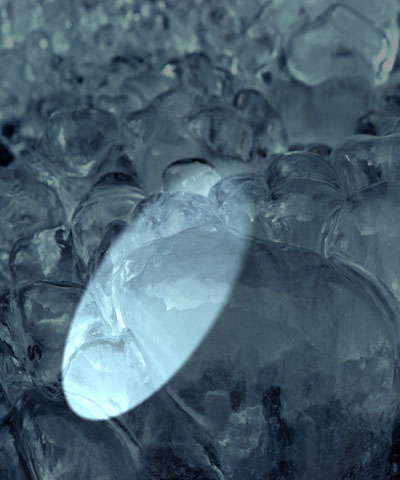 | 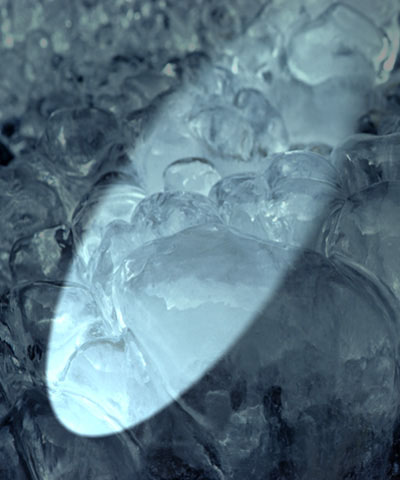 | 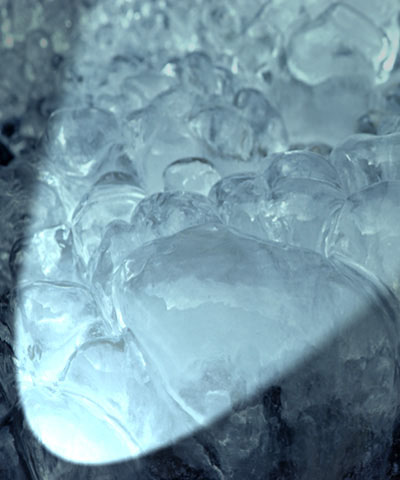 |
| Light Cone Width=20 | Light Cone Width=40 | Light Cone Width=60 |
Intensity sets the intensity of the light.
Light Color sets the color of the light.
Ambient Light adjusts the total amount of diffuse light on the image. The default setting of 100 does not add or subtract ambient light from the source image. Decreasing this setting makes the image darker before the other light is applied. Ambient light illuminates or darkens the image evenly, and is unaffected by any other lighting parameters.
Increasing Ambient Follow causes the ambient light to fall off in regions of the image that are lit by the applied light. Use Ambient Follow if you want the applied light’s color to completely replace the ambient light.
Center Falloff controls the falloff in the center of the lit region. Increase Center Falloff from its default setting of 0 to create a light that is brighter in the center of the lit region than at the edges. Use a negative Center Falloff value to create a ring-shaped spotlight.
Edge Falloff controls the softness of the edges of the lit region. Increase Edge Falloff to soften the transition between the lit and unlit regions.
Edges Parameter Group
The Edges parameters control edge detection and edge lighting. Note that the edges referred to here are edges in the source image, not the edges of the spotlight.
- Note: Edge detection is inherently a non-scalable process, because edges are found by comparing each pixel with its immediate neighbors. The appearance of the full- size rendered image can be quite different than a scaled preview, so you should preview at least a frame of your sequence that uses edge lighting at full size.
The Edges From menu determines which channel in the source is used to compute edges. Choose Alpha to light text, or to light a cutout image around the edges. Use Luma or an RGB channel to light the image based on the edges in the corresponding color channel.
Edge Intensity sets the intensity of the edge light. If Edge Intensity is any value other than 0, the filter completes a directional edge detection on the source image. Edge points are then given additional light, which is scaled by the geometric controls in the general parameters. You can also light only the edges by setting the Intensity to 0 and Edge Intensity to a value other than 0.
Edge Threshold determines how sensitive the filter is to differences between pixels when finding edges in the source image. The affect depends on the nature of the source image. Edge Threshold is intended more for adjusting the look of the edges than for animation. Some images change dramatically when Edge Threshold is animated.
- Warning: Edge Pre Blur blurs the source image before edge detection. This parameter softens the image’s edges and reduces their intensity.
Edge Post Blur blurs the edge light after the edges are computed. You can use Edge Post Blur to create glowing edges and flare effects.
Post Blur Quality determines the quality of the Post Blur. Pyramid is the fastest option and is generally adequate. It produces a blur similar in quality to the Pyramid Blur filter. Pyramid Smoother produces a better quality pyramid blur and increases rendering times slightly. The remaining choices, Gaussian Low, Gaussian Medium, Gaussian High, Gaussian Higher, and Gaussian Highest produce gaussian blurs of increasing quality. These options increase rendering times proportionately.
The View Edges Only checkbox lets you view the edges created by the filter in black and white. When View Edges Only is on, the filter’s output is determined only by the edge controls. View Edges Only is useful to create a complex effect involving edge lighting.
Edge Color sets the edge light color.
The Edge Color Mode menu controls the interaction between the Edge Color and the Light Color. If Ignore is chosen, the Light Color overrides the Edge Color. If Mix is chosen, the Edge Light Color is mixed with the Light Color. If Prefer is chosen, the Light Color fades away where the Edge Color is intense.
Common Parameter Group
The Common parameters offer more options for adjusting the filter. Use these parameters to control the mixing of ambient and applied light and/or to create gel or matte effects.
The Apply Mode menu determines how the filter composites the applied light with the image. For descriptions of all the possible Apply Modes, Click Here.
Apply Mix controls the mix of the specified Apply Mode with the Normal apply mode. If the Apply Mode is Normal, Apply Mix has no affect. If Apply Mix is 0, Apply Mode has no affect. Increase Apply Mix to blend the Apply Mode setting with the Normal apply mode.
If the Shadow Transparent checkbox is selected, unlit regions of the image are transparent.
The Gel-Matte Layer selects any layer in the composition to use as either a gel or a matte.
The Gel-Matte Menu determines how the Gel-Matte layer is used.
- The Gel and Matte options use the Gel-Matte layer for color information in creating either a gel or matte, respectively.
- The Luma Gel and Luma Matte options scale down the applied light by the luminance values in the Gel-Matte layer. Luma Gel is not available in the Light sweep filter.
- If Gel-Matte is set to None, no gel or matte is used.
Selecting the Best Quality Gel checkbox can improve the quality of the spotlight when using a gel, particularly if the spotlight moves, but increases render and preview time. Deselecting this option improves speed, and the resulting image quality is often adequate.
The Light Apply Layer menu allows you choose any layer in the composition to which the light is applied. This enables you to apply multiple lights to a layer with low ambient light.
Motion Tracker
The BCC Motion Tracker allows you to track the motion of an object, then use the motion path to drive other geometric properties of the effect without the need for keyframing.
For more information on the Motion Tracker, Click Here.
Using Gels and Mattes
Adding a gel to a Spotlight filter is similar to placing a transparent gel over an actual spotlight. The text or image on the gel conforms to the size and shape of the light and is oriented in the same direction.
 |
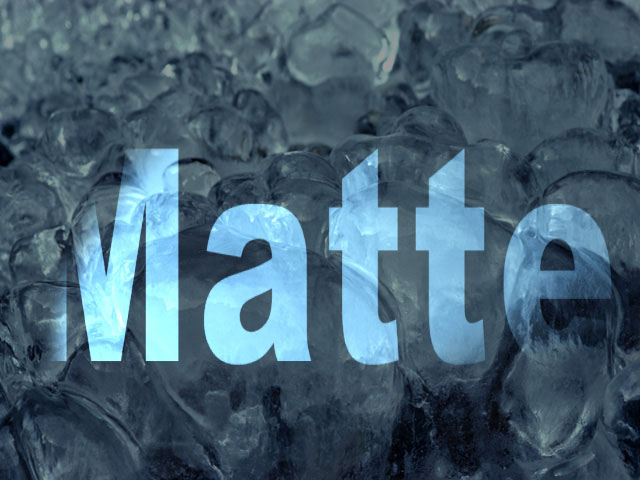
A matte is not a physically achievable lighting effect. A matte creates an alpha matte over the source image which is only visible when the spotlight passes over it. Therefore the text or image on the matte maintains its orientation relative to the background, and does not change size or shape along with the light.
 |
Beat Reactor
The BCC Beat Reactor is an animation control suite which drives effect properties based on the contents of an audio track. This lets you seamlessly tie visual FX to an audio soundtrack without the need for ANY manual keyframing.
For more information on the Beat Reactor, Click Here.


