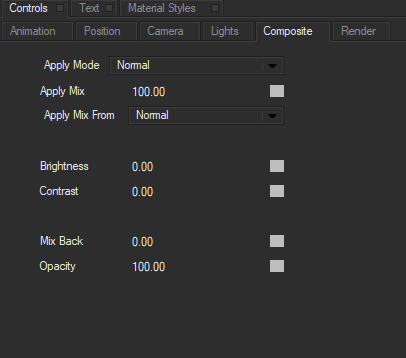
The Composite Tab is common to all shapes and provides parameters that set an apply mode, adjust various mix controls, and composite the shape over other objects. The Composite Tab is only available in 2D composite mode, and is not available when Title Studio is set to 3D mode.
In 3D Containers, the Composite Tab affects the compositing of the contents of the entire container over other tracks in the timeline. To adjust the compositing of individual shapes within the container, use the individual shape’s Composite tab.
The Apply Mode menu setting determines how the object is composited over objects below it in the timeline. There are a number of options available, with many familiar to those seen in compositing hosts such as After Effects or Photoshop.
- Normal applies the light or filter directly to the source image, replacing the source pixels with filtered pixels.
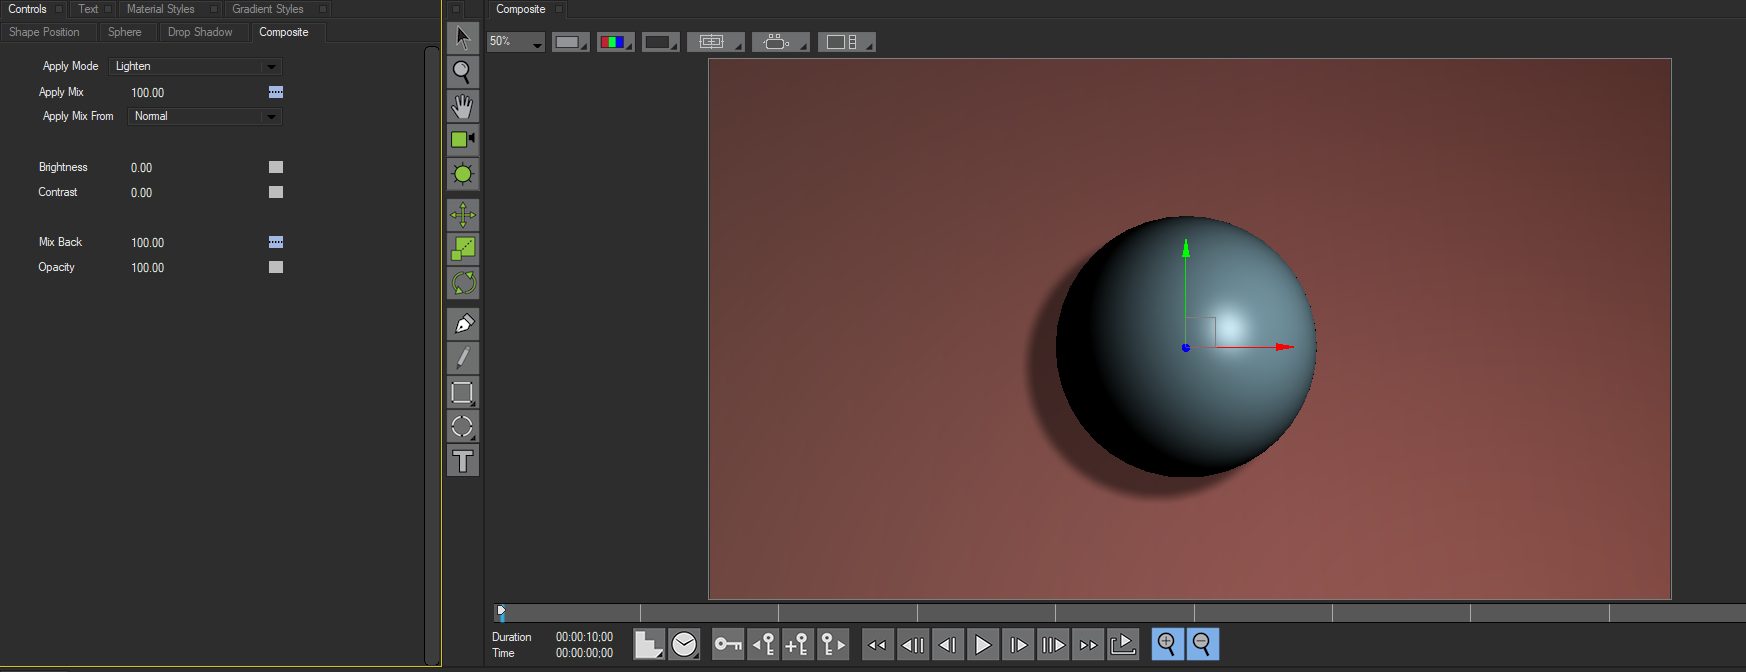
- Lighten compares the color channels values in the original pixels and in filtered pixels, and chooses the lighter (higher) value for each channel in each pixel. If a pure red pixel is applied to a pure blue pixel, the result is pure magenta.
- Darken compares the color channels values in the original pixels and in filtered pixels, and chooses the darker (lower) value for each channel in each pixel. If a pure red pixel is applied to a pure blue pixel, the result is black.
- Multiply applies the light or effect to the source as if it were a transparency placed over the source. The resulting image is darker than either. If a pure red pixel is applied to a pure blue pixel, the result is black. If a 50% gray pixel is applied to another 50% gray pixel, the result is 25% gray.
- Screen applies the light or effect to the source as if a photographic double image was taken of the light or effect and the source. The resulting image is lighter than either the light or effect or the source. If a pure red pixel is applied to a pure blue pixel with Screen, the result is magenta. If a 50% gray pixel is applied to another 50% gray pixel with Screen, the result is 75% gray.
- Difference outputs the difference between the light or filtered color and the source color for each channel. Difference modes can produce some very striking colors and create glow effects when used with Blurs. Difference modes can also exacerbate the noise in noisy video sources. Difference can generate non-Color Safe output.
- Lighter uses the lighter of the source and filtered colors for each pixel for all channels. If a dark green pixel is composited with light red, the result is light red.
- Darker uses the darker of the source and light or filtered colors for each pixel for all channels. If a dark green pixel is applied to a light red pixel, the result is dark green.
- Scale Multiply is a useful variation of Multiply that produces a brighter image than the standard Multiply. This is often the most realistic Apply mode for light effects.
- Scale Screen is a useful variation of Screen that produces a darker and less washed-out image than the standard Screen.
- Difference X2 is a variation of Difference that produces a more intense effect than the standard Difference. The enhanced difference modes can be particularly effective in creating glows with the Blur effects.
- Difference X4is a variation of Difference that produces an even more intense effect than Difference X 2. The enhanced difference modes can be particularly effective in creating glows with the Blur effects.
- Addadds the light or filtered output with the source. The resulting color values are clipped at white.
- Subtract subtracts the light or effect from the source. This can produce intense and unpredictable colors and make the image appear noisy.
- Overlay layers the light or effect over the source. The result is brighter than the result of a Multiply and darker than the result of a Screen.
- Soft Light simulates shining a diffuse light (whose color is the light color or filtered output) on the source image. Most of the detail in the final output comes from the source image.
- Hard Light simulates shining a harsh light (whose color is the light color or filtered output) on the source image. The source image and the light or filtered output contribute roughly equal amounts of detail to the final output.
- Huecreates a composite color for each pixel that takes its Hue value from the light color or filtered output, and takes the Lightness and Saturation values from the source image.
- Saturationtakes the Saturation of each pixel from the light color or filtered output, and takes the Lightness and Hue from the source image.
- Colortakes the Color for each pixel from the light color or filtered output, and takes the Lightness from the source image.
- Luminositytakes the Luminosity for each pixel from the light color or filtered output, and its Color from the source image.
- Boost Expo 1 blends the color channels in the source and filtered pixels by subtracting an offset value from each pixel, exponentiating the value, adding the results, and then adding back the offset.
- Boost Expo 2 is similar to Boost Expo 1, except that this mode uses offset and exponent values different from those used by Boost Expo 1.
- Boost Eq Power + uses an algorithm modeled on the audio concept of an equal power crossfade. This algorithm emphasizes the light pixels in the blend of the source and filtered pixels, which is useful when working with darker images.
- Boost Eq Power – similar to Boost Eq Power +, but uses the difference between the channel value and 255 in computing the contrast. This algorithm emphasizes the dark pixels in the blend of the source and filtered pixels, which can be useful when working with lighter images.
- Boost Bias increases the contrast of the pixels whose channel values are highest.
- 50-50 Mix reduces the opacity of the source and filtered pixels by 50% and the blends them equally. If the source and/or filtered pixels are partially transparent, their opacity is reduced proportionately.
- Color Burn Looks at the color information in each channel and darkens the base color to reflect the blend color by increasing the contrast between the two. Blending with white produces no change.
- Color Dodge Looks at the color information in each channel and brightens the base color to reflect the blend color by decreasing contrast between the two. Blending with black produces no change.
- Exclusion Creates an effect similar to but lower in contrast than the Difference mode. Blending with white inverts the base color values. Blending with black produces no change.
Apply Mix blends the Apply Mode setting with the Apply Mix From menu setting. The resulting mixed mode is used to composite the shape.
For example, if Apply Mode is set to Multiply, and Apply Mix From is set to Normal, then Apply Mix blends the Multiply and Normal apply modes. In this case, an Apply Mix setting of 0 produces the Normal apply mode, and an Apply Mix setting of 100 produces the Multiply apply mode. An Apply Mix setting of 50 blends the two apply modes equally. Use Apply Mix to soften the affect of a given apply mode, or animate Apply Mix to blend from one apply mode to another over time.
Brightness adjusts the brightness of the object after it is composited over the background.
Contrast adjusts the contrast of the object after it is composited over the background objects
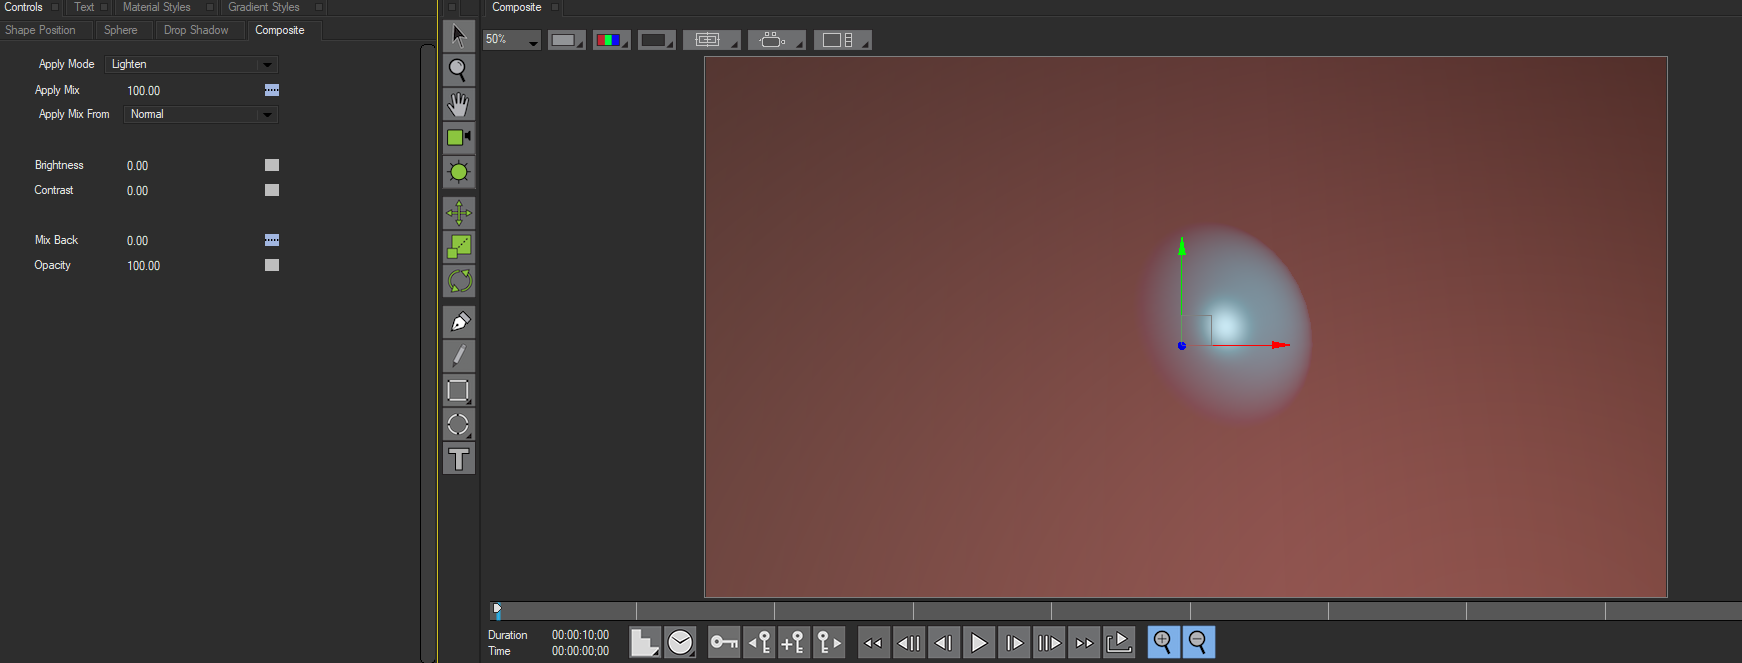
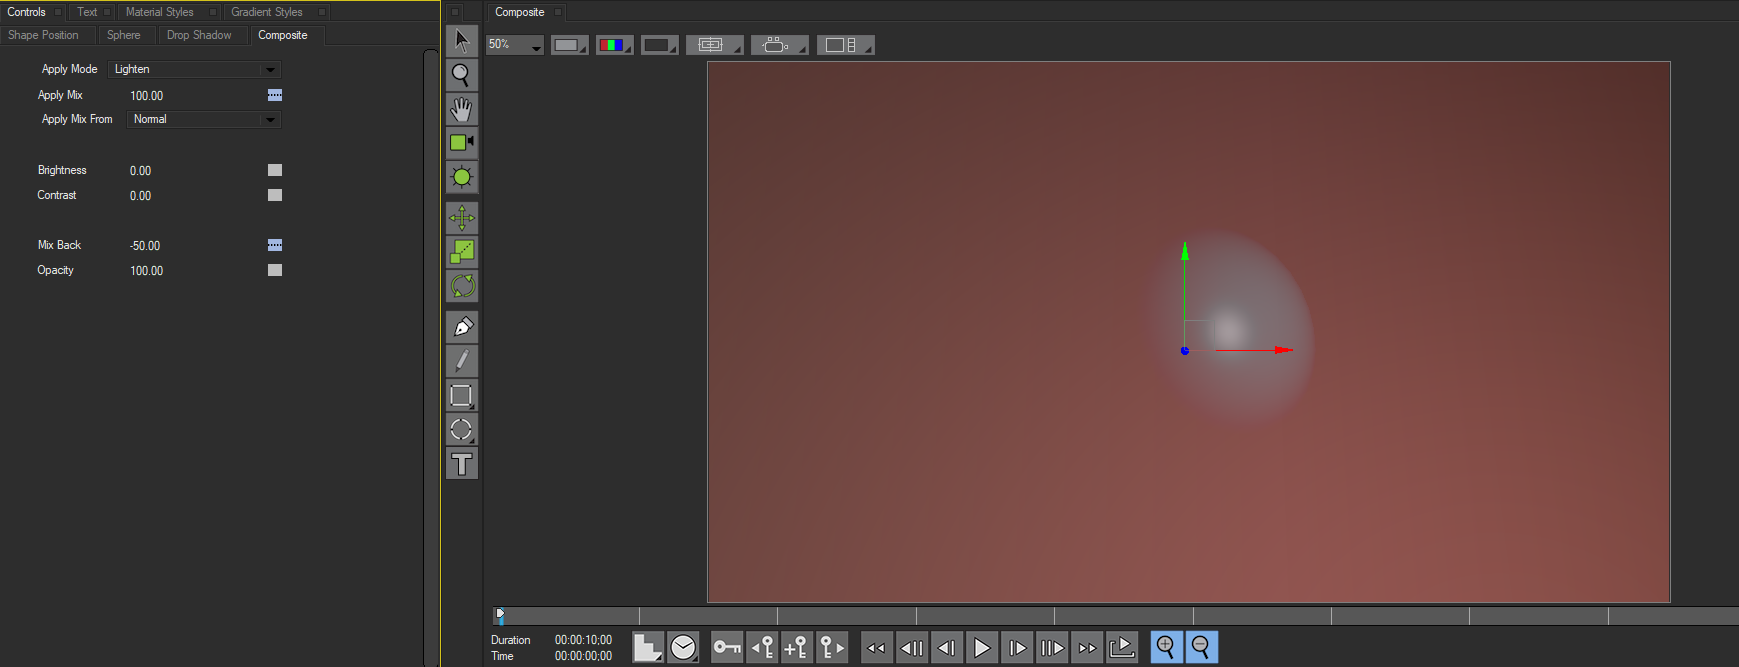
Mix Back mixes the Normal apply mode with the chosen apply mode or mixes the chosen apply mode with a transparent application of the shape. When Mix Back is 100, the Normal apply mode is used to composite the shape. As the Mix Back approaches 0, the Normal mode increasingly mixes with the chosen apply mode; when Mix Back is 0, the chosen apply mode is used to composite the shape. If you decrease the setting below 0, the object becomes increasingly transparent, and at a value of –100 the object is completely transparent.
Negative Mix Back values make the sphere increasingly transparent. In this the below example, Mix Back is set to –50. The final opacity is determined by both the Opacity and the Mix Back settings. Neither parameter overrides the other; rather, the two parameters have a cumulative effect.
Return to the Main Title Studio Page.


