Image Processor Shaders allow you to create complex, realistic effects in real time. A myriad of different effects can be created based on which track the shader is applied to, and where it’s placed in the stacking order. Image Processors cannot be applied to all tracks in a project, and are most commonly applied to the Scene Container, nested 3D Container tracks, Objects, and Texture Map tracks.

NOTE: Image Processors can only be applied in 2D Composite Mode. They will be automatically disabled in 3D Composite Modes.
Applying a Shader
- Create a new composition with at least one Shape track. In the example pictured here, we will be using a Flat Text object.
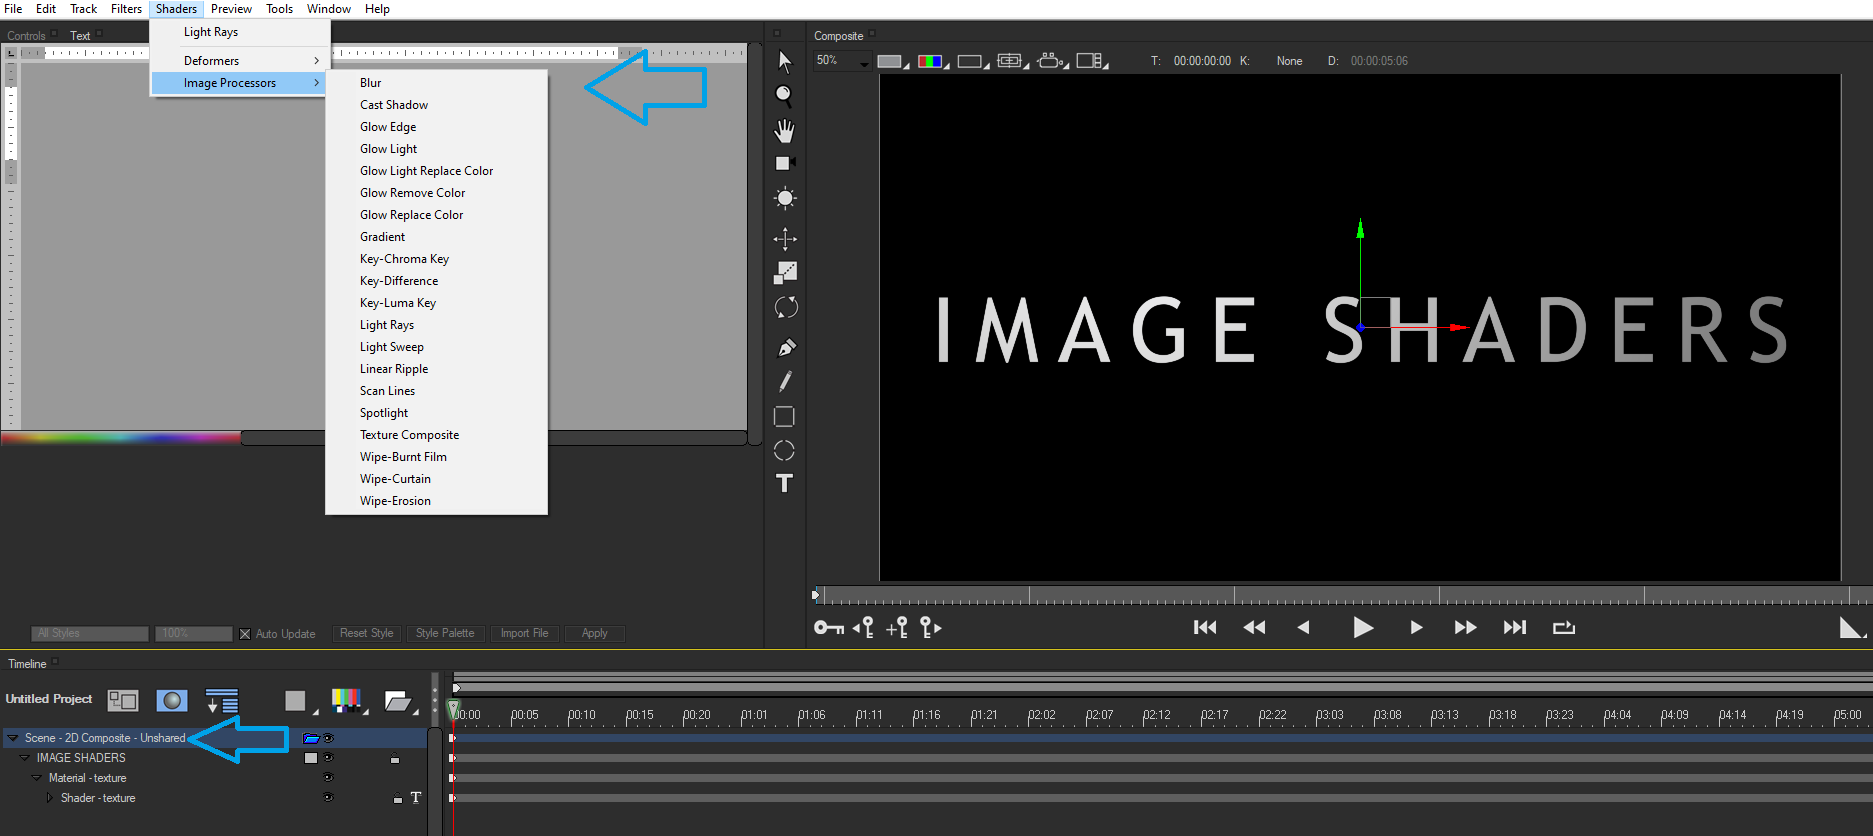
- Select the Scene Container and then go to the Shaders Menu.

- Select Image Processors —-> Light Rays.

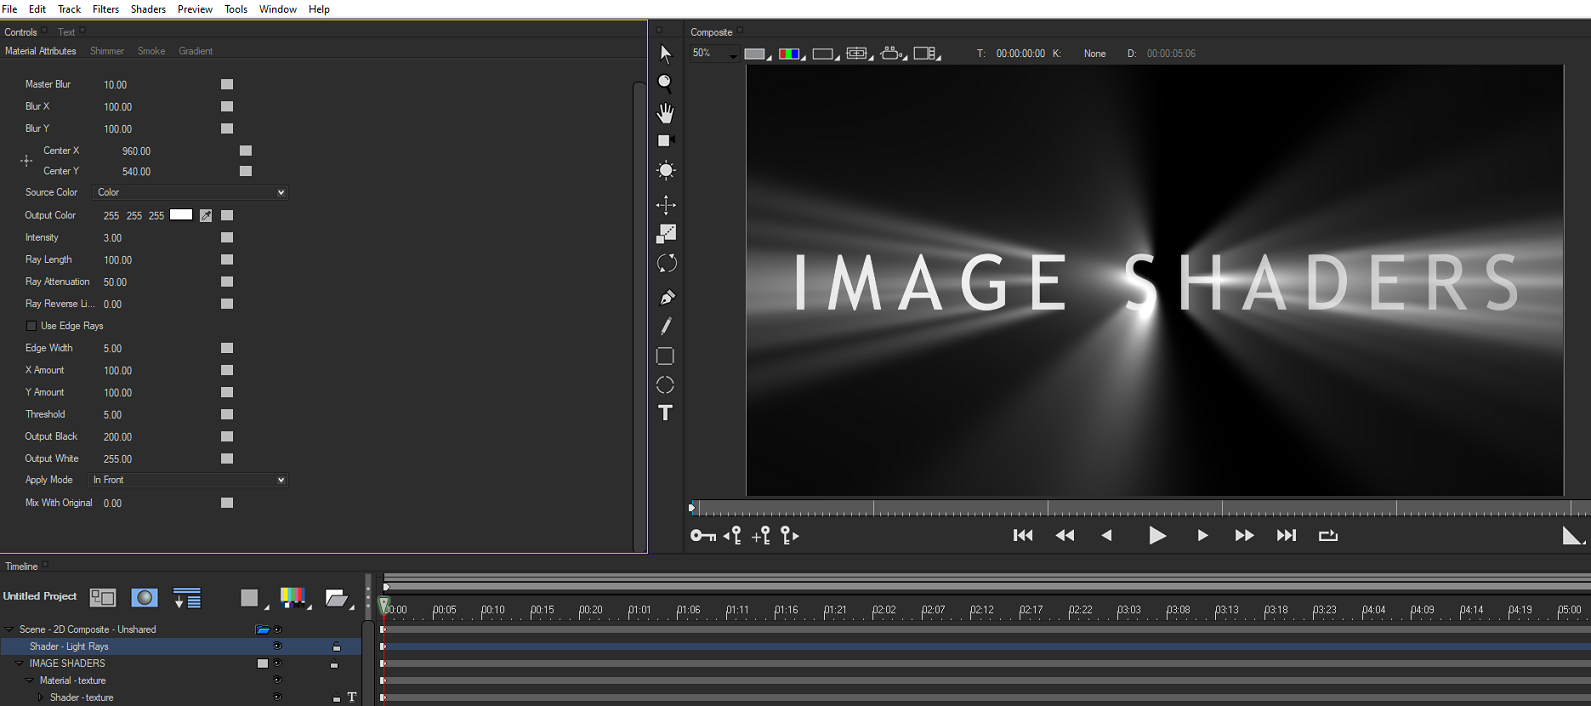
The IP Shader Light Rays will now be applied to the scene itself. Based on this placing, the IP Shader will affect all objects stacked beneath it.
As a rule of thumb, Images Processors must be applied directly to Scenes, Shapes or Materials.
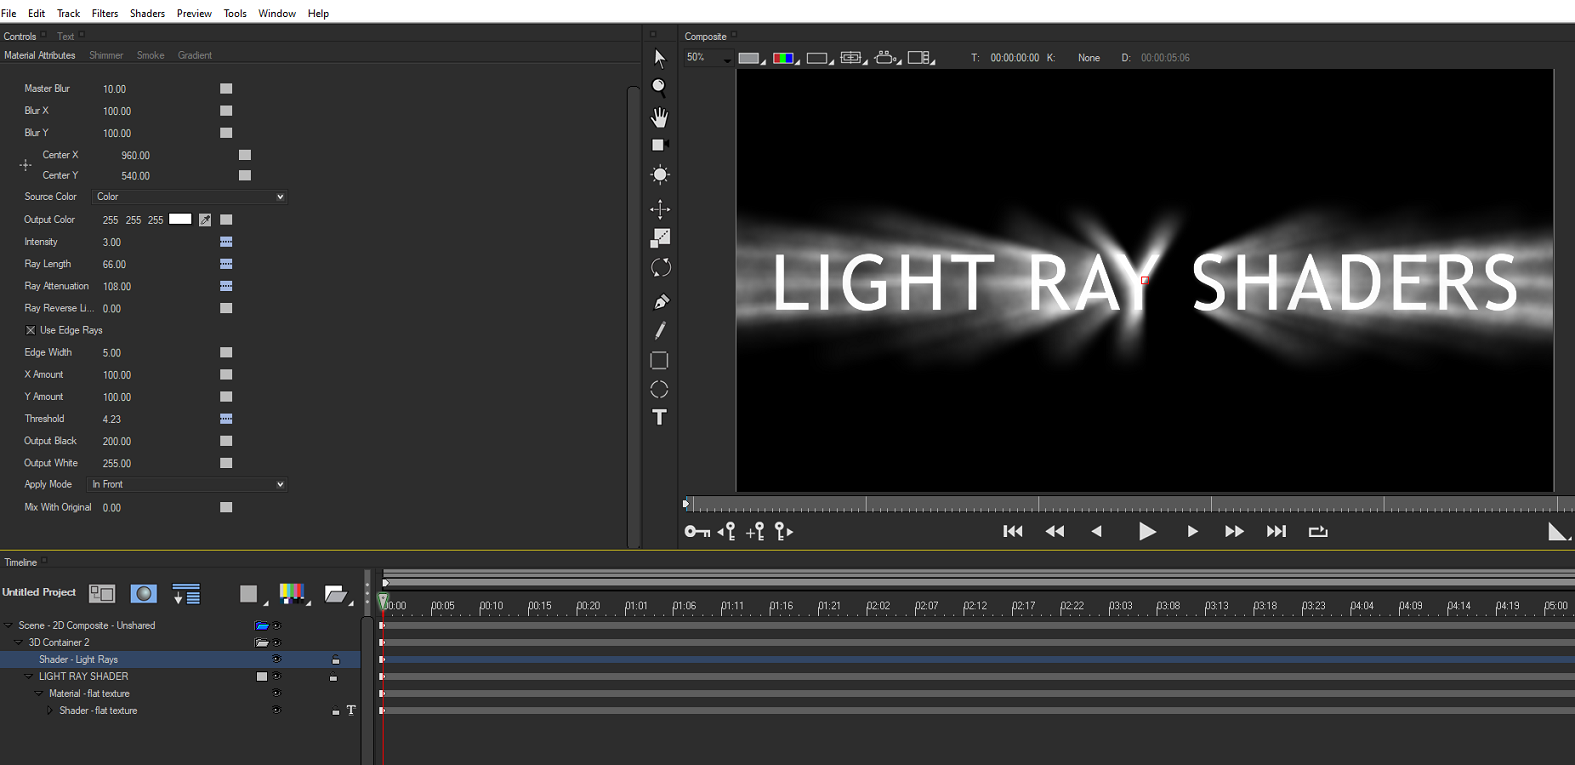
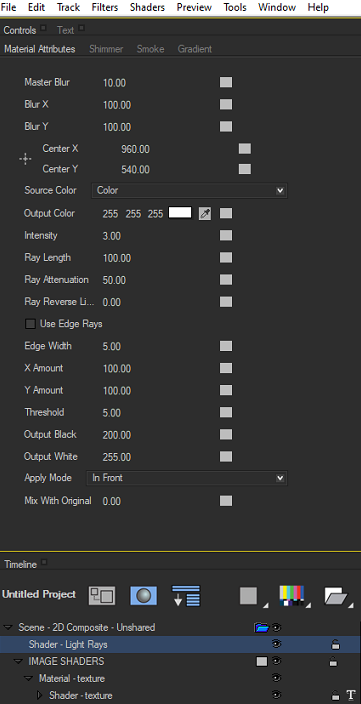
When an IP Shader is applied, a new track is created and automatically named for specific image processor. When selected, the Controls Panel will update to provide available parameters to help you customize your effect.

Available Shaders
A number of Image Processing shaders are available for use with Title Studio. Please note that IP Shaders are not compatable with versions of Title Studio prior to 2019. For a detailed breakdown of available features and parameters please click on the individual shader listed below.
- Blur: Blurs a scene, track or material to simulate an out of focus camera effect. Options include Directional, Prism, Radial and Spiral Blurs.
- Cast Shadow: Generates 3D shadow effect, simulating the effect of a light source casting a shadow past the text or object.
- Glow Light IP Shaders: Generates a traditional film glow where the object(s) are subjected to a strong light causing the image to bloom. Additional compositing modes are available to provide highly detailed customization.
- Gradient: Adds a user definable multi-color gradient across the entire texture.
- Keying IP Shaders: Allows the user to define a color key to add transparency to the source for advanced compositing effects. Options include Chroma, Difference and Luma Keying.
- Light Rays: Generates visible rays of volumetric light that allow the viewer to see beams of light shining through the environment, similar to light shining through a cathedral window. The generated light beams can take their color from the scene or from a user specified color or gradient.
- Light Sweep: Creates an auto-animating beam of light that sweeps across the image. Additional atmospheric customization can help create a smoky or foggy appearance.
- Linear Ripple: Distorts objects with an auto-animating ripple effect to create rippling animations.
- Scanlines: Simulates the look of CRT TV’s. Options include a screen shape with rounded corners, tinting, blend modes and auto-animating horizontal or vertical scanlines. Includes a tv noise option for added photorealism.
- Spotlight: Adds a colored spotlight to the scene with blending modes and an optional alpha generator.
- Texture Composite: Composites a texture material on the object.
- Wipe IP Shaders: Animatible wipe effect that simulates the look and style of burning film, curtains and erosion.
Return to the Main Title Studio Page.


