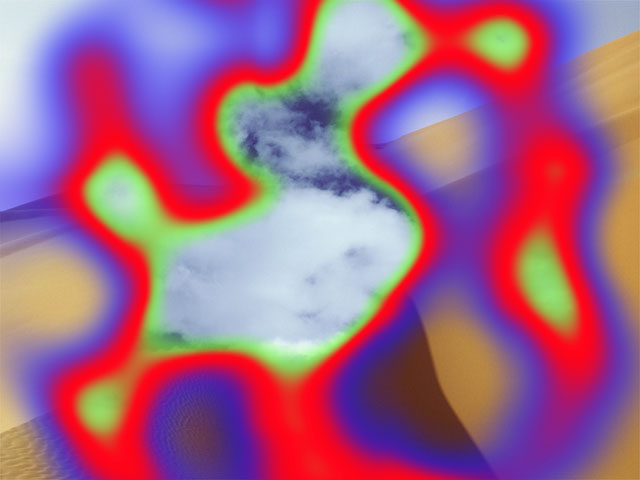
The BCC Burnt Film filter simulates the look of holes burning through a layer of film to reveal another image. This filter provides control over the appearance of the burned edges and the burn rate, and allows you to use a custom alpha matte to set the shape of the burn holes.
Function
Presets and Common Controls
BCC filters come with a library of factory installed presets plus the ability to create your own custom presets and preview them with the BCC FX Browser™.
BCC filters also include common controls that configure global effect preferences and other host-specific effect settings.
For more information about working with presets and other common controls, Click Here.
Animation: Menu controlling what drives the animation of the transition.
- Manual: requires the user to set keyframes in the Burn Amount slider to control the transition progression. Can be useful in customizing the exact timing of the transition or when applying the filter as a stylized effect as opposed to a direct NLE-style transition.
- Auto: automatically generates a transition based on the transition length (when used as a transition) or the clip length (when used as a filter.)
- Percent Done: requires the user to set keyframes to control the transition progression. Can be useful in customizing the exact timing of the transition or when applying the filter as a stylized effect as opposed to a direct NLE-style transition.
Animation pop-up: Offers 2 options for the transition animation.
- Auto: automatically generates a transition based on the transition length (when used as a transition) or the clip length (when used as a filter.)
- Percent Done: requires the user to set keyframes to determine the transition length.
Layer to Reveal: This layer selection popup is not relevant when you have applied the filter as a true NLE-style transition and it will be hidden or disabled in that context. When applied as a normal “effect” as opposed to a transition, however, this menu is used to select the Incoming or Reveal layer for the transition.
Burn Amount sets the amount of burn applied to the source image. A setting of 0 does not affect the source image. A setting of 1 burns the source out completely, revealing layers below it. To create a burnt film transition, animate Burn Amount from 0 to 1 over the duration of the effect.
Burn Color sets the color of the burnt edges.
Flare Color sets the color of the inside edges of the burn holes. These edges are partially transparent.
Char Color sets the color of the “charred” edges—that is, the outside edges of the burn holes. These edges have not yet burned through, and are completely opaque.
Flare Area (Yellow Area of Image)
Burn Area (Burn Area of Image)
Char Area (Purple Area of Image)
Burn Layer: If a layer is selected the region occupied by the solid Burn Color will be replaced by the contents of this alternate texture instead which can allow applying interesting alternate textures when this filter is applied in a way that permits access to alternate source layers.
Flare Layer: If a layer is selected the region occupied by the solid Flare Color will be replaced by the contents of this alternate texture instead which can allow applying interesting alternate textures when this filter is applied in a way that permits access to alternate source layers.
Char Layer: If a layer is selected the region occupied by the solid Char Color will be replaced by the contents of this alternate texture instead which can allow applying interesting alternate textures when this filter is applied in a way that permits access to alternate source layers.
Flare Amount: sets the width of the inside edges of the burn holes.
Char Amount: sets the width of the “charred” edges.
Position controls the pattern of the burn holes at a given point by moving through the procedural noise from which the effect is generated. The best way to use this parameter is to press the Option key (Macintosh) or Alt key (Windows) as you move the crosshair. This allows you to navigate through the underlying noise pattern to find a pattern that you like.
Lock to Scale X locks the Y Scale value to the X Scale setting and preserves the aspect ratio of the burn pattern. When this option is selected, adjusting Y Scale has no affect. Deselect this option to adjust the X and Y Scale values independently.
Scale X determines the scale of the burn pattern along the horizontal axis. Increasing this setting stretches the burn pattern out horizontally.
Scale Y determines the scale of the burn pattern along the vertical axis. Increasing this setting stretches the burn pattern vertically.
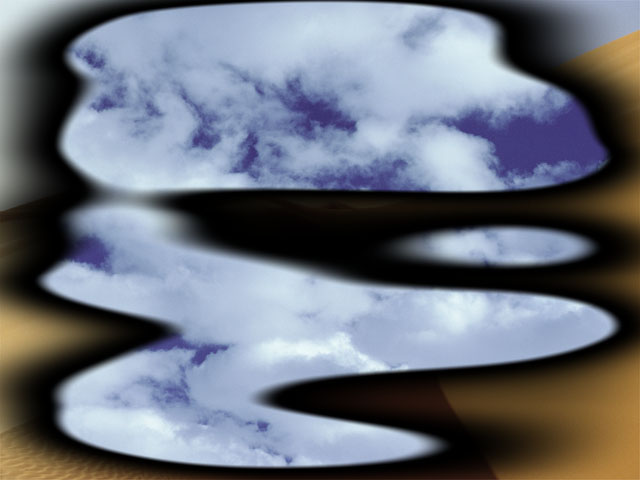 | 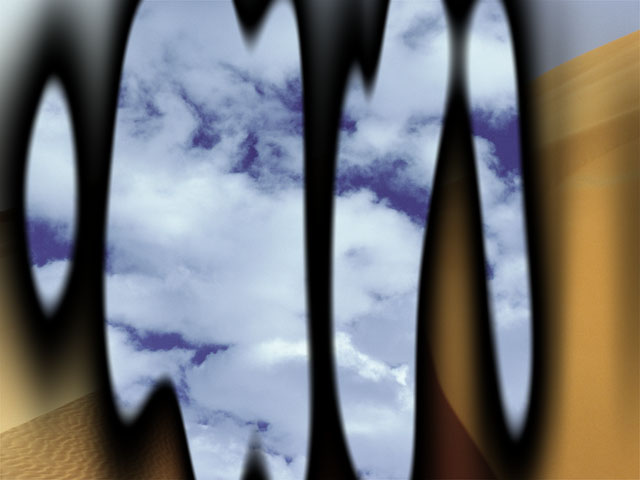 |
| X Scale=400, Y Scale=50 | X Scale=50, Y Scale=400 |
The Layer Function menu determines how the effect uses the map layer.
- None ignores the map layer.
- Alpha Layer creates a burn pattern in the shape of the map layer’s alpha channel.
- Luma Gradient uses the map layer’s luma values to determine when burning occurs.
Light areas in the map layer burn first, followed by successively darker areas.
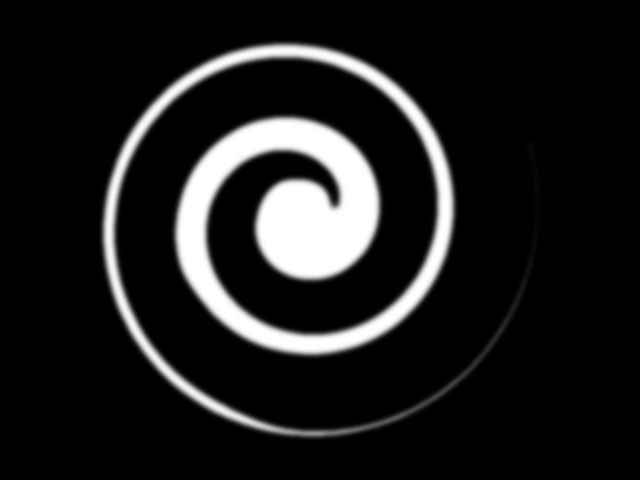 | 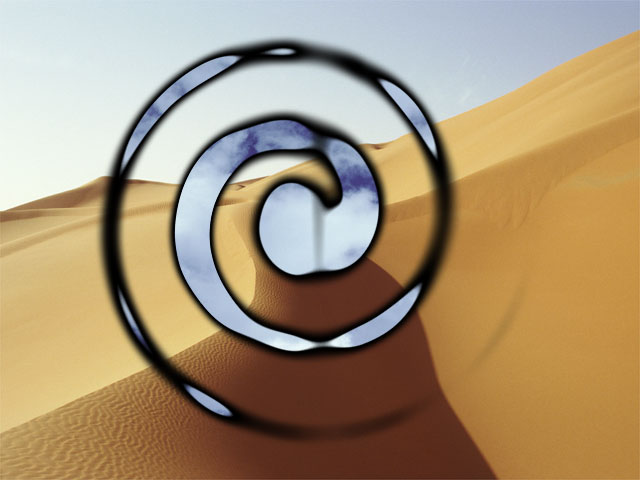 |
| Swirl map | Swirl map us as Map Layer |
The Map Layer menu chooses the clip or layer to use as the map layer. You can choose any layer within the composition to act as the map layer.
Map Layer Level controls the degree to which the burn pattern conforms to the alpha channel in the map layer. At a setting of 0, the burn pattern does not conform to the alpha channel at all, and resembles an effect that does not use a map layer. At a setting of 1, the burn pattern conforms exactly to the alpha channel used as the map layer.
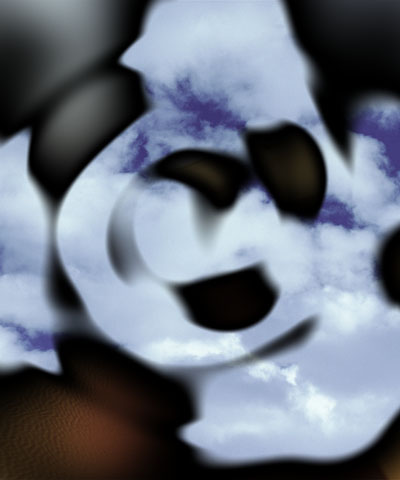 | 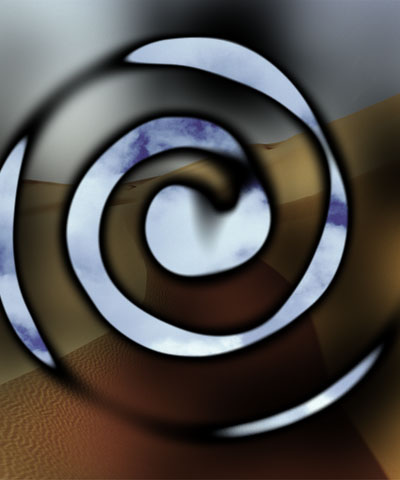 | 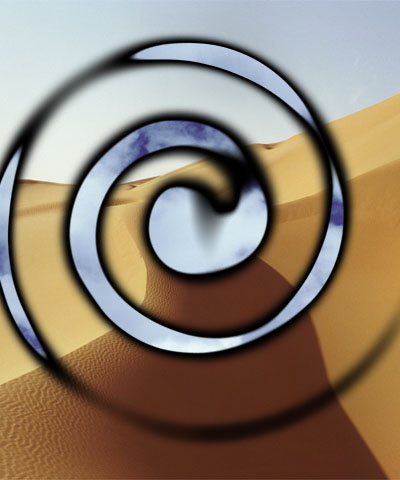 |
| Alpha Layer Level=0.3 | Alpha Layer Level=0.6 | Alpha Layer Level=0.9 |
Blend softens edges in the channel used as the map layer. A value of 0 produces burn holes with very sharp edges. Increase this value to soften the edges of the burn holes and make the effect look more natural.
Choke expands or tightens the opaque areas in the map layer’s alpha channel (or the black areas in the map layer’s luma channel), thereby altering the size of the burned area. Positive Choke values shrink these areas, making the burn holes larger. Negative values of Choke expand these areas, making the burn holes smaller.
**Random Seed:**Determines the ‘random’ pattern of burn generation.
**Shape:**Determines the shape of the film burn.
Ripple: Creates a ripple of burns on the film.
Animation Tuning Group
These parameters control the overall timing of the transition. On hosts which permit on-screen heads up display widgets (such as AE, Premiere, and Avid) you should never need to modify these sliders directly since they can be configured in a more convenient and intuitive manner by manipulating the widgets directly in your comp/preview pane. On hosts without heads up display widgets you can use these sliders directly to fine tune your animation timing, taking advantage of the View Ease Curve option to help visualize the animation rates.
Ease In: Control how quickly or slowly the effect amount increases at the beginning of the transition.
Ease Out: Control how quickly or slowly the effect amount decreases at the end of the transition.
View Ease Curve: (Only visible/enabled in hosts that don’t support heads up display widgets for manipulating these controls directly on screen.) Enable this control to display a preview graph of the the animation curves rendered into in the composite window*.*


