Replaced by BCC Particle Illusion
We recommend use of BCC Particle Illusion instead of BCC Comet. BCC Particle Illusion contains thousands of curated particle effects, mocha motion tracking, 3D particles with integrated camera, Fluid Dynamics, 3D model emission, 3D deflectors, particle trails, and more.
Overview
Comet creates an auto-animated comet that streaks across the screen. The comet is compromised of particles whose sizes, shapes, and colors can be adjusted. You can also set the length and speed of the effect, adjust the camera perspective, position the starting and ending points of the comet, and apply a gravitational force to adjust the comet’s movement.
When you play the effect, the comet’s position automatically animates from the source point to the destination point.
Function
Presets and Common Controls
BCC filters come with a library of factory installed presets plus the ability to create your own custom presets and preview them with the BCC FX Browser™.
BCC filters also include common controls that configure global effect preferences and other host-specific effect settings.
For more information about working with presets and other common controls, Click Here.
Source XY sets the comet’s source point on the X and Y axis.
Source Z sets the comet’s source point on the Z axis. Negative values move the source point closer to the viewer, while positive values move the source point farther away.
Destination XY sets the comet’s destination point on the X and Y axis.
Destination Z sets the comet’s destination point on the Z axis. Negative values move the destination point closer to the viewer, while positive Source Z values move the destination point farther away.
Completion Time determines how long it takes for the head of the comet to move from the source to the destination points. This value is scaled as a percentage of the total effect duration. For example, suppose the effect duration is 60 frames. When Completion Time is 25, the comet travels from the source to the destination points in 15 frames, or 25% of 60 frames. When Completion Time is 50, the comet takes 30 frames to move from its source to its destination, and so on.
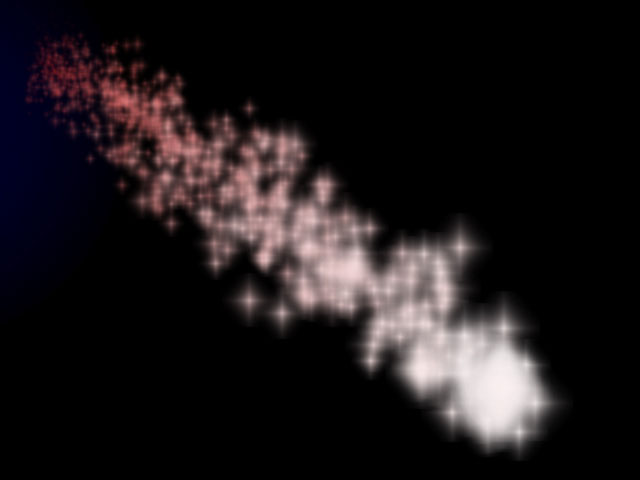
Particle Density controls the density of the individual particles which comprise the comet. Use low Particle Density values to create a less-distinct mass, or higher values to create a dense ball.
 |
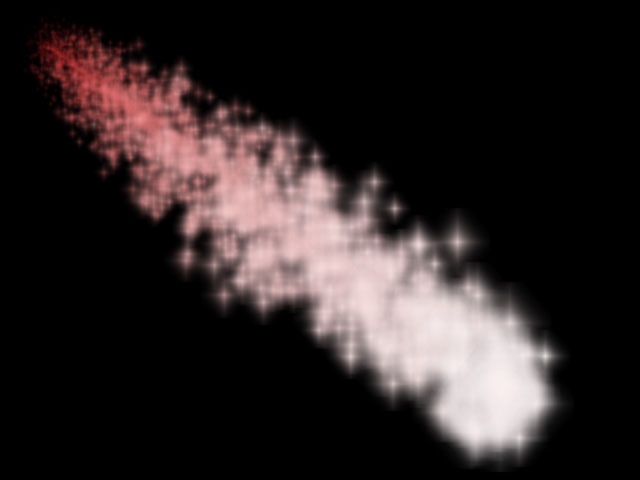 |
| Particle Density=30 | Particle Density=75 |
Select the Composite on Alpha checkbox to composite the comet over a transparent background. Deselect this option to use the filtered layer as the background for the effect.
Blur adds a slight blur to the comet, which is useful for softening the edges of the particles which comprise the comet. Increasing this value increases the amount of the blur, while decreasing this value reduces the amount of blur applied.
Gravity allows you to apply a second force to the movement of the comet. Increasing this value pulls the comet increasingly strongly in the direction of the Gravity Angle as it moves from its source to destination points.
Air Resistance adjusts the amount of air resistance pushing against the comet. Increasing Air Resistance causes particles to push more closely toward the center of the comet.
 |
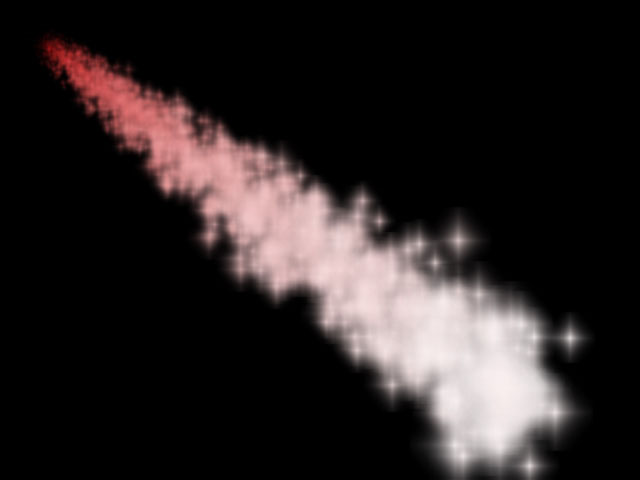 |
| Air Resistance=65 | Air Resistance=85 |
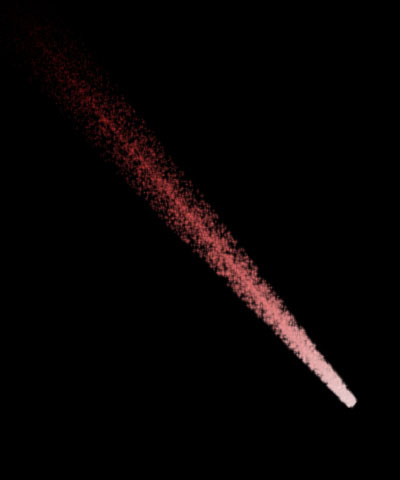
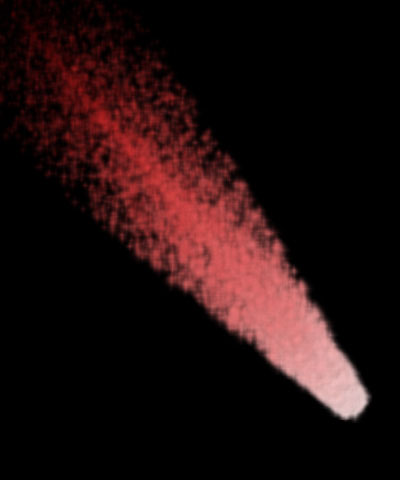
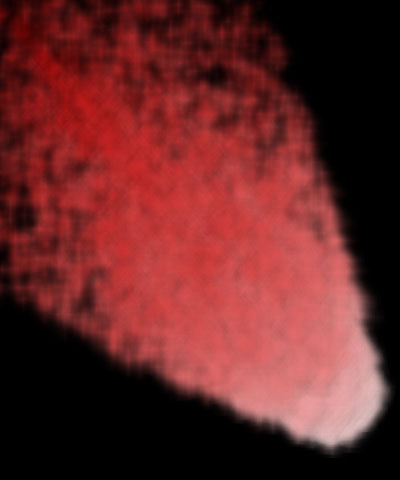
Camera Zoom moves the entire comet toward and away from the viewer. At a value of 0, the comet is infinitely far away and becomes invisible. Increasing this value brings the comet closer to the viewer.
 |
 |
 |
| Camera Zoom=25 | Camera Zoom=75 | Camera Zoom=200 |
Particles Parameter Group
The Particle Shape menu sets the shape of the generated particles that comprise the comet. The choices are Reference Boxes, Pixel Streaks, Pixel Trails, Antialiased Lines, Blurs (blurred colored circles), Bubbles (open circles), Shaded Spheres, Wide Sparkles, Long Sparkles, Round Noise, and Pointers.
- Note: For illustrative examples of some of the Particle Shape choices, see the BCC Particle System, Click Here.
Particle Character adjusts the look of the particles. The affect of this setting depends on which Particle Shape is chosen.
- With Reference Boxes, Wide Sparkles, and Pointers, increasing positive Particle Character values stretch the particles horizontally, while decreasing negative values stretch the particles vertically.
- With Pixel Streaks, Pixel Trails, and Antialiased lines, increasing positive Particle Character values lengthen particles, while decreasing negative values shorten them.
- With Blurs, increasing positive Particle Character values soften the edges of the particles, while decreasing negative values create harder edges.
- With Bubbles, increasing positive Particle Character values enlarge the transparent area in the center of the particles; decreasing negative values shrink the area.
- With Shaded Spheres, increasing positive Particle Character values increase the opacity of the shaded edges of the particles, while decreasing negative values decrease the opacity of the shading.
- With Long Sparkles, increasing positive Particle Character values lengthen the four points of the sparkles, while decreasing negative values shorten the points.
- With Round Noise, increasing positive Particle Character values increase the resolution of the noise, while decreasing negative values decrease the resolution.
Particle Lifespan determines how long each particle lasts before it decays. Increasing this value makes the particles last longer, while decreasing this value makes the particles last a shorter length of time.
The Compositing menu controls how the particles are composited on each other when they overlap. These choices all correspond to apply mode settings. For descriptions of all the possible Apply Modes, Click Here.
Opacity Boost affects the opacity levels of the entire comet, after individual Start, Midpoint and End opacity values are taken into account. This provides a means of adjusting and animating the opacity of the effect as a whole without changing individual parameters for each range.
Size Variance sets the range of particle sizes for the comet, after individual Start, Midpoint, and End size values are taken into account. A Size Variance value of 0 ensures that all particles conform to the chosen Size values for their ranges. Increasing Size Variance creates more disparity between the smallest and largest particles in each range.
Brightness Variance controls the range of brightness values among the particles. Increasing Brightness Variance creates a comet in which some particles are bright and others are dim, and increases the disparity between the brightest and dimmest particles. The default setting of 0 ensures that all particles will have the same brightness value.
Appearance Parameter Group
The controls in this section select the color and opacity of the generated particles and are divided into three groups. Start settings affect particles as they are produced at the source; End settings affect particles as they reach their final destinations, and Midpoint settings allow you to affect particles differently between the Start and End points. If all these options are used, the effect creates a gradient between Start, Midpoint, and End settings.
Each of the three groups contains the following parameters.
The Color controls select colors for the Start, Midpoint, and End ranges of the effect. These are arranged from top to bottom in the Effect Editor window.
The Start Color Source menu chooses whether to use the clip layer as a source for particle colors. If the midpoint and end colors are not set, then this is the only color source layer used. At the default setting, None, black is used.
Particle Opacity sets the opacity of the particles. A value of 100 makes all particles in the range completely opaque, and a value of 0 makes all particles completely transparent. You can set different Particle Opacity values in the Start and End ranges to create effects in which particles stream from the source and disappear.
Particle Size controls the size of the particles. The Particle Size parameter has no affect on particles that are line shapes (Pixel Streaks, Pixel Trails, and Antialiased Lines), but does affect the size of all two-dimensional Particle Shapes (Blurs, Bubbles, Shaded Spheres, 2D Boxes, and Sparkles).
In addition to the Opacity and Size parameters, a Use Midpoint checkbox enables you to use Midpoint color and brightness settings that are different from Start and End settings. For example, suppose you have a stream of particles whose colors change from red at the source, to yellow, to blue at the end. You set Opacity to 75% at the start, and 25% opaque at the end. With the Use Midpoint checkbox on, you have to adjust the Midpoint Opacity to 50% to create a smooth Opacity gradient. With this checkbox turned off, the effect interpolates between the Start and End Opacity settings to create a smooth gradient.
Midpoint Location moves the Midpoint along the gradient between the Start and End values. A value of 0 places the Midpoint close to the generation point, and particles reach the Midpoint color, size, and opacity values soon after birth. A value of 100 places the Midpoint nearer the End point, and particles reach the Midpoint Color, Size, and Opacity values toward the end of their life span.
Midpoint Variance increases the range of Midpoint Location values among the particles. With a Midpoint Variance setting of 0, all particles reach the Midpoint settings at the same location. As you increase the Midpoint Variance value, the Midpoint Location varies more from particle to particle. Therefore, at higher values, some particles reach the Midpoint settings early on, while others reach the Midpoint settings near the end of their life span.
Production Parameter Group
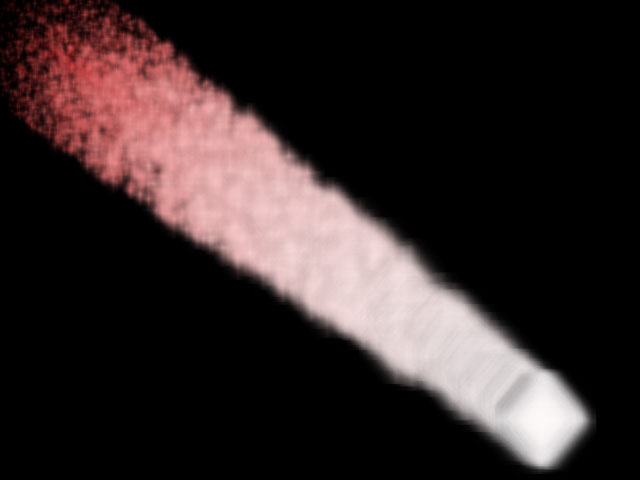
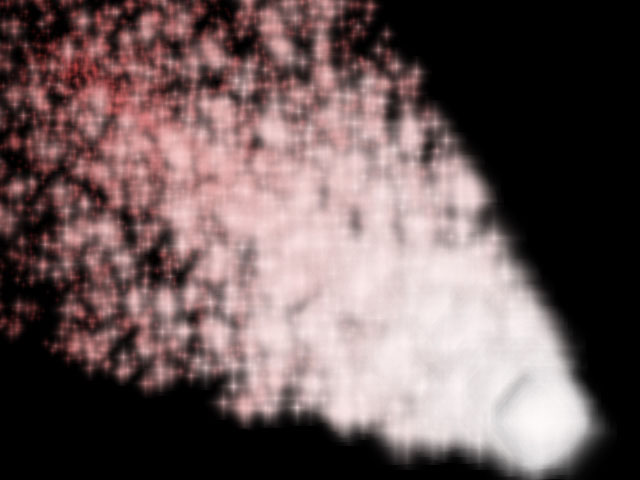
Particle Velocity determines the amount of force with which particles move away from the center of the comet as the comet moves.
 |
 |
| Particle Velocity=10 | Particle Velocity=35 |
Particle Velocity Variance controls the range of possible Particle Velocity values among the particles in the comet. Leaving this parameter at the default setting of 0 ensures that all particles have the same Particle Velocity. Increasing this value creates a wider range of possible Particle Velocity values.
Tumble, Spin and Rotate move the comet around the X-, Y- and Z-axis, respectively.
Spread affects the overall tightness of the comet as it moves from the source to the destination point. Decreasing this value brings the particles closer to the source, while increasing it spreads the particles and causes them to flow farther from the source.
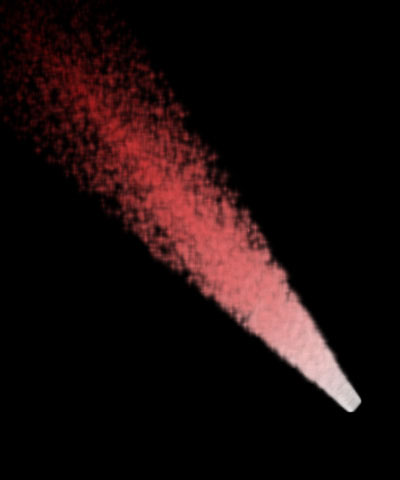
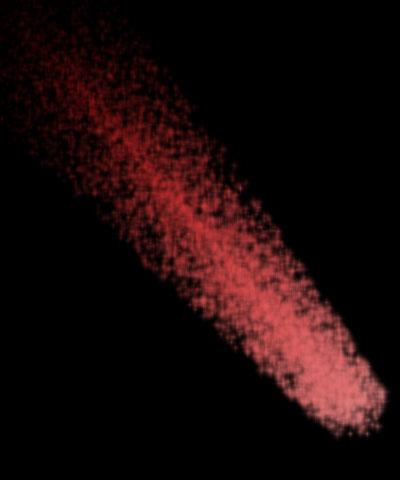
Increasing Delay from the default value of 0 causes particles within a certain distance of the comet’s head to remain invisible. Delay can be used to create a comet with no visible production center, since particles do not appear until they disperse to some extent.
 |
 |
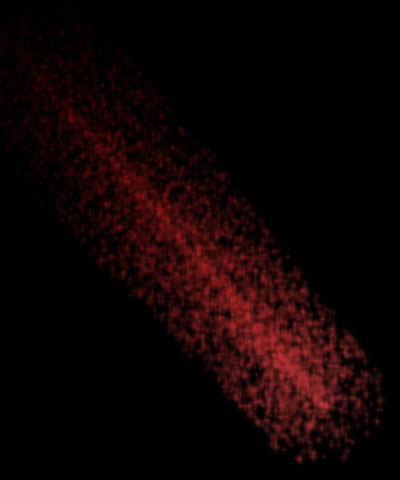 |
| Delay=0 | Delay=30 | Delay=60 |
Options Parameter Group
Start on Frame allows you to start the auto-animated effect a number of frames past the first frame of the filtered layer. For example, setting Start on Frame to 20 starts the animation twenty frames past the beginning of the filtered layer.
Time Scale allows you to adjust the timing of the effect by stretching or speeding time. Decreasing Time Scale below the default of 100 stretches time. Thus, the effect appears to take place in slow motion, with particles taking more time to reach their destination or die. Time scale values greater than 100 speed time, moving the comet more quickly.
Increasing Precision increases the accuracy of particle movement, which can be helpful when creating complex effects. Higher values increase rendering times proportionately.
Selecting the Optimize Algorithm checkbox helps speed rendering times without affecting the apparent quality of the image. Deselect this option if the render jumps.
Random Seed determines which value is input to the random number generator used by the filter. Adjust this value when you like the overall effect but want to adjust the random configuration of the particles.
