 |
Overview
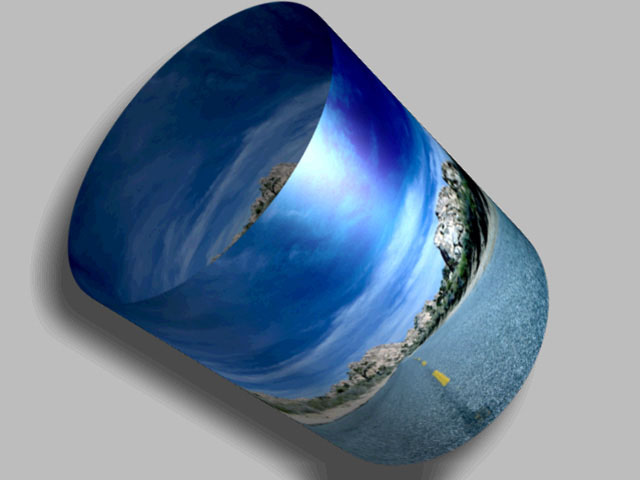
The Cylinder shape maps the source media onto a cylinder.
Function
Presets and Common Controls
BCC filters come with a library of factory installed presets plus the ability to create your own custom presets and preview them with the BCC FX Browser™.
BCC filters also include common controls that configure global effect preferences and other host-specific effect settings.
For more information about working with presets and other common controls, Click Here.
If the Correct Non-Square Pixels checkbox is selected and the filter is applied to media with non-square pixels, the filter converts the pixels to square pixels (maintaining the height), applies the filter, then converts the pixels back to their original format. This helps to prevent distortion.
Position sets the X and Y coordinates of the center point of the cylinder.
Wrap Percentage controls the extent to which the image wraps around the shape. As the value approaches 0, the shape becomes less cylindrical and closer to the original flat image.
A Wrap Percentage of 100 wraps the source image completely around the cylinder. As the value is reduced, four things happen to the physical model: the radius gets larger, the image is mapped on a smaller section of the 3D shape, the viewer’s eye moves further away, and the aspect ratio is adjusted toward the original aspect ratio of the source. The overall effect is a gradual flattening of the image as the cylinder unwraps.
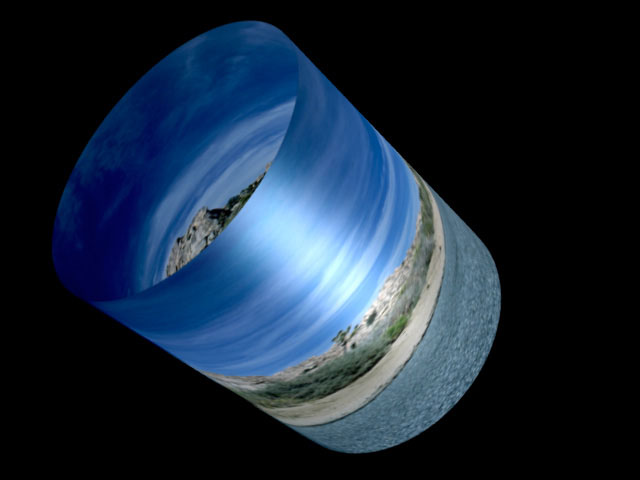 | 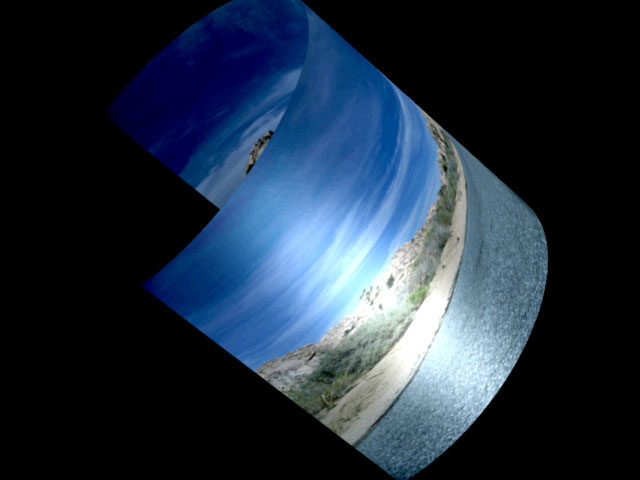 |
| Wrap Percentage 100 | Wrap Percentage 75 |
- Warning: If you spin, tumble, or rotate a cylinder and then unwrap it, the object returns to its original position in 3D space as it unwraps. To spin the cylinder through one full revolution and unwrap it as it spins, animate Spin from –360 to 0 (or 360 to 0 to go the other direction). Otherwise, the image’s motion counteracts the Spin as it moves to the original, unrotated position.
When the Unwrap as Transition checkbox is selected (the default), unwrapping the shape modifies the scale and rotation controls so the fully unwrapped image is the original source. When it is unchecked, unwrapping the image does not affect the scale or rotation.
Perspective determines the distance between the viewer’s eye and the surface of the object. The maximum value places the viewer far away from the shape, and the minimum value puts the viewer just above the surface. Increasing Perspective increases the apparent size of the object and emphasizes the part of the object that is directly in front of the viewer. A Perspective setting of 100 makes the image appear almost flat; only the foreshortening near the curved edges of the cylinder show the curvature of the shape. A Perspective of 1 emphasizes the curvature, but shows only a small part of the source. The default setting of 80 shows both the entire surface and creates a more curved appearance.
 | 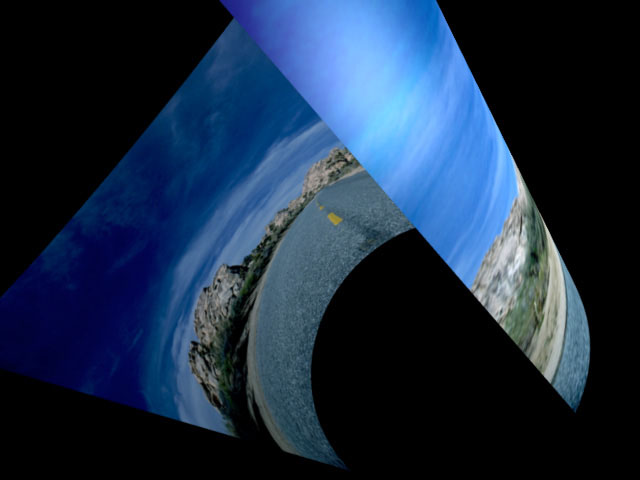 |
| Perspective=100 | Perspective=10 |
Scale X and Scale Y change the size of the image along the X and Y axis, respectively. These parameters are scaled as percentages of the image’s original width and height. Thus, a Scale X value of 200 produces an image twice as wide as the original image. Select Lock to Scale X checkbox to keep the X and Y Scale values in proportion.
Axial Displacement displaces the modeled cylinder along its own axis.
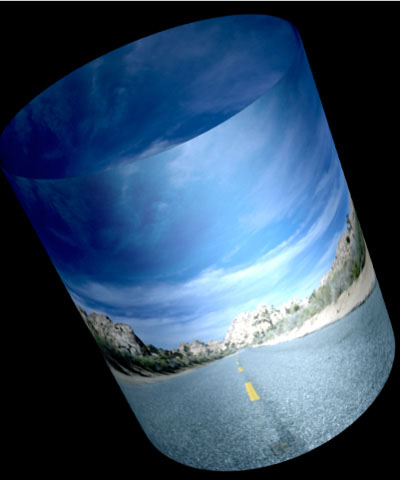 | 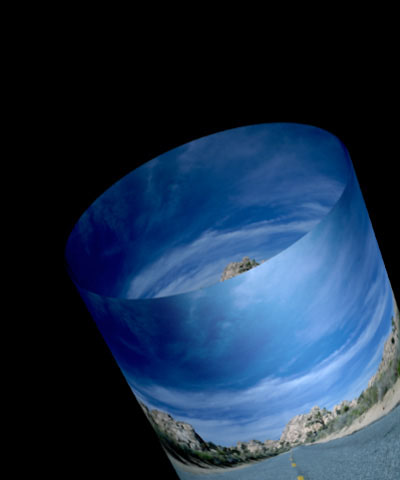 | 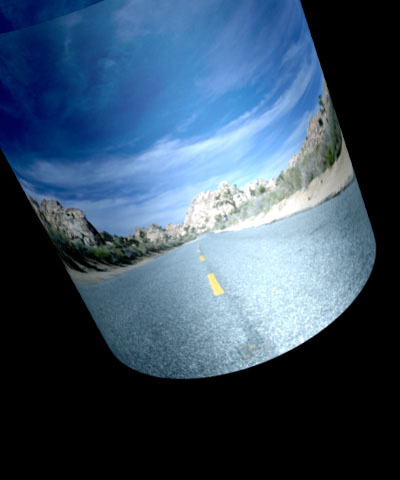 |
| Axial Displacement=0 | Axial Displacement=125 | Axial Displacement= -125 |
Tumble, Spin, and Rotate move the image around the X, Y, and Z axis respectively. Tumble, Spin, and Rotate can be animated over values greater than 360° in order to make the image complete more than one full revolution.
Faces Parameter Group
The Wrapping menu determines how the image wraps around the cylinder.
Around wraps the image completely around the shape. If the Wrap Percentage is 100, wrapping Around only shows half the source at any given time. Therefore, this is not always the best choice if you do not spin or tumble your cylinder. As you unwrap the cylinder, the source covers a smaller part of the modeled shape, and the uncovered area becomes transparent.
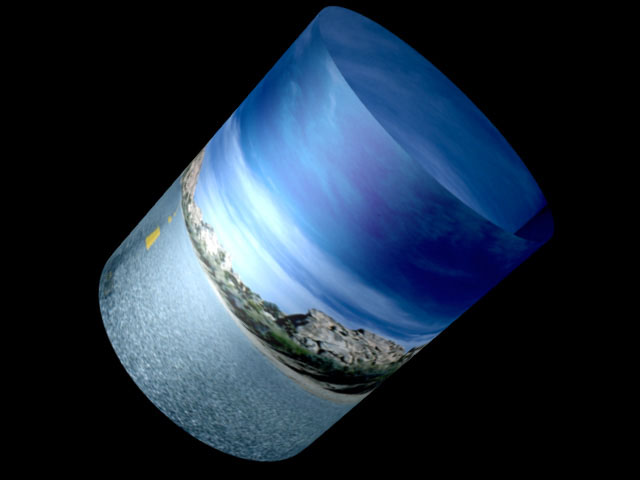 |
One Way Repeat renders two copies of the source image, one on the front and one on the back. You can see the seam between the two images if you spin the cylinder 90° or 270°. Unwrapping the cylinder using One Way Repeat causes multiple copies of the source (as many as required to fill the shape) to wrap horizontally around the shape.
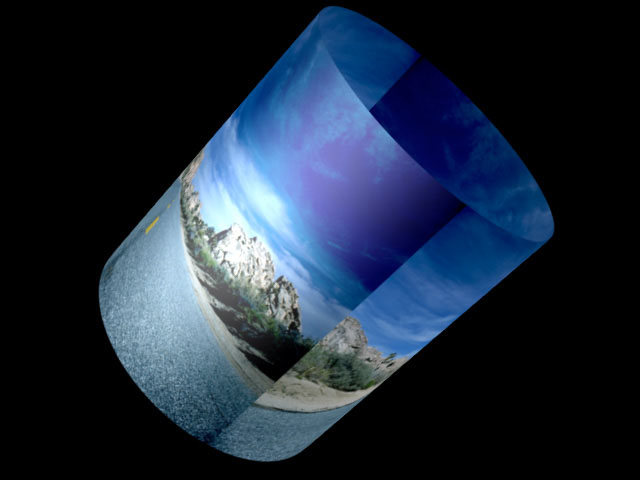 |
Back & Forth Repeat also renders two copies of the source, but the back copy is a mirror image. This causes the corresponding sides to line up and mirror each other at the seams. This setting unwraps in the same manner as One Way Repeat.
 |
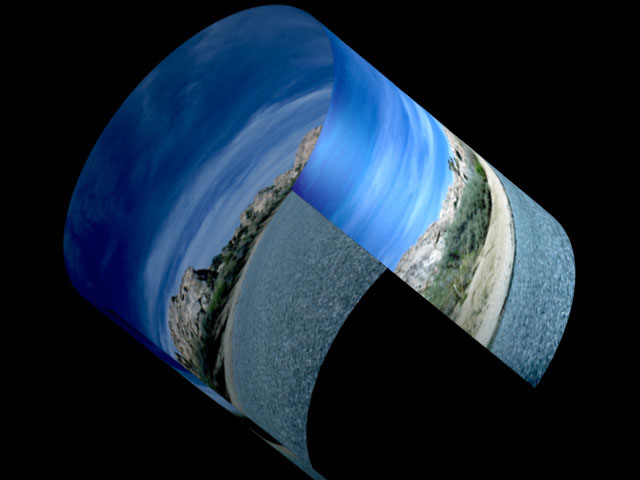
Front maps the image onto the front of the cylinder and leaves the back transparent. This creates a semi-cylinder, visible if you spin or tumble the object, as shown in this example.
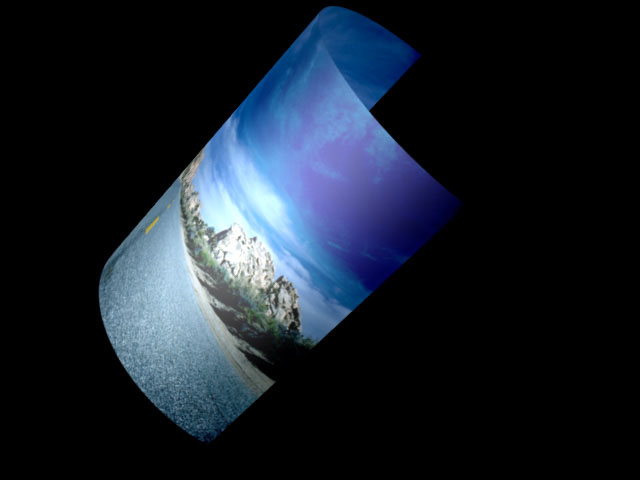 |
The Faces menu determines which faces of the cylinder are visible and allows you to map a separate image to the inside of the cylinder.
- Front maps the filtered layer to the front, or outside, of the cylinder. The back remains transparent regardless of how you transform the cylinder.
- Back maps the filtered layer to the back (the side furthest from the viewer) of the cylinder. The front remains transparent regardless of how you transform the cylinder.
- Both maps media to both the front and back of the shape, allowing you to create a full cylinder. When Front and Back is selected, you can map another clip from the timeline to the inside of the cylinder using the Alternate Back menu.
Front Opacity sets the opacity of the portion of the cylinder closest to the viewer. Use this parameter to make the front of the cylinder partially or fully transparent to reveal an image on the inside. A setting of 100 makes the cylinder completely opaque; a setting of 0 makes the front of the cylinder completely transparent.
The Alternate Back menu allows you to choose any layer in the timeline to apply to the back of the cylinder. None applies the source layer to both sides of the page.
The Crop controls crop the edges of the image. The Crop Top-Left and Crop Bot-Right set the upper left and lower right corners of a rectangle that defines the borders of the cropped image. Select the Symmetrical Crop checkbox to use the Crop Top-Left setting to crop opposite corners equally.
Lights Parameter Group
Light XY positions the light source in space by moving the light parallel to the image plane along the X and Y axes.
Light Z positions the depth of the light source relative to the image plane. A Light Z value of 100 places the light one source width above the image plane. Light Z can be negative, which places the light behind the image plane. If Light Z is negative, the light is seen only if the object is rotated or displaced so that all or part of it is behind the light source (that is, the light source always points in toward the object, never out at the viewer).
Ambient Light adjusts the total amount of diffuse light on the image. The default setting of 100 does not add or subtract ambient light from the source image. Decreasing this setting makes the image darker before the other lights are applied. Ambient Light illuminates or darkens the image evenly, and is unaffected by any other lighting parameters.
Diffuse Light determines the amount of non-directional diffuse light applied to the object. Increasing Diffuse Light brightens the object uniformly.
Specular Light simulates lighting a glossy surface from a point source, creating a small spot of intense light whose falloff can vary. Increasing this value adds reflected light to the surface.
Light Falloff controls the rate at which the Specular Light falls off from the center of the lit region. A higher Light Falloff value creates a more concentrated highlight, simulating a shiny, highly reflective surface. A lower Light Falloff value spreads light more evenly throughout the lit region, simulating a rougher, less reflective surface. Only Specular Light is affected by Light Falloff.
Light Color controls the color of the applied light (which includes the Specular and Diffuse Lights, but not Ambient Light).
Drop Shadow Parameter Group
The Drop Shadow On checkbox turns the shadow on and off. If this checkbox is not selected, the other parameters have no affect.
Shadow Distance sets the distance (in pixels) between the shadow and the image.
Shadow Intensity sets the opacity of the drop shadow, and is scaled as a percentage. At a value of 100, the shadow is completely opaque. Lower Intensity values allow the background image to be seen through the shadow. At a value of 0, the shadow is completely invisible.
Shadow Softness controls the softness of the edges of the shadows. A setting of 0 produces a sharply defined shadow with hard edges. Increasing Softness produces shadows with softer edges.
Shadow Angle sets the direction of the drop shadow. A setting of 0° places the shadow to the right of the image; a setting of 90° places it directly below the image.
Shadow Color sets the color of the shadow.
Beat Reactor
The BCC Beat Reactor is an animation control suite which drives effect properties based on the contents of an audio track. This lets you seamlessly tie visual FX to an audio soundtrack without the need for ANY manual keyframing.
For more information on the Beat Reactor, Click Here.


