 |
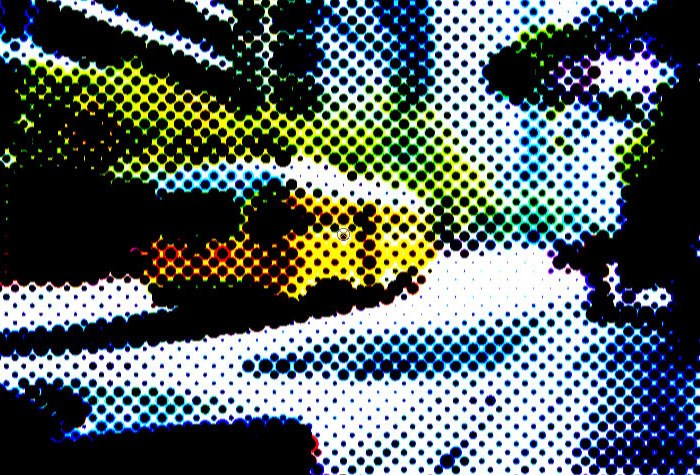 |
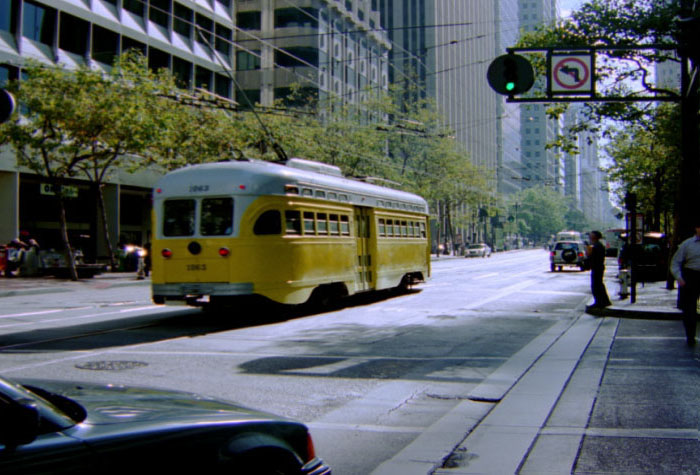
| Original image | Filtered Image |
Overview
The Halftone filter simulates the look of printed material by converting the image to simulated halftone dots. Print images are comprised of a rosette pattern of colored ink dots. To avoid moire or interference patterns, the dots are printed at different angles; this process is known as halftone screening. This is also used in the art world as a creative process such as the work produced by Lichtenstein.
Function
Presets and Common Controls
BCC filters come with a library of factory installed presets plus the ability to create your own custom presets and preview them with the BCC FX Browser™.
BCC filters also include common controls that configure global effect preferences and other host-specific effect settings.
For more information about working with presets and other common controls, Click Here.
- Warning: To apply the BCC Halftone filter to a title or matte, you must select the Preserve Alpha checkbox.
 |
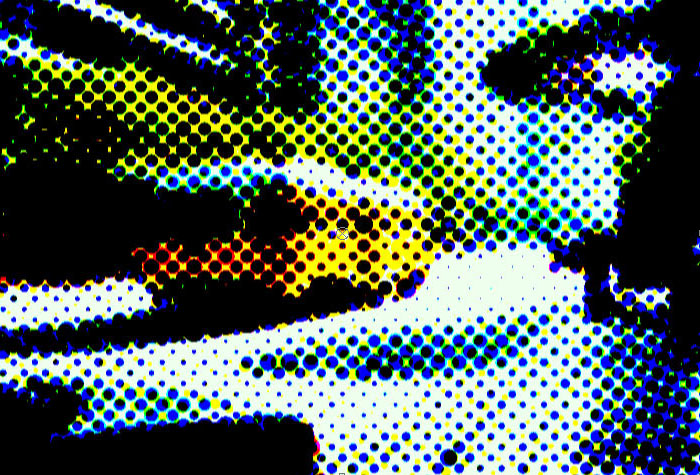 |
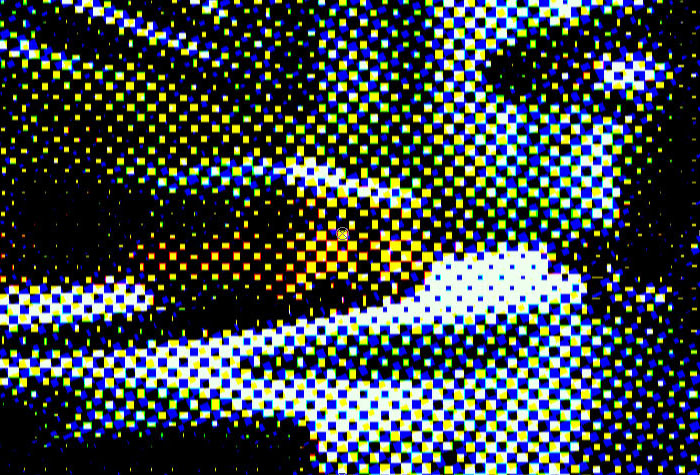
| Square | Round |
Compare Mode
The BCC Compare Mode provides a convenient mechanism to compare the effect result with the original source layer. It provides several variations on basic split-screen views with the filtered clip placed next to the unedited original.
For more information on the Compare Mode,Click Here.
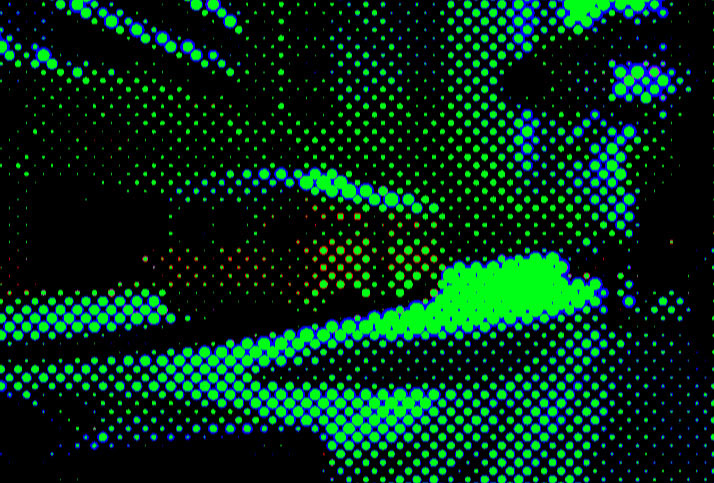
The PaperColormenu sets the color of the paper on which the image is “printed.”
- When Automatic is chosen, the paper color is set to black when the Color Scheme menu is set to RGB and white for other Color Scheme menu settings. The Paper Color parameter is ignored when Transparent is chosen.
- When Color is chosen, the Paper Color parameter in the Colors & Angles parameter group sets the color of the paper.
- When Transparent is chosen, the paper generates an alpha channel. This allows you to composite the Halftone effect over tracks lower in the timeline. The Paper Color parameter is ignored when Transparent is chosen.
- When Original Image is chosen, the paper is composited over the filtered image. The Paper Color parameter is ignored when Transparent is chosen.
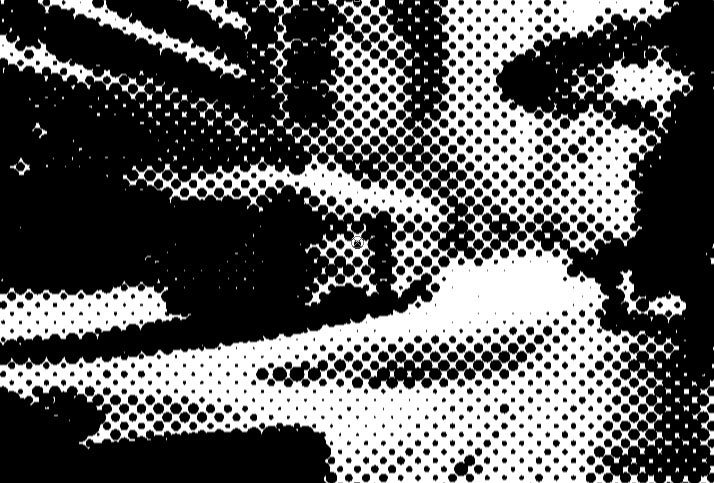
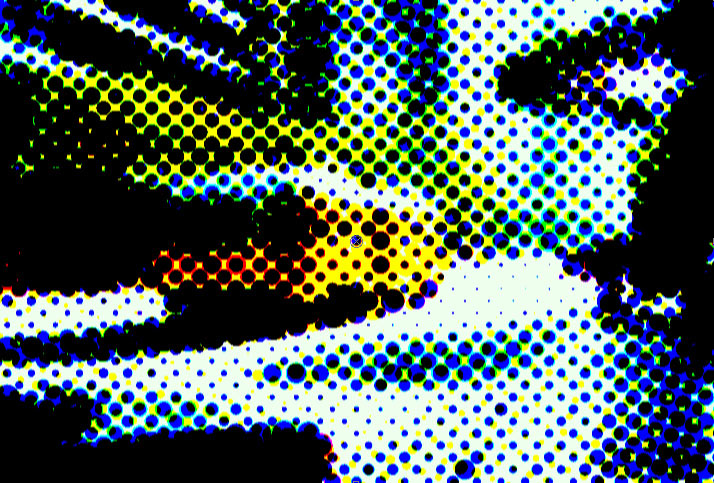
The Color Scheme menu determines whether the effect is created in B&W, RGB, CMY, or CMYK color space. The RGB mode simulates lights, while the other modes simulate ink. With lights, the color is additive, and should be set against a dark “paper color.” Ink is subtractive, and should be set against a light “paper color.”
 |
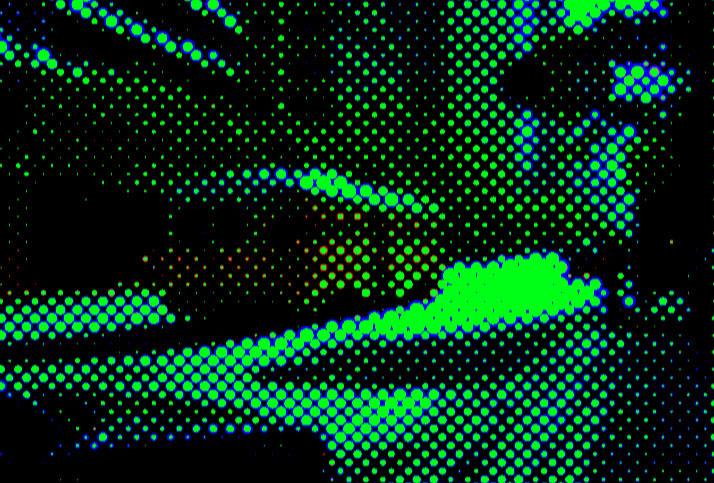 |
| B&W | RGB |
 |
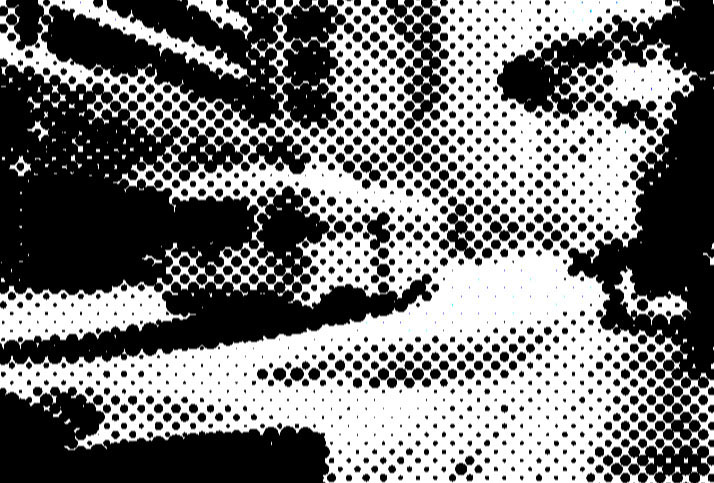 |
| CMY | CMYK |
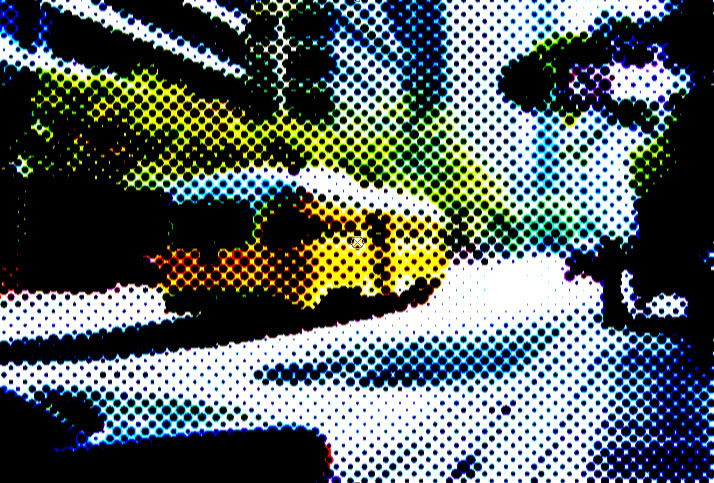
The Channel for B&W menu determines which channel creates the effect when the Color Scheme menu is set to B&W. The choices are Luminance, Lightness, Brightness, Hue, Saturation, Alpha, Red, Green, or Blue. Pre Blur blurs the source image before the halftone is applied. This operation softens the edges of the image, without increasing the number of output colors. Post Blur blurs the image after the halftone is applied, creating softer edges where the colors blend. Increasing Post Blur increases the number of output colors. HT Scale sets the size of the simulated ink dots. Increasing values reduces the number of dots used to create the image. As the size of the dots increases, fewer dots are used.
 |
 |
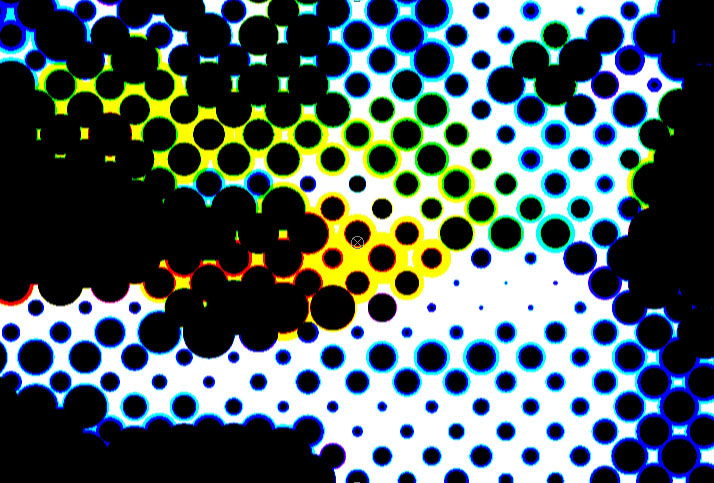 |
| Scale=10 | Scale=20 | Scale=35 |
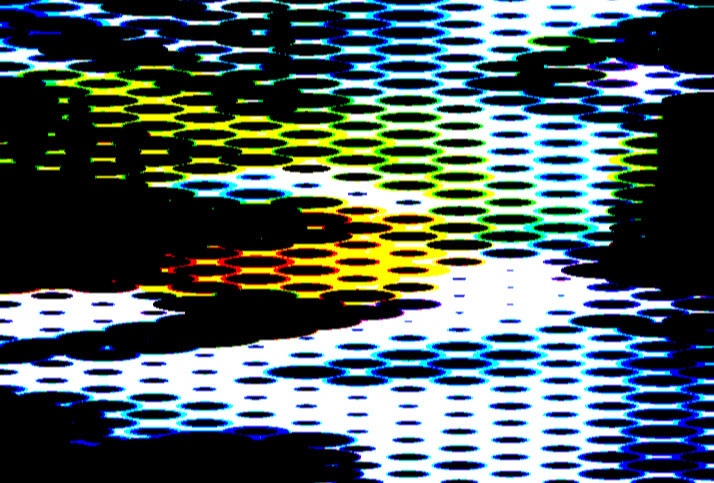
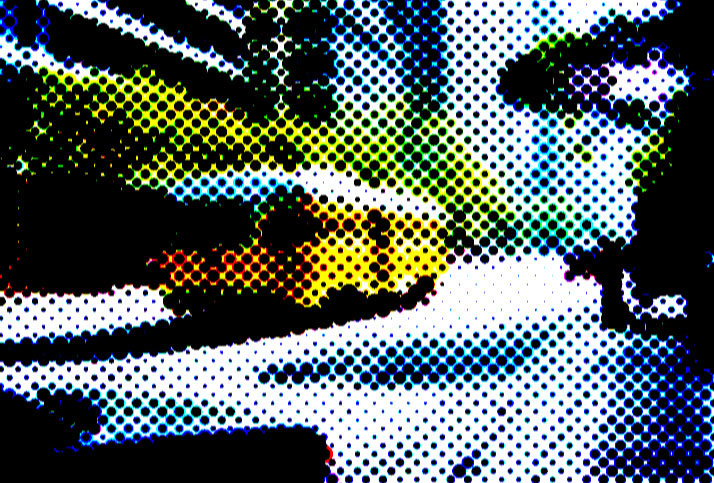
HT Aspect sets the aspect ratio of the dots. Decreasing negative values stretch the dots horizontally. Increasing positive values stretch the dots vertically.
 |
 |
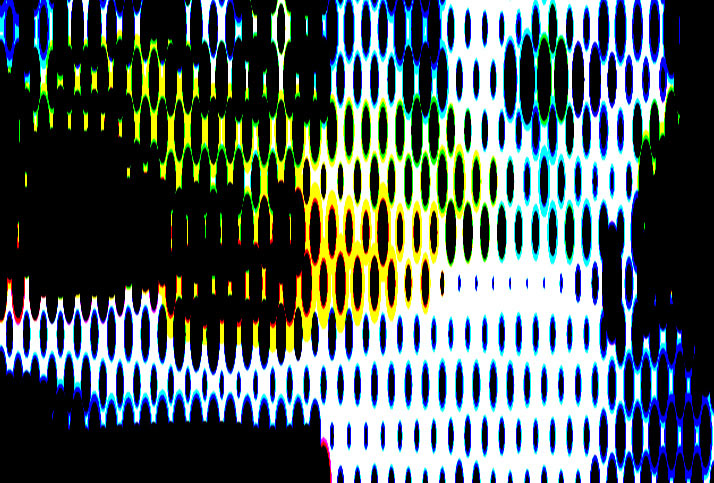 |
| Aspect= -5 | Aspect=0 | Aspect=5 |
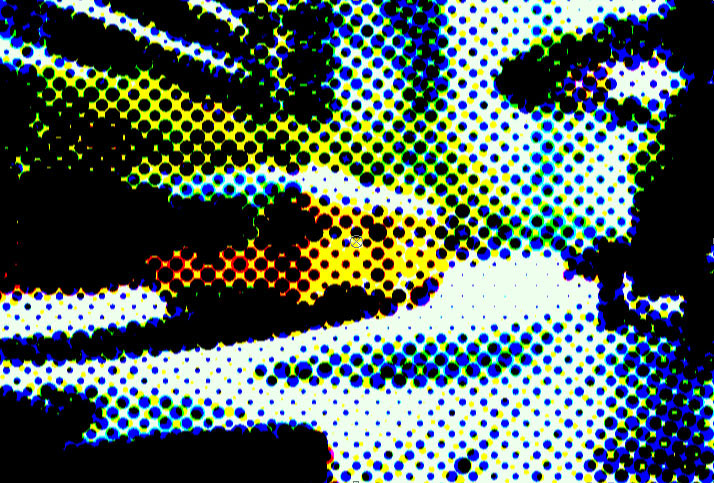
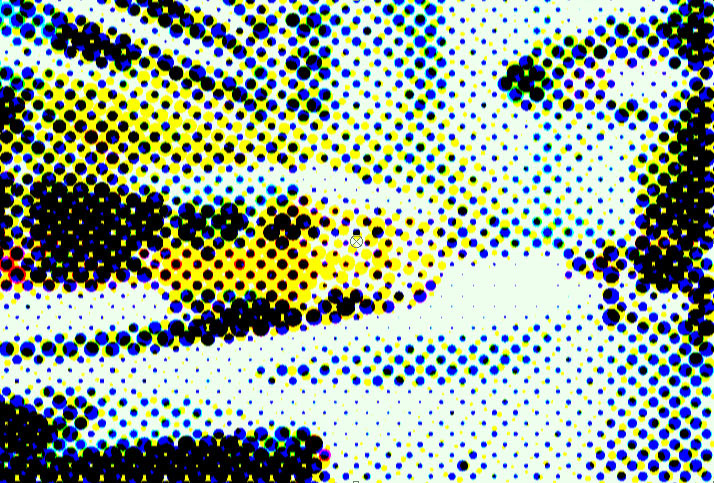
HT Smoothing adjusts the amount of anti-aliasing applied to the halftone dot. Higher values produce more blur, which tends to reduce the detail and noise in the filtered image. Low Limit and High Limit set the minimum and maximum dot sizes, respectively. These values are represented as a percentage of the dot size. The closer in value High Limit and Low Limit are, the less variation in size. When Low Limit is greater than or equal to High Limit, all dots are the same size. Examples of different values in High Limit with Low Limit set to 0
 |
 |
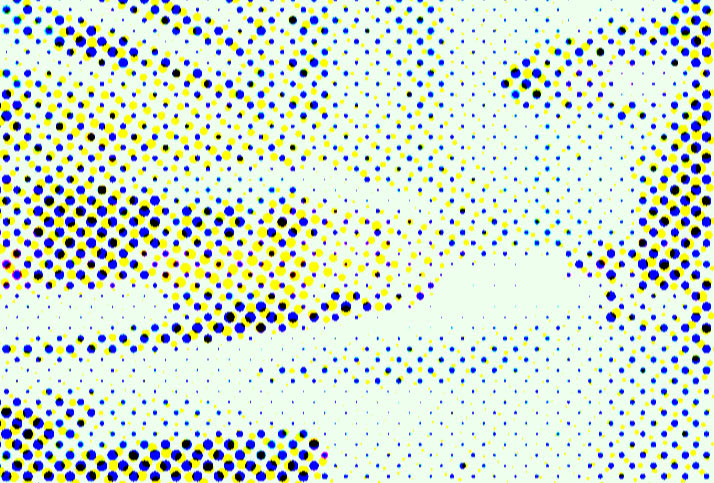 |
| High Limit=100 (Default) | High Limit=80 | High Limit=60 |
Examples of different values in Low Limit with High Limit set to 100
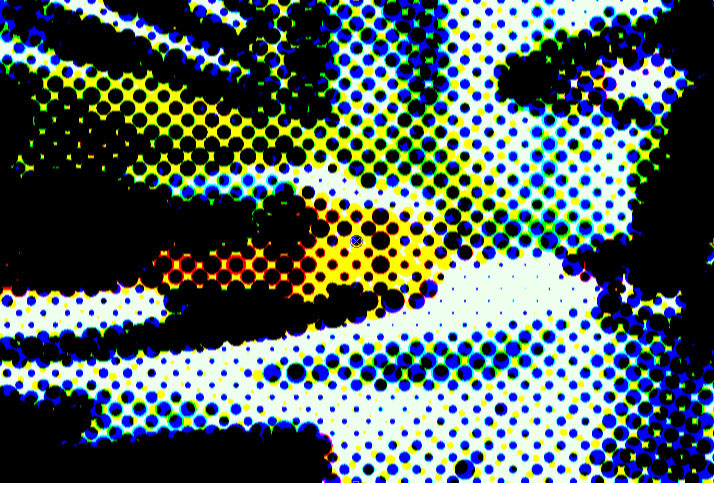 |
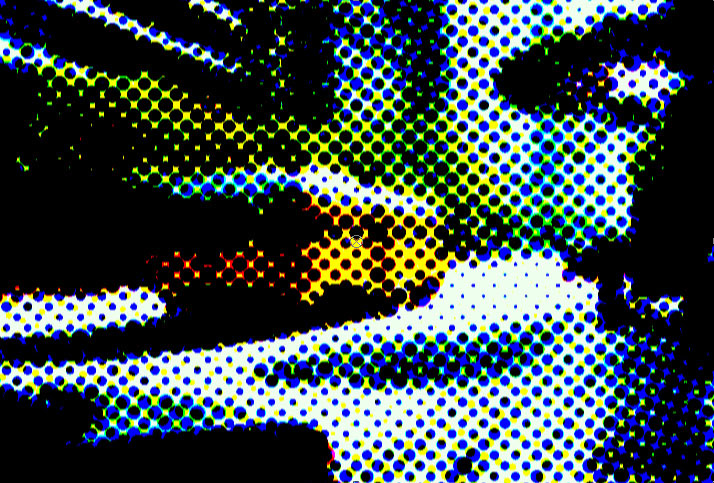 |
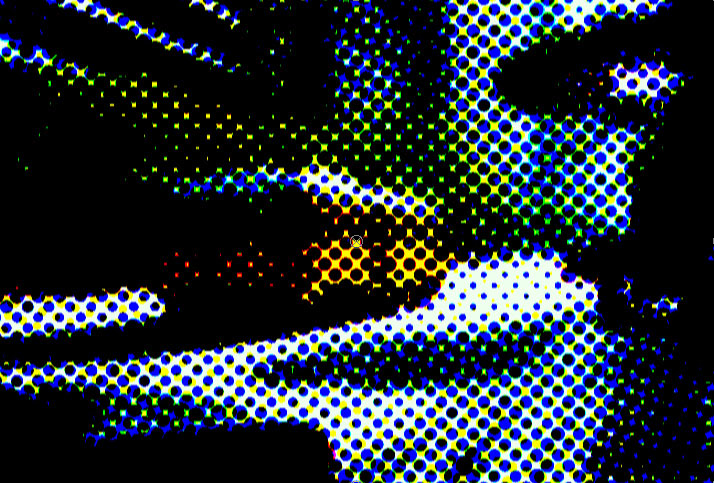 |
| Low Limit=0 (Default) | Low Limit=15 | Low Limit=30 |
Brightness adjusts the brightness of the image. Increasing the Brightness setting pushes colors toward white, and decreasing the setting pushes colors toward black. Contrast adjusts the contrast of the image. Increasing the Contrast setting pushes colors toward pure colors, and decreasing the setting pushes colors toward 50% gray. Screen Origin Parameter Group: The X and Y Point controls set the location of the filter on the X and Y axis respectively. Colors & Angles Parameter Group: Paper Color sets the color of the paper on which the image is “printed.” CMYK Color Scheme
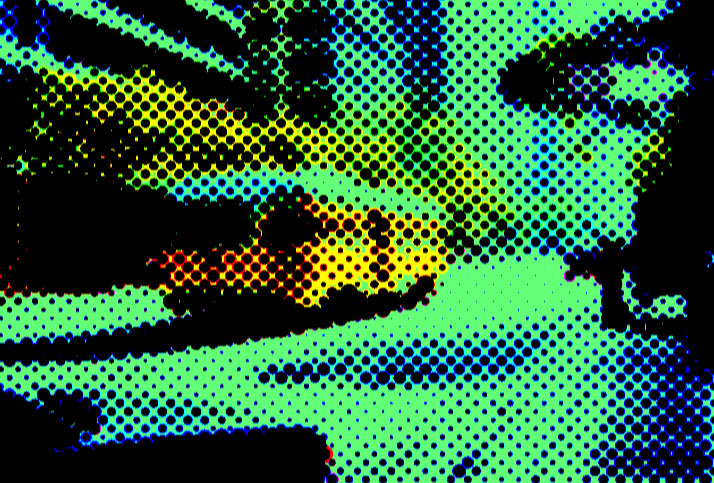 |
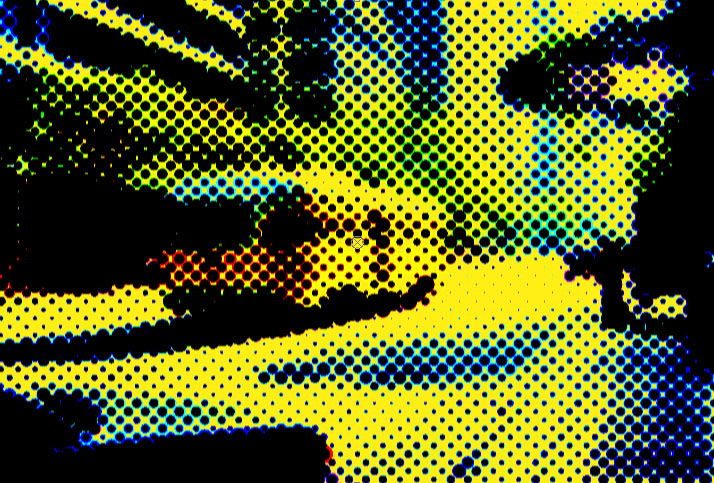 |
| Paper Color=Green | Paper Color=Yellow |
RGB Color Scheme
 |
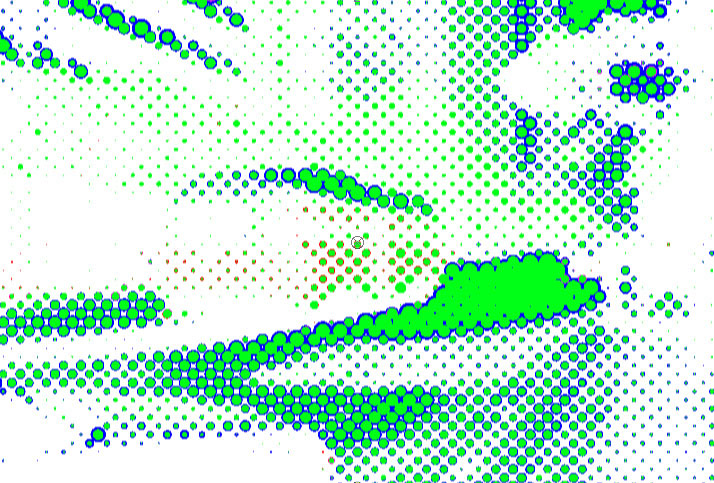 |
| Paper Color=Black | Paper Color=White |
- Note: The RGBColorScheme mode simulates lights; the other Color Scheme modes simulate ink. With lights, the color is additive and should be set against a dark Paper Color. Ink is subtractive and should be set against a light Paper Color.
Red Color, Green Color, Blue Color, Cyan Color, Magenta Color, Yellow Color, and Black Color set the colors to use in the effect. The colors that apply depend on the Color Scheme menu. For example, if the Color Scheme menu is set to B&W, only Paper Color and Black Color apply. If the Color Scheme menu is set to RGB, only Paper Color, Red Color, Green Color, and Blue Color apply. The Red Angle, Green Angle, Blue Angle, Cyan Angle, Magenta Angle, Yellow Angle, and Black Angle controls set the angle of the dot grid (or screen, in printing terminology). The Preserve Alpha checkbox determines whether the effect uses alpha channel information. With Preserve Alpha selected, the original alpha is not affected (you will not see the effect in transparent areas).
- Warning: You must select this checkbox if you are applying to a title.
The Premultiply checkbox controls whether or not low-opacity pixels are considered “dark.” This checkbox has no affect if the image is fully opaque. Processing media one field at a time can cause flickering. The Deflicker menu allows you to reduce flicker in the rendered image. The only way to evaluate a deflicker setting is to render and play back the effect on an NTSC monitor. Choose from the following options.
- 1-2-1 mixes each pixel with the pixels above and below it, with the input pixel getting twice the weight as the ones above and below.
- 2-3-2 provides more softening than 1-2-1.
- 1-1-1 provides the most softening if effects still contain flicker with the above options.
- Off is the default. If Off is chosen, no deflickering occurs.
Mix with Original blends the source and filtered images. Use this parameter to animate the effect from the unfiltered to the filtered image without adjusting other settings, or to reduce the affect of the filter by mixing it with the source image. At a value of 0, the image is unaffected by the filter.
Motion Tracker
The BCC Motion Tracker allows you to track the motion of an object, then use the motion path to drive other geometric properties of the effect without the need for keyframing.
For more information on the Motion Tracker, Click Here.
PixelChooser
The BCC PixelChooser provides simple, built-in masking of the effect result. The PixelChooser is generally used to select a portion of the image and restrict an effect to just the selected area while maintaining the original image content in unselected regions. The selection can be based on geometric shapes or on the image’s luma/color properties.
For more information on the PixelChooser, Click Here.
