 | 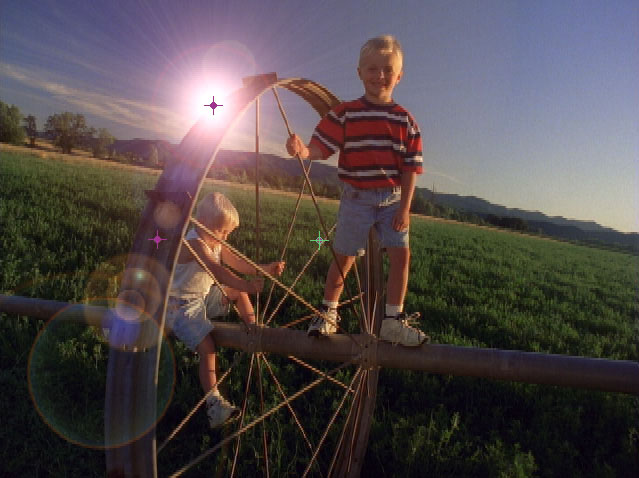 |
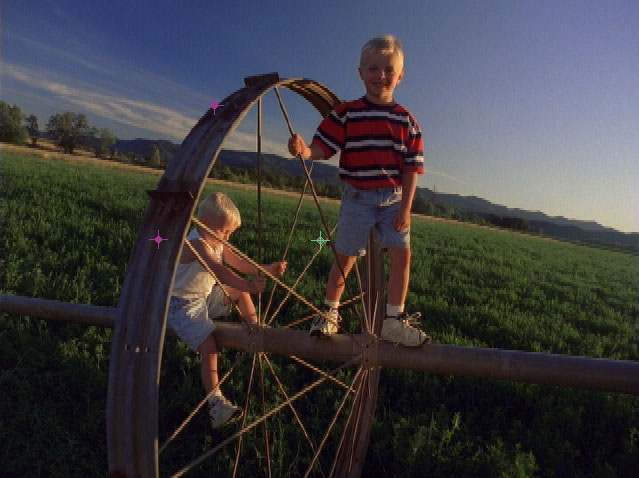
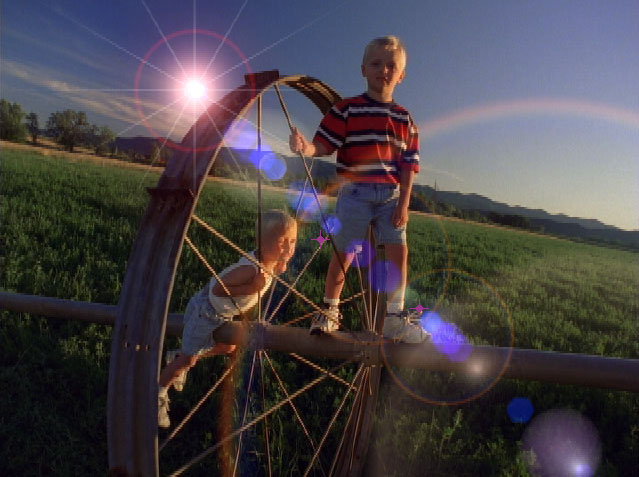
| Source image | Filtered image |
Deprecated – replaced by BCC Lens Flare 3D
We recommend use of BCC Lens Flare 3D instead of the older BCC Lens Flare Advanced effect. The newer BCC Lens Flare 3D offers a far richer set of controls, comes with an extensive preset library, and is also fully GPU accelerated using OpenGL.
Overview
The BCC Lens Flare simulates a lens flare–that is, streaks and spots of light on film caused by light bouncing inside a camera lens. Lens flare is typically produced when you point a camera too close to the sun. You can also use this filter to produce a range of creative effects. Composite the flare over a source image or generate a completely synthetic image.
Function
Presets and Common Controls
BCC filters come with a library of factory installed presets plus the ability to create your own custom presets and preview them with the BCC FX Browser™.
BCC filters also include common controls that configure global effect preferences and other host-specific effect settings.
For more information about working with presets and other common controls, Click Here.
Global Intensity controls the brightness of all elements of the lens flare.
Global Scale controls the scale of all elements of the lens flare.
Light Source sets the location on the X and Y axis of the simulated light source which creates the flare. The glow section of the flare is always centered around the Light Source.
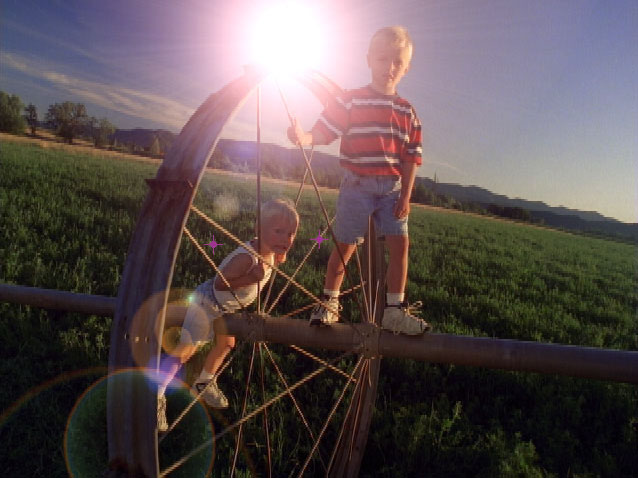
Pivot Point controls the location of the other elements of the flare. All the elements appear centered on a line from the Light Source to the Pivot Point. The Light Source in the following examples stays the same while the Pivot Point changes.
 | 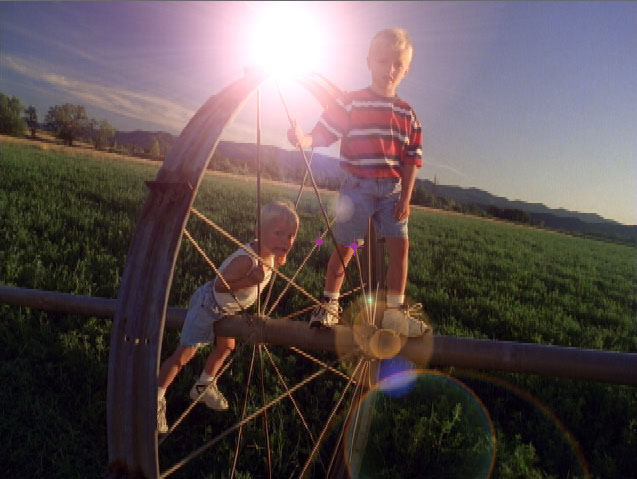 | 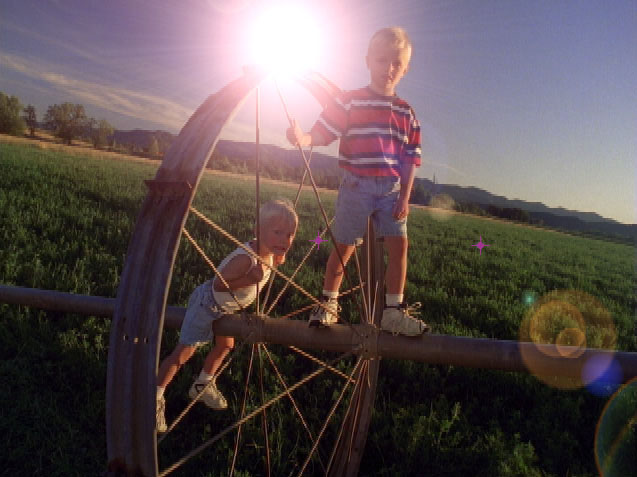 |
Select the 16 x 9 checkbox to work in a 16 x 9 Project. Leave this checkbox deselected when you work in a 4 x 3 Project.
Working with the Lens Flare Adv Elements
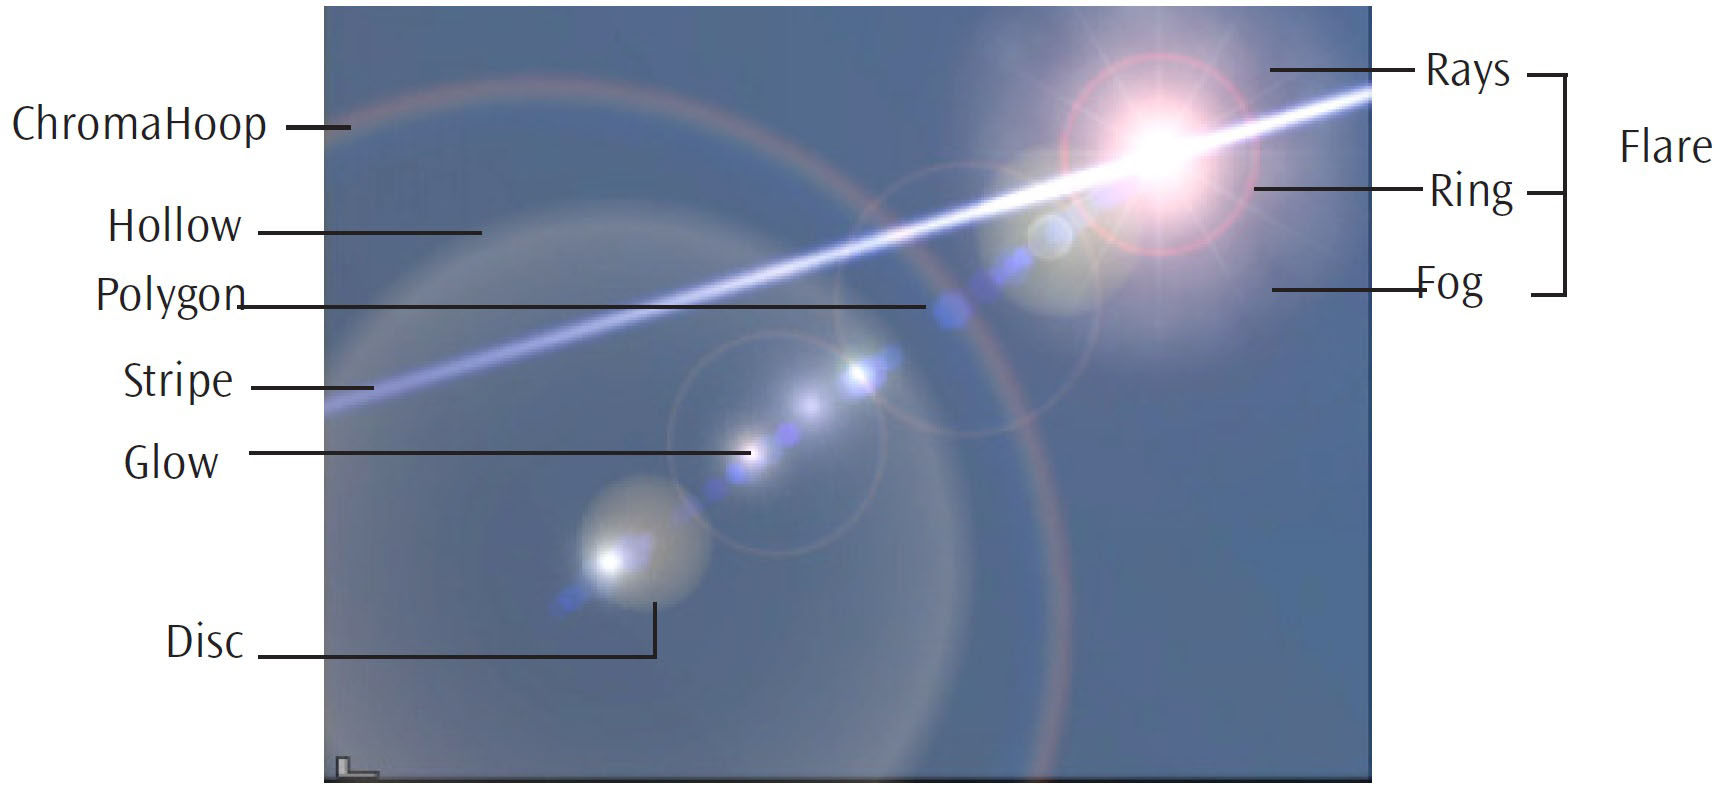
The Lens Flare Advanced effect is comprised of ten discrete elements, Flare, Ring, Ray, Fog, Polygons, Disc, Hollows, Glows, ChromaHoop and Stripe, as shown in the following illustration. The Lens Flare Advanced filter provides controls for adjusting each element individually.
Flare, Polygons, Discs, Hollows, Glows, ChromaHoop and Stripe Parameter Groups
Each of these parameter groups includes an On checkbox. When this checkbox is selected, that element is to added to the effect. Deselect this checkbox to remove that element. If this option is deselected, the other parameters have no affect. For example, if the Flare On checkbox is deselected, the flare does not appear in the effect. Some parameter groups do not include all of the controls below.
- Note: The Flare Parameter Group includes controls for Ray, Ring and Fog, which are additional Flare elements that can be added with separate On checkboxes and adjusted. Use the following descriptions of the parameters for these elements.
Color sets the color of the corresponding element.
Intensity controls the brightness of the corresponding element.
Stripe Length sets the length of the stripes. Only the Stripes parameter group includes this parameter.
Scale controls the scale of the corresponding element.
Position controls the position of the corresponding element.
Stripe Angle sets the angle for the stripes. Only the Stripes parameter group includes this parameter.
Stripe Softness sets the amount of softness applied to the stripes. Only the Stripes parameter group includes this parameter.
Radius determines the radius of the corresponding element. Higher values produce a larger element.
Rotation spins the corresponding element.
The Ray Shape menu sets the shape of the rays.The choices are Taper and Straight. Only the Flare parameter group includes the Rays parameters. When Taper is chosen, the rays spread outward in the shape of a fan.
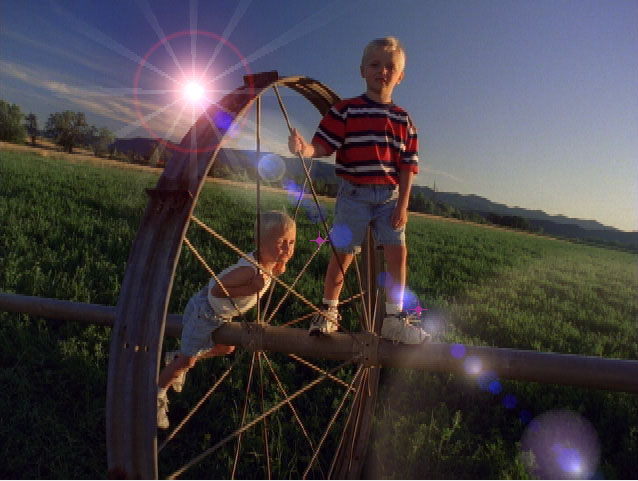 |  |
| Taper | Straight |
The Polygon Shape menu sets the shape of the polygons. The choices are Pentagon and Hexagon. Only the Polygon parameter group includes this parameter.
 | 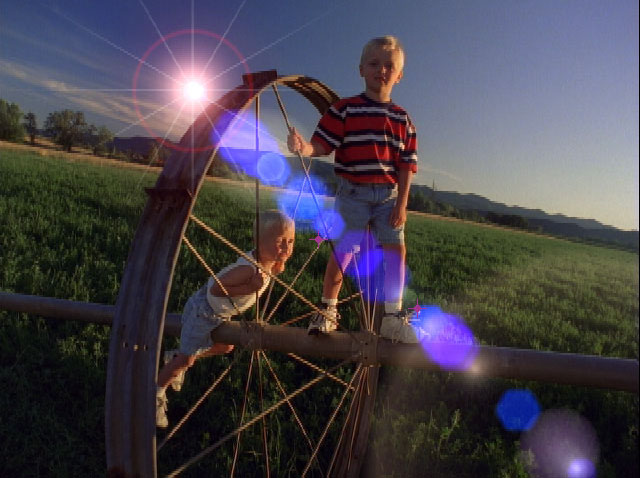 |
| Pentagon | Hexagon |
Increasing Spread values spread the polygons out along the line of sight. Decreasing values tighten the polygons closer together.
Width sets the width of the corresponding element. Higher values produce wider element.
Counts determines the number of the corresponding element in the effect.
Scale Variance varies the size of the corresponding element. Increasing Size Variance increases the variety of sizes in the effect. Leaving this parameter at the default setting of 0 ensures that each element uses the assigned Scale value.
Scale Seed determines the value input to the random number used by the filter to change the size of the elements. Adjust this value when you like the overall appearance of the effect but want to change the random configuration of the sizes of the elements. If Scale Variance is 0, this parameter has no affect.
Color Variance varies the color of the corresponding element. Increasing Color Variance increases the variety of colors in the effect. Leaving this parameter at the default setting of 0 ensures that each element uses the assigned Color value.
Color Seed determines the value input to the random number used by the filter to change the color of the elements. Adjust this value when you like the overall appearance of the effect but want to change the random configuration of the colors of the elements. If Color Variance is 0, this parameter has no affect.
Increasing the Spread parameter adds space between the elements. Only the Polygons and ChromaHoop parameter group includes this parameter. The following example shows Spread adjusted to just the ChromaHoop elements.
 |  |
| ChromaHoop Spread=5 | ChromaHoop Spread=25 |
Intensity Variance controls the range of possible intensity values. Increasing Intensity Variance creates an effect in which some elements are bright and others are dim, and increases the disparity between the brightest and dimmest elements. Leaving this parameter at the default setting of 0 ensures that each element uses the assigned Intensity value.
Intensity Seed determines the value input to the random number used by the filter to change the Intensity of the elements. Adjust this value when you like the overall appearance of the effect but want to change the random configuration of the intensities. If Intensity Variance is 0, this parameter has no affect.
If you apply the filter to a source that uses alpha, you will not see the background image composed with the source image through the alpha channel. To see the composition, choose the background layer from the Lens Flare Background Map Layer menu.
Preserve Alpha determines how the lens flare uses alpha channel information. With Preserve Alpha set to 0, a lens flare does not appear in areas governed by the alpha channel (in other words the effect has zero opacity in alpha areas), with the Preserve Alpha parameter set to 100, the effect is 100% opaque over the alpha channel.
- Warning: If your source image includes an alpha channel (for example a logo over a background image), in order to see the the background image composited with the source image, you need to set a background layer in the Lens Flare Background Map Layer menu.
Mix with Original blends the source and filtered images. Use this parameter to animate the effect from the unfiltered to the filtered image without adjusting other settings, or to reduce the effect of the filter by mixing it with the source image.
Beat Reactor
The BCC Beat Reactor is an animation control suite which drives effect properties based on the contents of an audio track. This lets you seamlessly tie visual FX to an audio soundtrack without the need for ANY manual keyframing.
For more information on the Beat Reactor, Click Here.


