 |
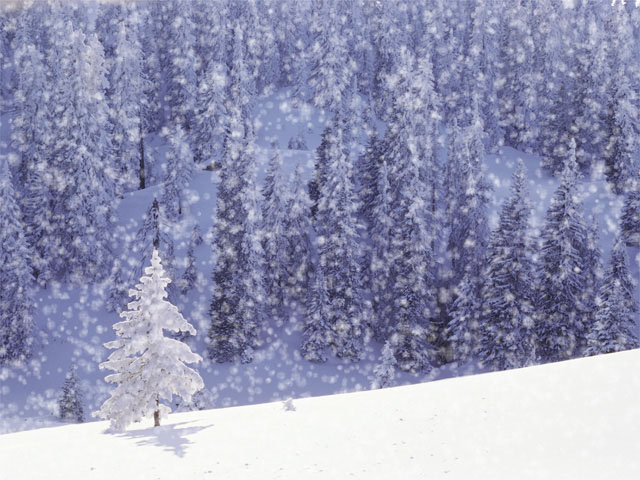 |
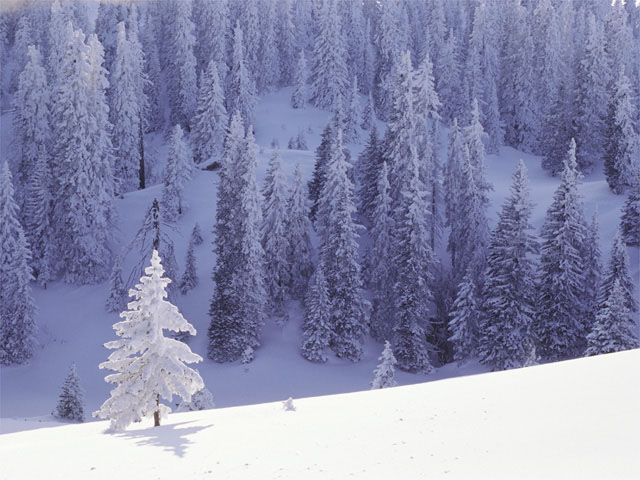
| Source image | Filtered image |
Overview
Snow is an auto-animated snow generator which can composite snow over a sky color or an image layer.The filter offers extensive options for customizing the effect and allows you to create drifts or make flakes pile up along the edges of an alpha channel.
Function
Presets and Common Controls
BCC filters come with a library of factory installed presets plus the ability to create your own custom presets and preview them with the BCC FX Browser™.
BCC filters also include common controls that configure global effect preferences and other host-specific effect settings.
For more information about working with presets and other common controls, Click Here.
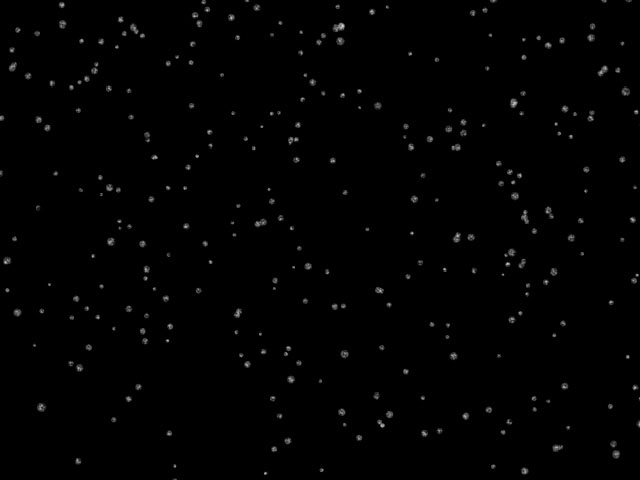
Snow Amount controls the density of the snow. Increasing this value creates more snowflakes, while decreasing this value creates fewer snowflakes.
 |
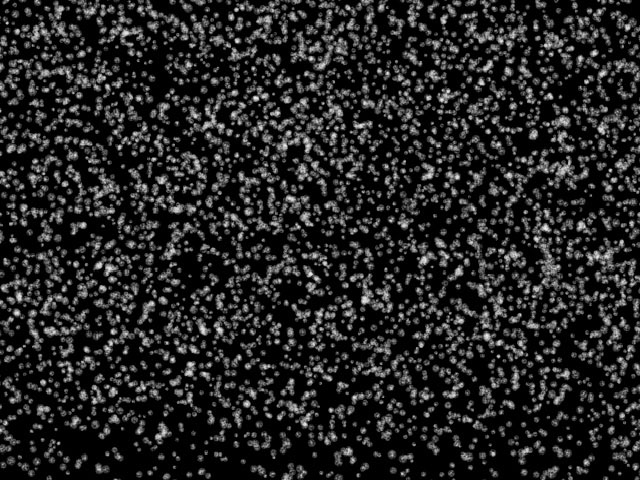 |
| Snow Amount=10 | Snow Amount=200 |
Snow Angle sets the angle between the snowflakes’ direction of motion and the vertical axis.
Snow Speed sets the speed of the snowflakes as they move across the screen. Increasing this value moves the snowflakes faster, while decreasing this value moves the snowflakes slower.
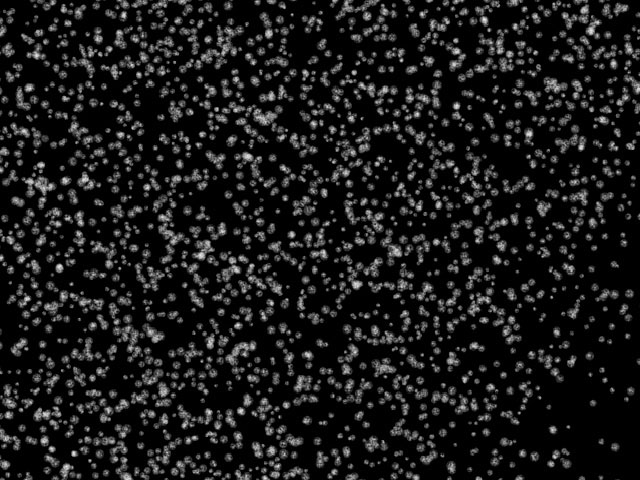
Snow Depth controls the apparent depth of the effect. Increasing this value creates the illusion of greater depth. Decreasing this value creates the illusion of shallower depth.
 |
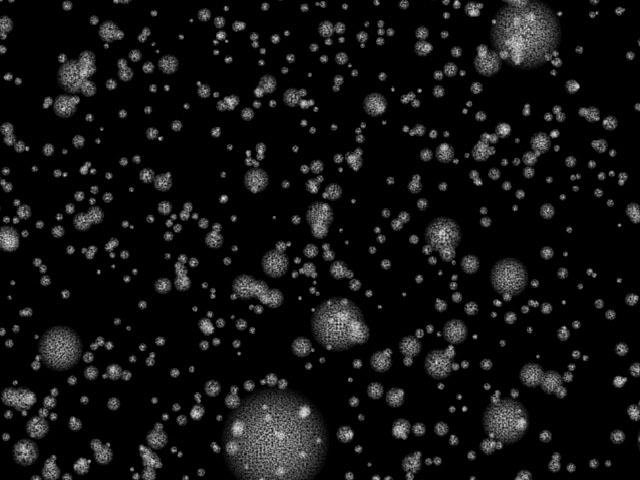 |
| Snow Depth=0 | Snow Depth=1000 |
Select the Composite on Alpha checkbox to composite the snow over a transparent background. Deselect this option to use the filtered layer as the background for the effect.
Pan XY controls adjust the perspective view of the effect. Move this point to change the position of the viewer’s eye in relation to the effect.
The Composite Layer menu sets the layer to use as the background of the effect. The default setting, None, composites the snow over a transparent background, revealing the clip below the filtered layer in the timeline.
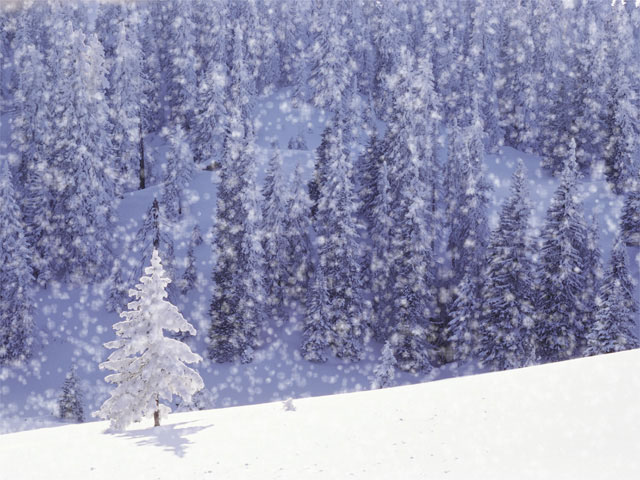
Composite Depth controls the apparent depth of the chosen composite layer. Increasing values move the composite layer closer to the viewer, while decreasing values move the layer farther from the viewer. This setting has no affect if Composite Layer is set to None.
 |
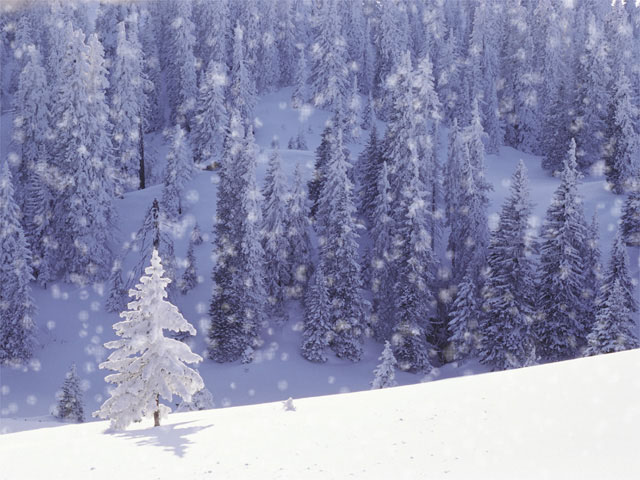 |
| Composite Depth= -200 | Composite Depth=200 |
Random Seed determines which value is input to the random number generator used by the effect. Adjust this value when you like the overall effect but want to adjust the random configuration of the flakes.
Snowflakes Parameter Group
Color sets the color of the snowflakes.
The Color Source Layer menu chooses any layer in your timeline to use as a source for snowflake colors.
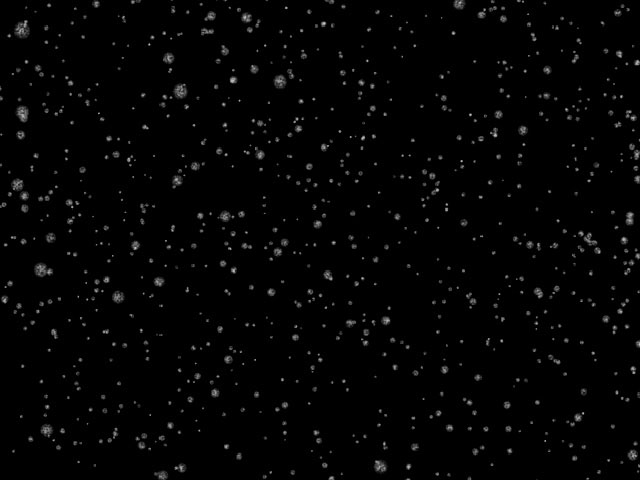
Size controls the size of the snowflakes. Higher values create larger snowflakes, while lower values create smaller snowflakes.
 |
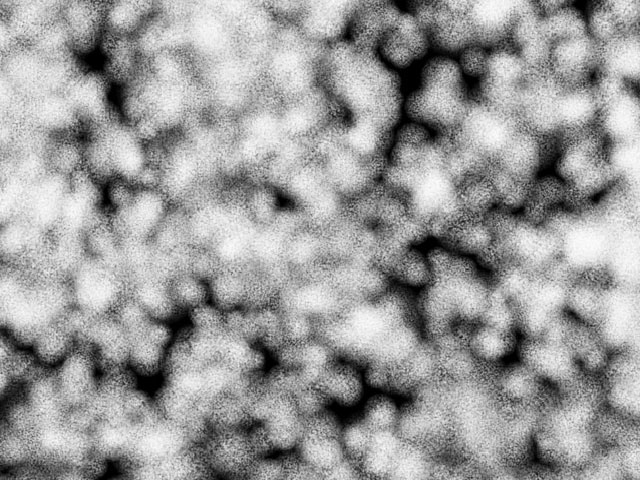 |
| Size=5 | Size=40 |
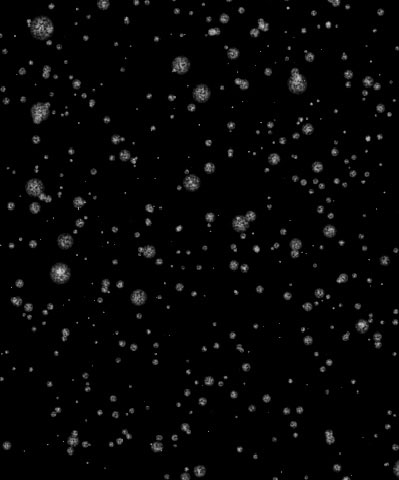
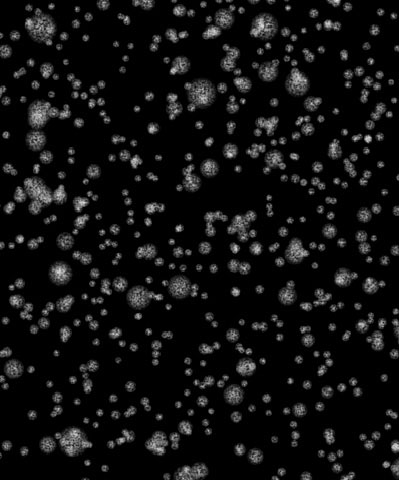
Size Variance varies the size of the snowflakes, creating a wider range of flake sizes in the effect. Positive values create snowflakes larger than or equal to the chosen snowflake Size. Negative values create snowflakes smaller than or equal to the chosen Size.
 |
 |
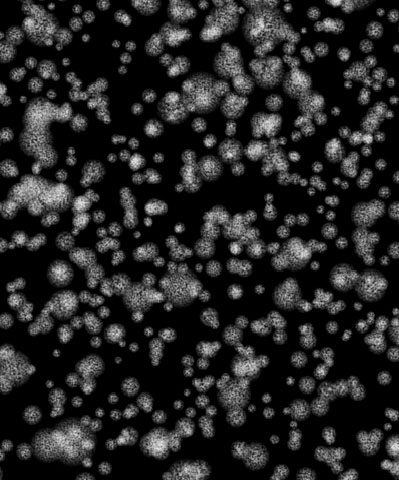 |
| Size Variance= -100 | Size Variance=0 | Size Variance=100 |
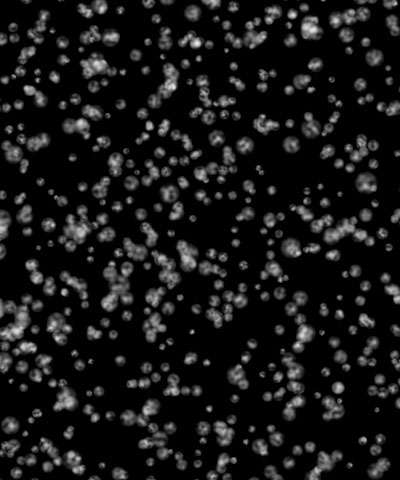
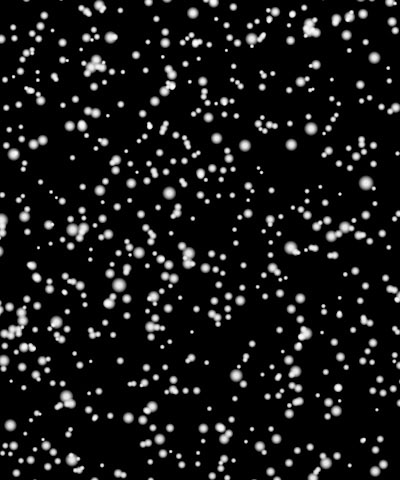
The Shape menu sets the shape of the snowflakes. Choose:
- Flake
- Blur
- Sparkle
 |
 |
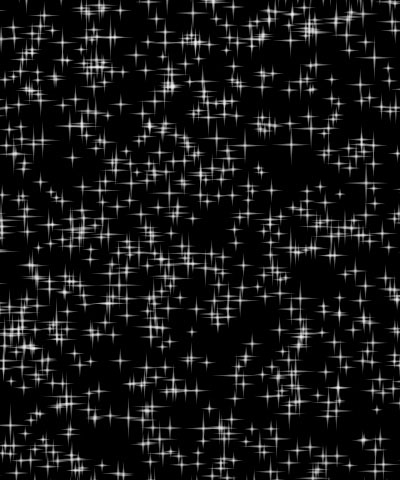 |
| Flake | Blur | Sparkle |
Character adjusts the appearance of the snowflakes. The affect of this setting depends on the Shape menu setting.
- With Flakes, higher values produce more detailed snowflakes, while lower values produce more blurred snowflakes.
- With Blurs, increasing positive Character values soften the edges of the particles, while decreasing negative values create harder edges.
- With Sparkles, increasing positive Character values lengthen the four points of the sparkles, while decreasing negative values shorten the points.
Opacity determines the opacity of the snow. Higher values create more opaque snow, while lower values create more transparent flakes.
Brightness Variance controls the range of possible brightness values among the snowflakes.
Increasing Brightness Variance creates a system in which some snowflakes are bright and others are dim, and increases the disparity between the brightest and dimmest snowflakes. Leaving this parameter at the default of 0 ensures that all snowflakes have the same brightness value.
Select the Use End Color checkbox to add a second color to the effect. If this option is selected, the End Color, End Color Source Layer, and End Opacity settings control snowflakes near the end of their lifespan. This produces a gradient of colors among the snowflakes from the specified start Color in the newer particles to the End Color in the older particles.
Midpoint Location moves the midpoint along the gradient between the start and end values. A value of 0 places the midpoint close to the beginning of the effect, and snowflakes begin changing to their End Color and End Opacity values soon after birth. A value of 100 places the Midpoint nearer the end of the effect, and snowflakes remain at the start Color, Size, and Opacity values until close to the end of their lifespan.
System Parameter Group
Particle Lifespan determines how long each snowflake lasts before it disappears.
Generation Width adjusts the width of the snow production region. Increasing this value spreads out the individual snowflakes, reducing the density of the effect. Decreasing this value places the flakes closer together, creating a more dense effect.
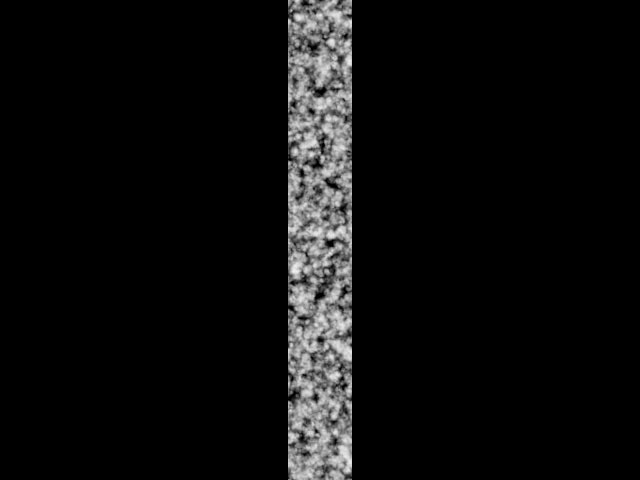
The Snow filter creates an image by tiling a series of images. Changing the Tile Width value adjusts the width of each individual image, which can be useful if tiling becomes noticeable in the output. Increasing Tile Width creates wider tiles, while decreasing this value creates narrower tiles. At extreme Tile Width settings, the tiles may not fully overlap.
 |
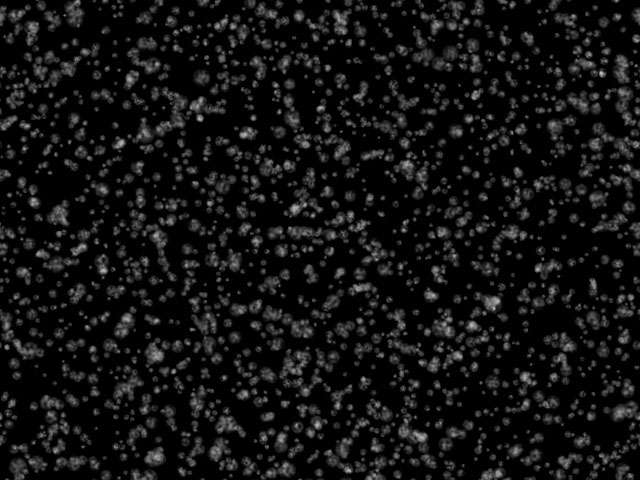 |
| Tile Width=10 | Tile Width=100 |
Speed Variance varies the speed of the snowflakes. Increase this value to create a wider range of snowflake speeds.
Direction Variance varies the angle of motion of the snowflakes. Increase this setting to create a wider range of snowflake directions.
Chaos Parameter Group
The Chaos parameters create a more random pattern of falling snow, which can help produce a more natural effect.
Amplitude controls the shape of the snowflakes’ paths as they leave the source point. At the default value of 0, the flakes follow a straight line. Positive values cause the flakes to follow a sinosoidal (sine wave) path. Negative values cause the flakes to follow a negative sinosoidal path, meaning that the wave dips before it peaks. The amplitude, or height, of the wave increases as the Amplitude value moves away from 0. More extreme Amplitude values produce increasingly erratic flake paths which make the effect appear more chaotic.
Ampl. Variance adjusts the range of possible Amplitude settings among individual snowflakes. A high Amplitude Variance value produces a wider range of wave heights among the individual flake paths, creating greater a disparity between the highest and lowest waves. An Amplitude Variance of 0 ensures that all flake paths have the same Amplitude setting.
Frequency adjusts the frequency of the sine wave, and therefore the number of waves that the flakes create over the course of their life span. A Frequency value of 0 produces no wave motion, so flakes travel in a straight line. More extreme Frequency values produce very wavy flake paths which make the effect appear more chaotic.
Freq. Variance adjusts the range of Frequency settings among individual flakes in the effect. A high Frequency Variance produces a larger range of wave frequencies among the flake paths, creating a greater disparity between the fastest and slowest waves. A Frequency Variance of 0 ensures that all snowflake paths have the same Frequency setting.
Interaction Parameter Group
The Stick to Layer menu allows you to choose any layer in your timeline to use as a map to determine where the snow accumulates.
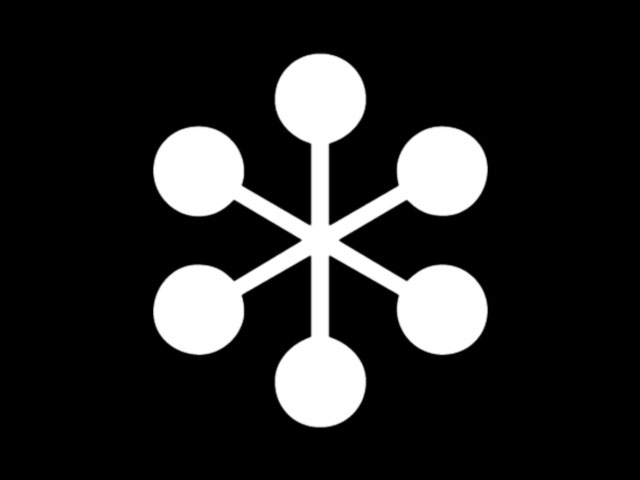
The Layer Use Channel menu sets which channel in the Stick to Layer is used to create the map. The choices are Alpha, Inv Alpha, Luma, Inv Luma, Red, Inv Red, Green, Inv Green, Blue, Inv Blue, Premult Luma, Premult Inv Luma. In the following examples, an alpha channel is used as an interaction layer.
 |
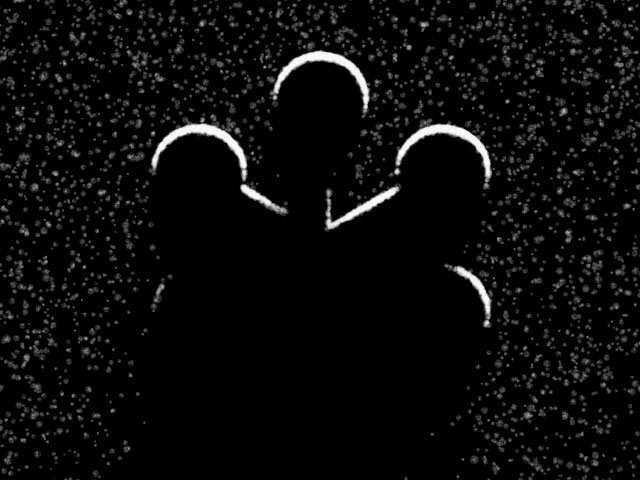 |
| Interaction alpha matte | Filtered image |
- Note: Some snow always piles on the edges of the interaction layer, even in the first frame of the effect. To gradually build snow over the course of the effect, animate Snow Amount from to the desired amount.
The PixelChooser Interaction menu uses the PixelChooser output as the interaction menu. You can use this to make the snow stick to a simple circle (created by the PixelChooser). You can also adjust the PixelChooser’s complex blending, choking or Apply mode options to work better with your Interaction Layer. The choices are:
- None does not apply an interaction layer.
- Use PC Layer uses the PixelChooser settings to create an interaction layer.
- Use PC Layer Inverted inverts the PixelChooser settings to create an interaction layer.
- Use PC Layer and Pixel Choice uses the PixelChooser settings to create an interaction layer and also uses the PixelChooser settings to create a matte.
- Use PC Layer Inverted and Pixel Choice inverts PixelChooser settings to create an interaction layer and also uses the PixelChooser settings to create a matte.
The Layer Mode menu determines how the filter uses intermediate values in the chosen channel in the Stick to Layer.
- Binary uses the chosen Layer Use Channel in the Stick to Layer but treats each pixel as if its chosen channel is fully on or fully off. For example, suppose Layer Use Channel is Alpha. Pixels that are 50% to 100% opaque in the Stick to Layer are treated as 100% opaque, while pixels that are 0% to 49% opaque are treated as 0% opaque (fully transparent).
- Gradient uses the channel in the Stick to Layer as it is, preserving the full range of channel values.
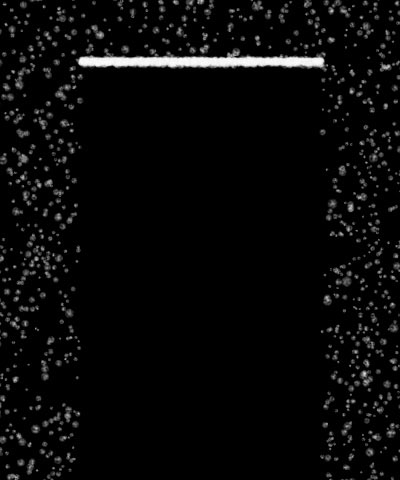
Fallthru Percent sets the probability that individual flakes will pass through edges in the interaction layer. At the default value of 0, all snowflakes stick to first edge in the layer that they strike. As Fallthru Percent increases, more snowflakes fall beyond the first edge and stick to edges below it.
 |
 |
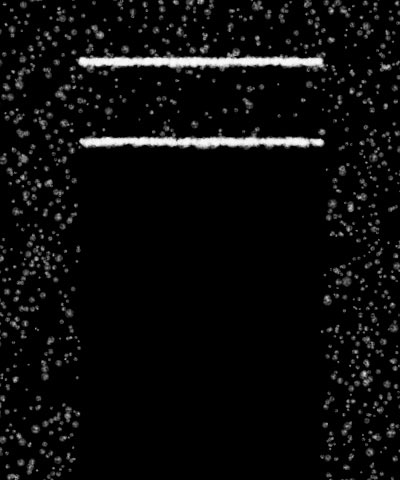 |
| Interaction alpha matte | Fallthru Percent=0 | Fallthru Percent=50 |
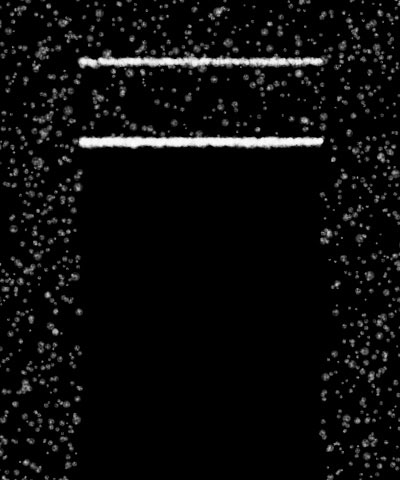
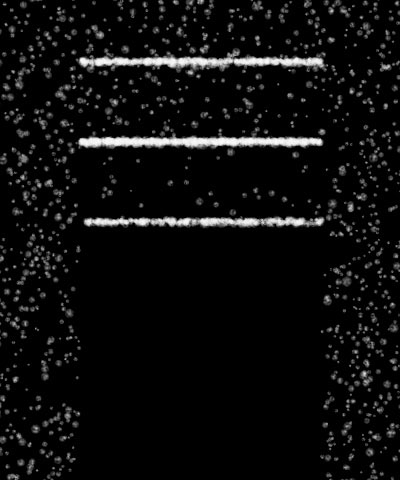
Fallthru Max determines the maximum number of edges in the interaction layer a snowflake call fall past without sticking. For example, if Fallthru Max is 1, snowflakes can stick to either the first edge or the second. If Fallthru Max is 2, snowflakes can stick to the first, second, or third edges. If Fallthru Percent is 0, Fallthru Max has no affect.
 |
 |
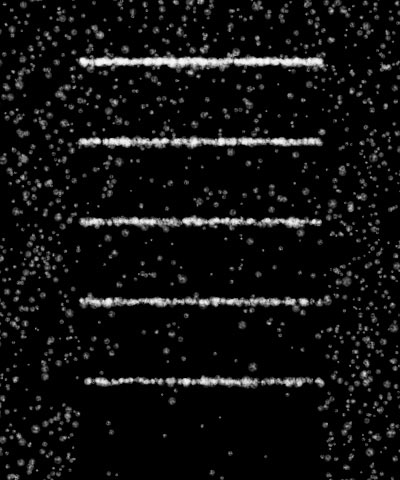 |
| Fallthru Max=1 | Fallthru Max=2 | Fallthru Max=6 |
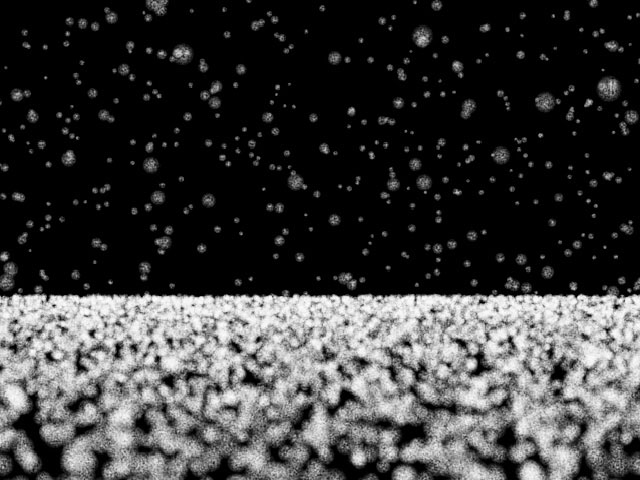
If you select the Stick to Ground checkbox, the snowflakes stop moving and begin accumulating when they reach the chosen Ground Height, creating the appearance of snow piling on the ground. Increase Ground Height to move the ground down, or decrease this value to move the ground level up. To view a grid representing the ground, select the View Ground checkbox.
 |
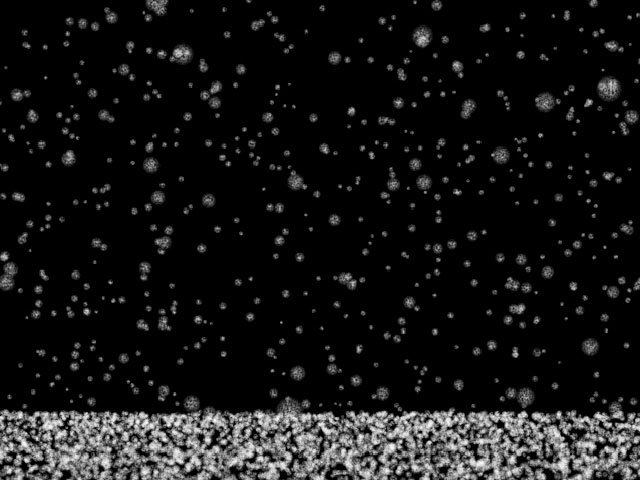 |
| Ground Height=50 | Ground Height=150 |
PixelChooser
The BCC PixelChooser provides simple, built-in masking of the effect result. The PixelChooser is generally used to select a portion of the image and restrict an effect to just the selected area while maintaining the original image content in unselected regions. The selection can be based on geometric shapes or on the image’s luma/color properties.
For more information on the PixelChooser, Click Here.
