Overview
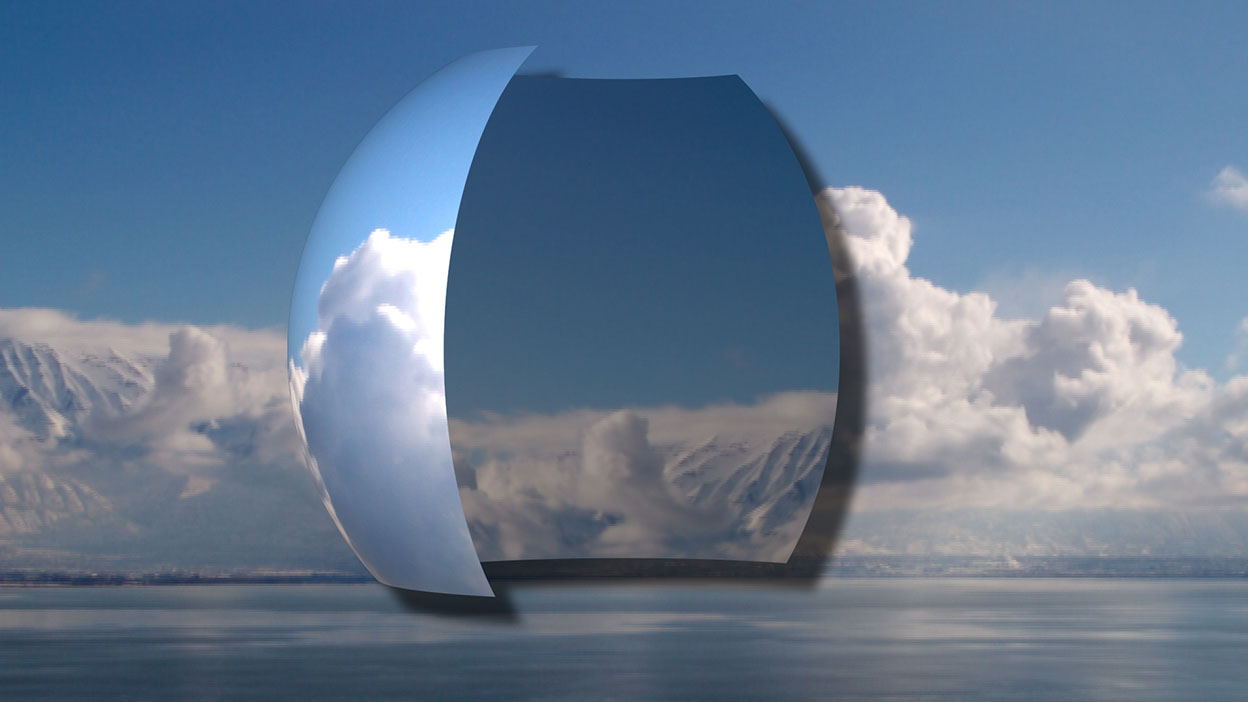
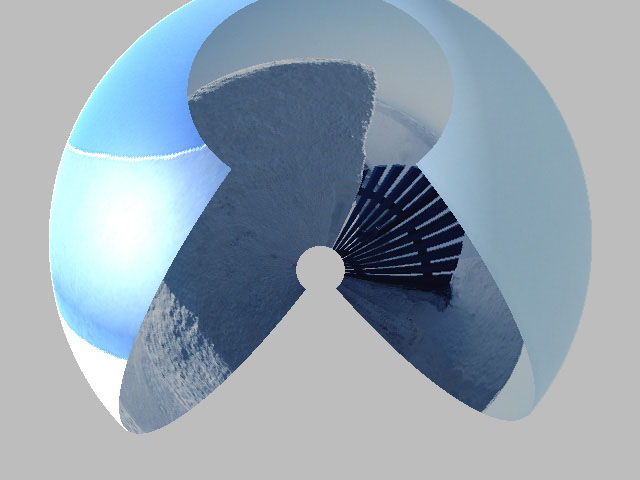
The Sphere Transition shape models the source image onto a sphere. Unlike the Sphere filter, the Sphere Transition filter allows you to animate Perspective, which is useful in creating transitions.
Function
Presets and Common Controls
BCC filters come with a library of factory installed presets plus the ability to create your own custom presets and preview them with the BCC FX Browser™.
BCC filters also include common controls that configure global effect preferences and other host-specific effect settings.
For more information about working with presets and other common controls, Click Here.
**Non-Square Pixels:**Enabling this checkbox fixes non-square pixels to keep the image curved.
Position sets the X and Y coordinates of the center point of the sphere.
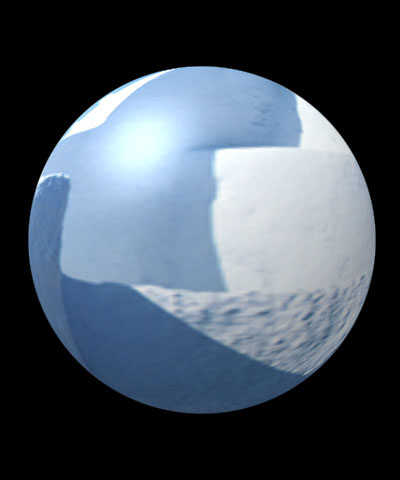
Wrap Percentage controls the extent to which the image wraps around the shape. As Wrap Percentage approaches 0, the shape is less spherical and closer to the original flat image.
A Wrap Percentage of 100 wraps the image completely around the sphere. As you reduce the value, four things happen to the physical model: the radius gets larger, the image is mapped on a smaller section of the 3D shape, the viewer’s eye moves further away, and the aspect ratio is adjusted toward the original aspect ratio of the source. The overall effect is a gradual flattening of the image as the sphere unwraps.
- Note: If you spin, tumble, or rotate a sphere and then unwrap it, the object moves back to its original position in 3D space as it unwraps.To animate the sphere so that it spins through one full revolution and unwraps, animate Spin from –360 to 0 (or 360 to 0 to go the other direction). Otherwise, the image’s motion counteracts the Spin as it moves to the original, unrotated position.
 |
 |
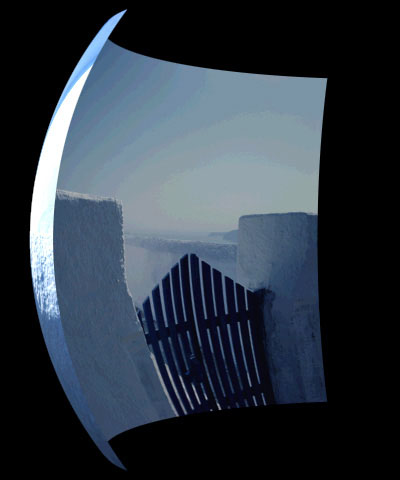 |
| Wrap Percentage=100 | Wrap percentage=80 | Wrap Percentage=35 |
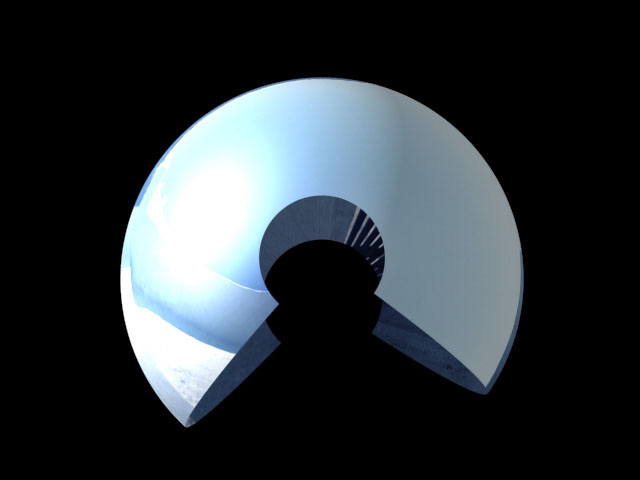
Perspective sets the distance between the viewer’s eye and the surface of the object. The maximum value places the viewer far away from the sphere, and the minimum value puts the viewer just above the surface. Increasing Perspective increases the apparent size of the sphere, emphasizing the part that is directly in front of the viewer. A Perspective setting of 100 makes the image appear almost flat; only the foreshortening near the edges of the circular outline of the sphere show the curvature of the shape. A Perspective of 1 emphasizes the curvature, but shows only a small portion of the source media. The default setting of 80 shows the entire surface and creates a more curved appearance.
 |
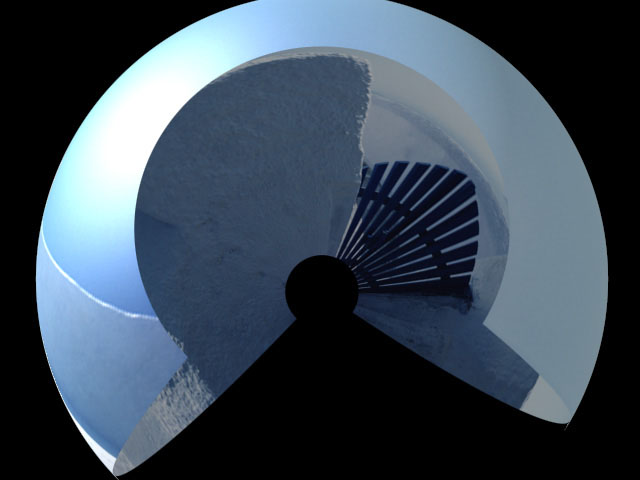 |
| Perspective=100 | Perspective=10 |
Scale adjusts the size of the sphere.
Tumble, Spin, and Rotate move the sphere around the X, Y, and Z axis respectively. Tumble, Spin, and Rotate can be animated over values greater than 360° to make the sphere complete more than one full revolution.
Faces Parameter Group
The Source menu allows you to choose any clip layer in the timeline to map to the surface of the sphere. If you choose None, the filtered clip is used.
The Wrap menu determines how the source image wraps around the sphere.
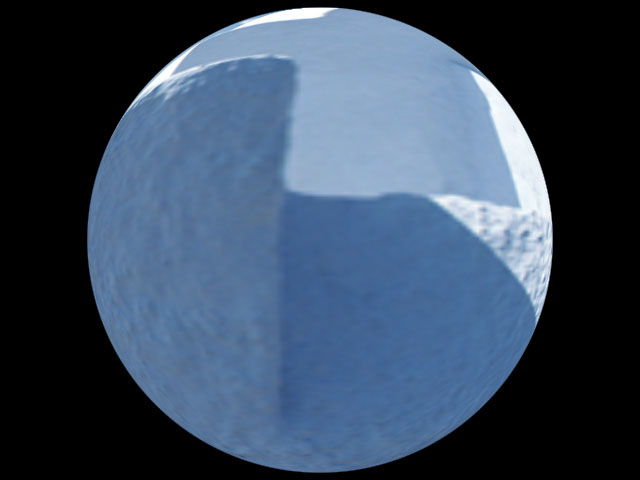
- Around wraps the image completely around the shape. This is the most likely choice to use to place media on the shape and spin or tumble it. If the image is fully wrapped, wrapping Around only shows roughly half the source at any given time. This is not always the best choice if you do not spin or tumble your sphere. As you unwrap the sphere using the Around setting, the source covers a smaller part of the modeled shape, and the uncovered area becomes transparent.
 |
- One Way Repeat renders two copies of the source image, one on the front and one on the back of the sphere. You can see the seam between the two images if you spin the sphere 90° or 270°. Unwrapping the sphere using One Way Repeat causes multiple copies of the source (as many as required to fill the shape) to wrap horizontally around the shape.
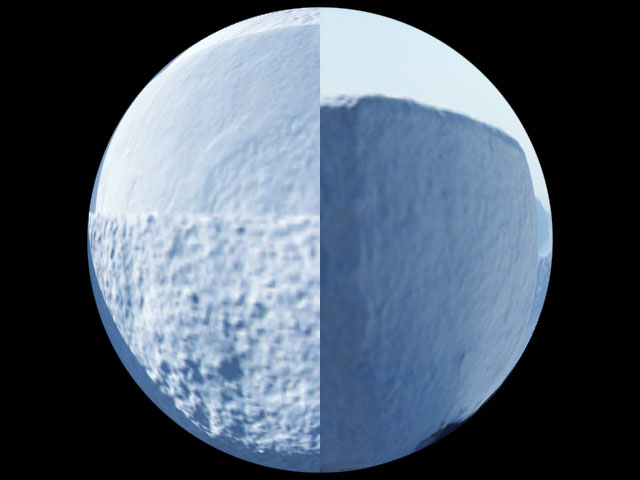 |
- Back & Forth Repeat also renders two copies of the source, but the back copy is a mirror image. This causes the corresponding sides to line up and mirror each other at the seams. This setting unwraps in the same manner as the One Way Repeat setting.
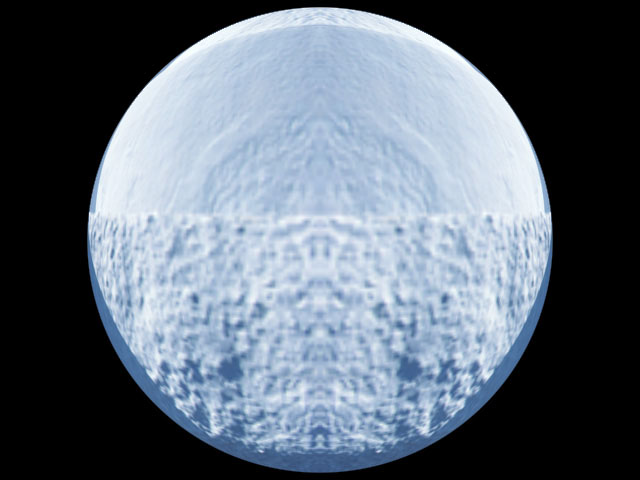 |
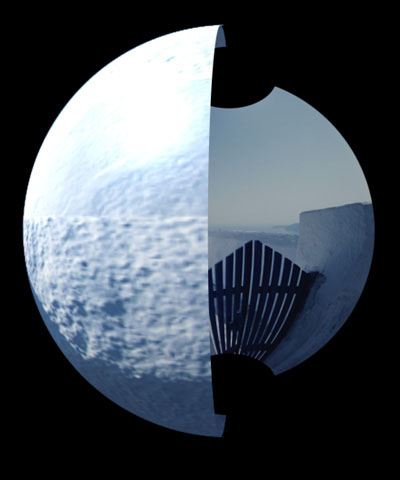
- Front maps the image onto the front of the sphere and leaves the back transparent. This creates a semi-sphere, visible if you spin or tumble the object. In this example, the sphere has been rotated 90° to show the transparent back half.
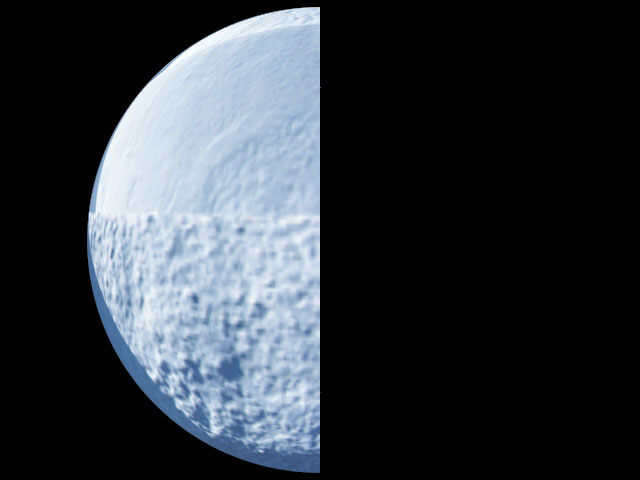 |
- Tile is similar to One Way Repeat, but it also repeats the image vertically as it unwraps. You can create a tiled sphere by reducing Scale and Wrap Percentage.
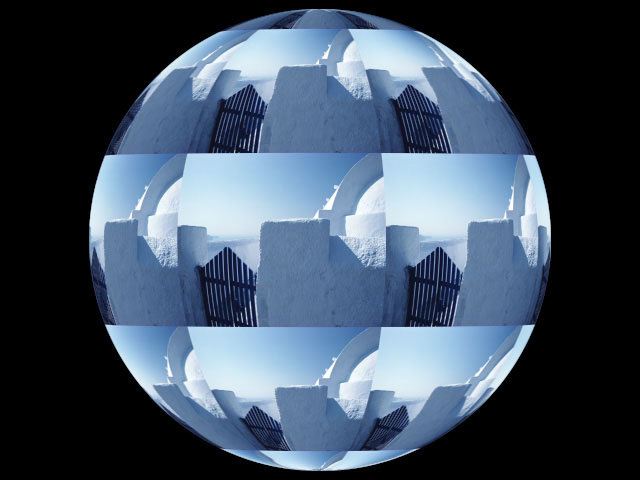 |
The Faces menu determines which faces of the sphere are visible and allows you to map a separate image to the inside of the sphere.
- Choose Front to map the chosen Source Layer to the outside of the sphere.
- Back maps the Source Layer to the inside of the sphere.
- Both maps media to both the inside and outside of the shape. When Front and Back is selected, you can map another layer from the timeline to the inside of the sphere using the Alternate Back menu.
Front Opacity controls the opacity of the image on the outside of the sphere. You can use this setting to make the outside of the sphere partially or fully transparent to reveal an image on the inside. A setting of 100 makes the outside of the sphere completely opaque; a setting of 0 makes the outside completely transparent.
The Crop controls crop the edges of the image. The Crop Top-Left and Crop Bot-Right set the upper left and lower right corners of a rectangle that define the borders of the crop.
Lights Parameter Groups
The parameters in this section allow you to apply lights to the effect.
Light XY sets the location of the light source on the horizontal and vertical axis.
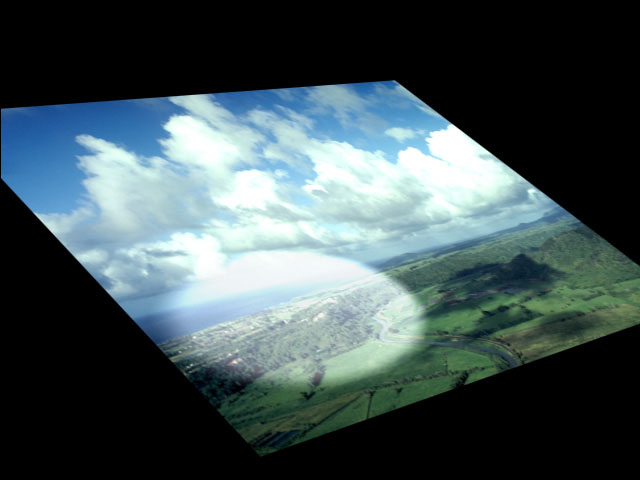
Light Z controls the distance between the light source and the image plane. Decreasing this value moves the light source farther from the image, while increasing this value moves the light closer. Changing the Source Z setting allows you to focus the light or to spread it over a larger area.
 |
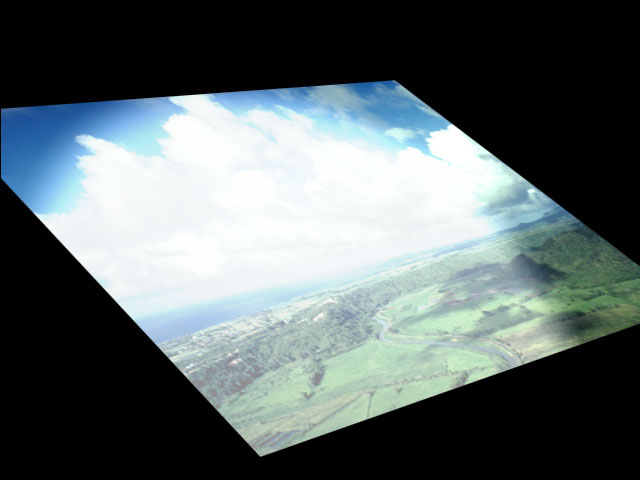 |
| Source Z=0 | Source Z=3 |
Ambient Light determines the amount of ambient light applied to the image. Increasing this value increases the amount of light at the center of the lit region.
Diffuse Light determines the amount of diffuse light applied to the image. Increasing this value increases the amount of light at the center of the lit region.
Specular Light determines the amount of specular light applied to the image. Increasing this value increases the amount of light at the center of the lit region.
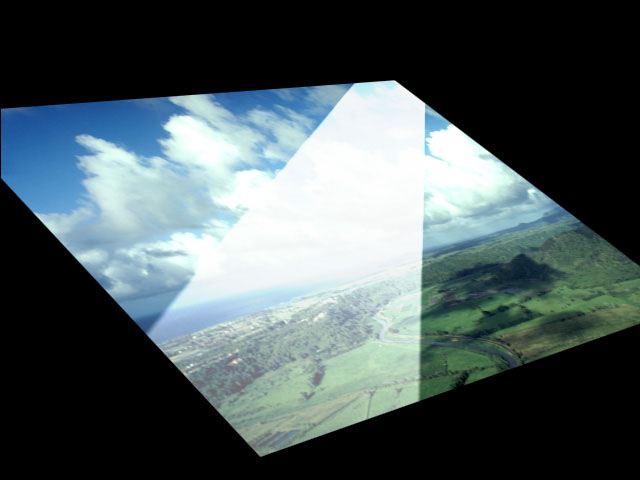
Light Falloff adjusts the amount of falloff on the edges of the lit region. Increasing this value adds more falloff, softening the edges of the lit region. Decreasing this value reduces the amount of falloff, creating harder edges on the lit region.
 |
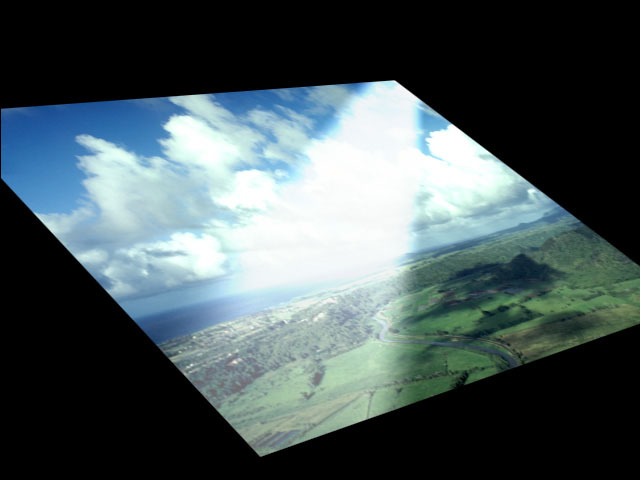 |
| Falloff=5 | Falloff=50 |
Light Color controls the color of the Light source.
Drop Shadow Parameter Group
The Drop Shadow On checkbox turns the shadow on and off. If this checkbox is not selected, the other parameters have no affect.
Shadow Distance sets the distance (in pixels) between the shadow and the image.
Shadow Intensity sets the opacity of the drop shadow, and is scaled as a percentage. At a value of 100, the shadow is completely opaque. Lower Intensity values allow the background image to be seen through the shadow. At a value of 0, the shadow is invisible.
Shadow Softness controls the softness of the edges of the shadows. A setting of 0 produces a sharply defined shadow with hard edges. Increasing Softness produces softer edges.
Shadow Angle sets the direction of the drop shadow. A setting of 0° places the shadow to the right of the image; a setting of 90° places it directly below the image.
Shadow Color sets the color of the shadow.
When the Unwrap as Transition checkbox is selected (the default), unwrapping the shape modifies the scale and rotation controls so the fully unwrapped image is the original source. When it is unchecked unwrapping the image does not affect the scale or rotation.
Beat Reactor
The BCC Beat Reactor is an animation control suite which drives effect properties based on the contents of an audio track. This lets you seamlessly tie visual FX to an audio soundtrack without the need for ANY manual keyframing.
For more information on the Beat Reactor, Click Here.

