 |
Overview
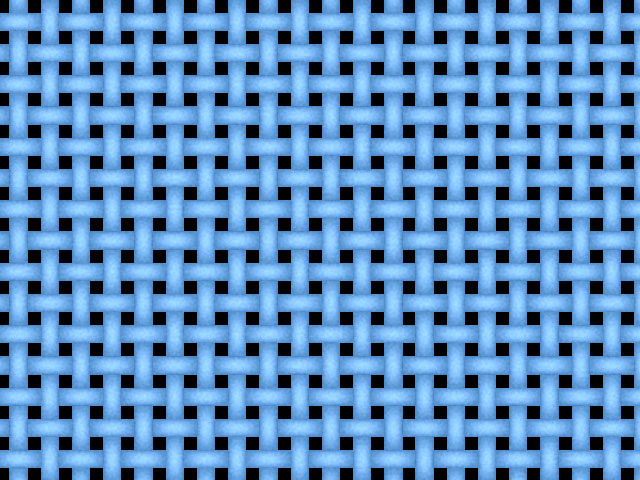
Weave is similar to the Cloth filter, but produces a texture resembling a much more loosely- woven fabric, such as burlap or gauze.
Function
Presets and Common Controls
BCC filters come with a library of factory installed presets plus the ability to create your own custom presets and preview them with the BCC FX Browser™.
BCC filters also include common controls that configure global effect preferences and other host-specific effect settings.
For more information about working with presets and other common controls, Click Here.
Offset XY position points control the appearance of the weave by moving through the procedural noise from which the effect is generated.
Scale X and Scale Y determine the scale of the threads that form the cloth along the X and Y axis respectively. Select Lock to Scale X checkbox to keep these values in proportion, or deselect this option to adjust Scale X and Y independently.
Rotation spins the cloth pattern around the Z axis.
The Color controls set the color of the weave pattern.
Color Noise varies the color of the threads in the weave pattern. As the Color Noise value increases, the threads appear more mottled, and the shading becomes more irregular.
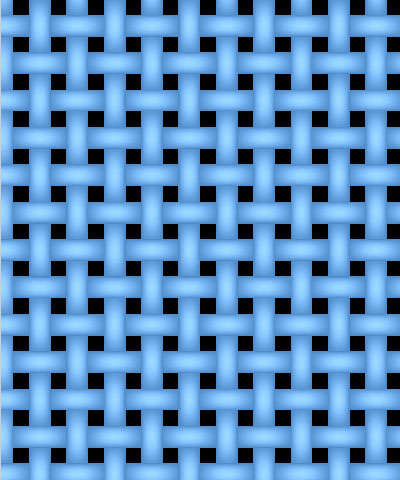 | 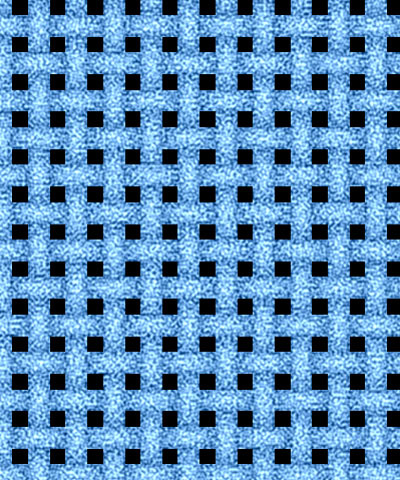 | 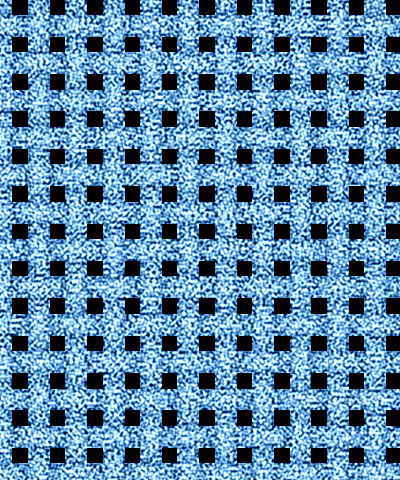 |
| Color Noise=0.0 | Color Noise=0.5 | Color Noise=1.0 |
Noise Scale adjusts the scale of the color pattern on the threads. Adjustments to this value are most pronounced at higher Color Noise values.
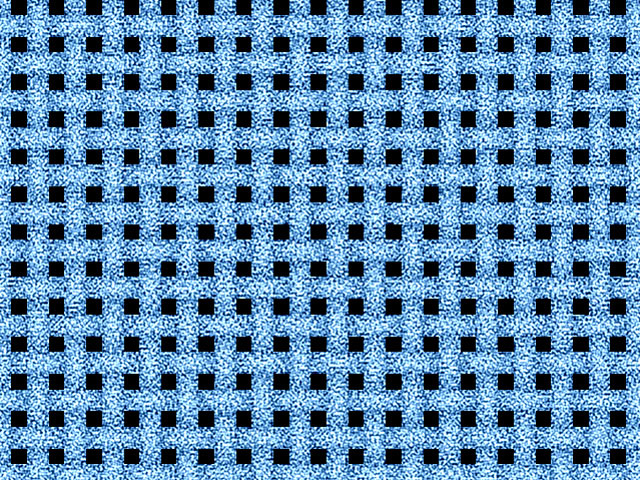 | 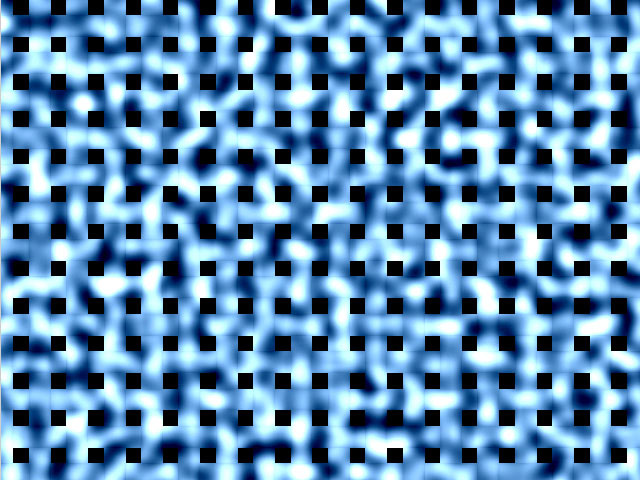 |
| Noise Scale=1 | Noise Scale=90 |
Noise Mutation controls the pattern of the Color Noise at a given point by moving through the procedural noise from which the effect is generated along the Z axis.
Weave Thickness adjusts the thickness of the individual threads that form the weave.
Selecting the Background Transparent checkbox creates an alpha channel from the weave. Black areas are transparent. When this option is deselected, the weave is totally opaque.
Select the Source Alpha checkbox to use the source alpha channel as a mask for the filter, so the texture appears only in the opaque regions of the source. If this option is deselected, the image’s alpha channel is ignored.
Opacity adjusts the opacity of the simulated texture.
The Apply Mode menu controls how the texture is composited over the source image. For descriptions of all the possible Apply Modes, Click Here.
Apply Mix controls the mix of the specified Apply Mode with the Normal apply mode. If the Apply Mode is Normal, Apply Mix has no affect. If Apply Mix is 0, Apply Mode has no affect. Increase Apply Mix to blend the Apply Mode setting with the Normal apply mode.
3D Bump Mapping Parameter Group
3D Bump Mapping is used to create the appearance of three-dimensional detail on a surface.
Select the Use Bump Map checkbox to turn on the Bump map. If this checkbox is not selected, the other parameters have no affect.
Light XY positions the light source in space by moving the light parallel to the image plane along the X and Y axes.
Light Z positions the depth of the light source relative to the image plane. A value of 100 places the light one source width above the image plane. Light Z can be negative, which places the light behind the image plane. If Light Z is negative, the light is seen only if the object is rotated or displaced so that all or part of it is behind the light source (that is, the light source always points in toward the object, never out at the viewer).
Light Intensity controls the intensity of the light.
Light Color controls the color of the light.
The Spot XY controls set the X and Y coordinates for the point at which the spotlight is aimed. Unlike the X and Y Light controls (under the Light Type menu), adjusting the Spot parameters does not change the shape of the light.
Spotlight Angle sets the angle of the light. This is analogous to focusing the light. Decreasing values create a smaller, more focused light.
Spotlight Falloff controls the relative softness of the edges of the lit region. Leave Spotlight Falloff at its default setting if you prefer a soft edge, or decrease this value to harden the edges of the lit region. Spotlight Falloff removes light from the edges of the lit region. To maintain the size of the region while softening the edges, you need to increase Spotlight Angle accordingly.
White in Specular increases the amount of white in the specular light. Increasing this value can create a more metallic surface effect. This parameter is only useful when Specular Intensity has a value greater than 0.
Ambient Intensity adjusts the total amount of diffuse light on the image. The default setting of 100 does not add or subtract ambient light from the source image. Decreasing this setting makes the image darker before the other lights are applied. Ambient light illuminates or darkens the image evenly, and is unaffected by any other lighting parameters.
Diffuse Intensity determines the amount of non-directional diffuse light applied to the object. Increasing Diffuse Intensity brightens the object uniformly.
Specular Intensity simulates lighting a glossy surface from a point source, creating a small spot of intense light whose falloff can vary. Increasing this value adds reflected light to the surface.
Shininess controls the rate at which the Specular light falls off from the center of the lit region. A higher Shininess value creates a more concentrated highlight, simulating a shiny, highly reflective surface. A lower Shininess value spreads light more evenly throughout the lit region, simulating a rougher, less reflective surface.
Bump Height determines the height of the bump map used to create the texture of the bricks.
Bump Smoothness adjusts the amount of blur applied to the bump map. Higher values produce more blur, which tends to reduce the amount of detail and noise in the filtered image.


