 |
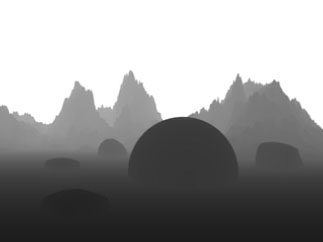 |
| Source image | Z-map image |
Overview
Use the BCC Z-Blur filter with a Z-map image to emulate a rack focus effect. Move the focal plane through the source image, using the Z-map to control the focus. Adjust the focal point, depth of field and blur parameters to finetune the area of the image to blur.
You can also set a channel from the image clip, then use that channel to control the z-blur effect. This type of effect is most noticeable in real life with a long focal lens, such as a 105mm or greater zoom lens.
Function
Presets and Common Controls
BCC filters come with a library of factory installed presets plus the ability to create your own custom presets and preview them with the BCC FX Browser™.
BCC filters also include common controls that configure global effect preferences and other host-specific effect settings.
For more information about working with presets and other common controls, Click Here.
- Note: Use a Z-map image that has bright pixels where the image pixels are close, and dark pixels where the image pixels are far away, or vice versa. You can invert the Z-Map using the Invert Z Channel checkbox.
The following source image and Z-map are used in the examples in this section.
Compare Mode
The BCC Compare Mode provides a convenient mechanism to compare the effect result with the original source layer. It provides several variations on basic split-screen views with the filtered clip placed next to the unedited original.
For more information on the Compare Mode,Click Here.
**CompareModepop-up:**Controls what is displayed by the Compare Mode. The options are:
- Offshows the output of the filter.
- Side BySidethe left side of the output shows half of the incoming image, and the right side shows the same half of the image as processed by the filter. When in Side-by-Side mode, the corresponding Slide and Right Offset sliders become available.Wipeenables the user to interactively wipe the effect across the image. The left side of the wipe bar on the image output shows the unfiltered image, while the right side of the wipe bar shows the filtered result. When in Wipe mode, the corresponding Wipe slider becomes available.
- Wipe/Slideoperates as a Wipe function when Wipe is selected in Compare Mode, and as a Slide function when Side-‐By-‐Side is selected in Compare Mode. When in Wipe mode, adjustments to this parameter moves the vertical wipe bar across the image; the region on the left of the wipe bar shows the original unfiltered image, while the region on the right shows the filtered result. When in Slide mode, adjustments to this parameter pans the image in the viewer window, maintaining the spatial relationship in the viewer between the before and after images.
- Right**Offsetprovides a way to adjust the spatial relationship between the unfiltered original image and the filtered result in the viewer window. Adjustments to this parameter will offset the position of the filtered image in the viewer.
The View menu lets you display either the final render or the mask that defines the focus field in the Composite window.
- Choose Normal to view the final render in the Composite window.
- In-Focus Zone displays only the areas of the image that are in focus. These are at a Z- depth of “Depth of Field” around the “Focal Point.”
- Z Map shows the final Z-map, so that you can readily see the effect of the above two controls. Z-Map also colors the 0-level (where there is no blur) dark blue.
 |
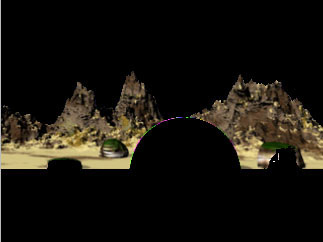 |
| Normal View | In Focus Zone View |
Use the Blur Type menu to choose the type of blur to apply. The choices are Faster or Smoother. Smoother uses a different blur algorithm which produces a better looking result but takes twice as long to render.
Use the Z Layer menu to assign the media that is used to create the depth map.
- Warning:You must assign media to the Use Z Layer menu to see any result from the filter. The default media assigned to the Z Layer track in the timeline is None, not the filtered track.
The Z Channel menu sets the channel to use for the depth map. Choose Alpha, Red, Green, Blue, Luminance, Lightness or Brightness. Luminance adjusts the tonal values in the image without affecting the hues. It can also be useful in retaining sharpness in the image which Brightness can reduce. Lightness and Brightness adjust the tonal values in the image, but they also affect the hues.
Max Blur sets the maximum amount of blur to apply to the image. When Max Blur is set to 0, no blur is applied to the image.
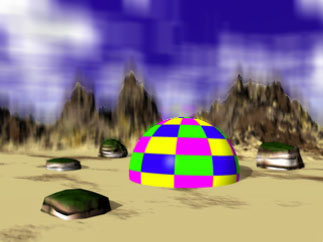
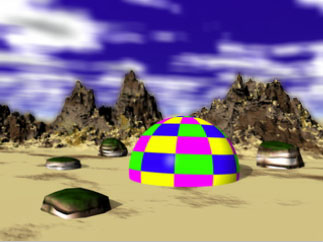
Blur Aspect Ratio controls the aspect ratio of the blur. Positive values produce a horizontal blur and negative values create a vertical blur. In the example below the clouds are blurred.
 |
 |
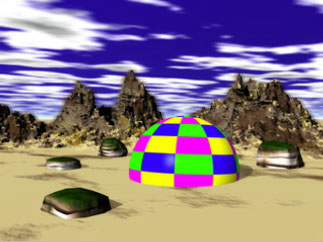 |
| Blur Aspect Ratio= -1 | Blur Aspect Ratio=0 | Blur Aspect Ration=1 |
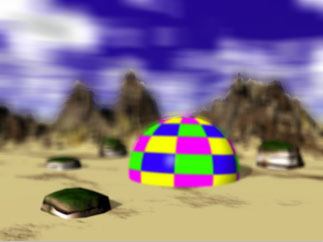
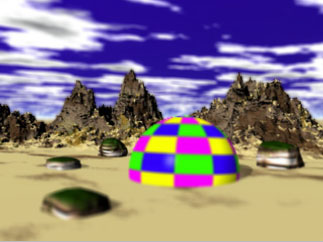
Focal Point determines the center point of focus along the focal plane. Animate the Focal Point parameter to shift the positioning of the focal mask. The examples below show the same Z-Blur effect, but the second set of images shows the focus view, and indicates that the focus shifts from the foreground (ball) to the sky (background).
NormalView
 |
 |
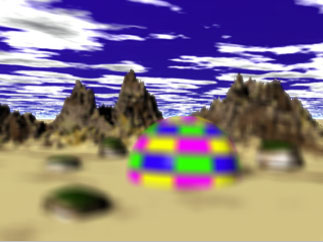 |
| Focal Point=1 | Focal Point=60 | Focal Point=100 |
Focus View
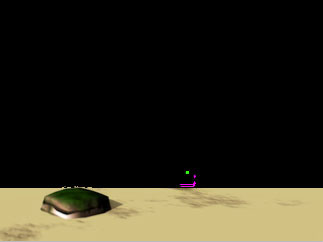 |
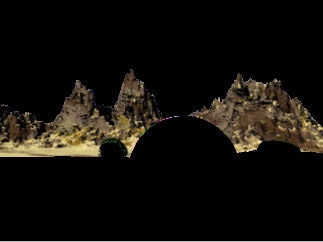 |
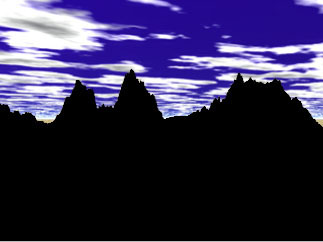 |
| Focal Point=3 | Focal Point=3 | Focal Point=100 |
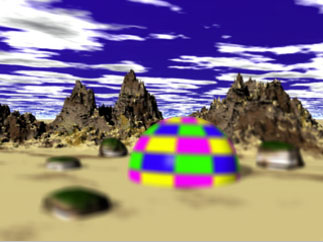
Depth of Field determines the areas of the image that blur. Increasing Depth of Field decreases the amount of the image that blurs. The examples below show the same Z-Blur effect. The first set of images shows the difference in Depth of Field with a Focal Point of 5, and the second set of images shows the difference in Depth of Field with a Focal Point of 5. As the depth of field increases, the entire image becomes more in focus.
Depth of Field change with Wide Focal Point
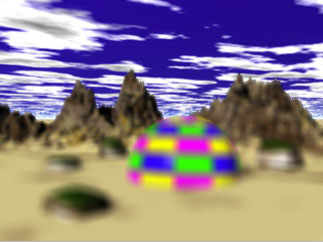 |
 |
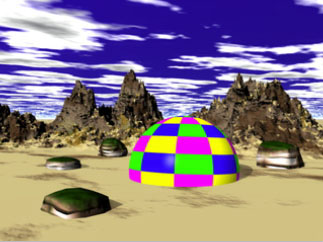 |
| Depth of Field=5 | Depth of Field=55 | Depth of Field-95 |
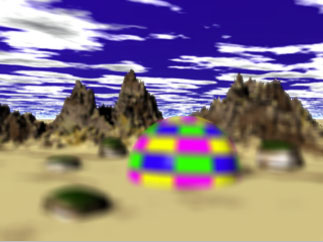
The Invert Z Channel checkbox inverts the mask you assigned to the Z Layer track in the timeline. The following example shows Luminance as the Z Channel.
 |
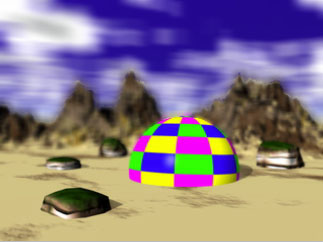 |
| Z Channel | Inverted Z Channel |
Smooth Z Channel blurs the Z-map before the channel is extracted.
Z Channel Gamma alters the slope of the Z-map after the channel is extracted.
Mix with Original blends the source and filtered images. Use this parameter to animate the effect from the unfiltered to the filtered image without adjusting other settings, or to reduce the affect of the filter by mixing it with the source image.
PixelChooser
The BCC PixelChooser provides simple, built-in masking of the effect result. The PixelChooser is generally used to select a portion of the image and restrict an effect to just the selected area while maintaining the original image content in unselected regions. The selection can be based on geometric shapes or on the image’s luma/color properties.
For more information on the PixelChooser, Click Here.
