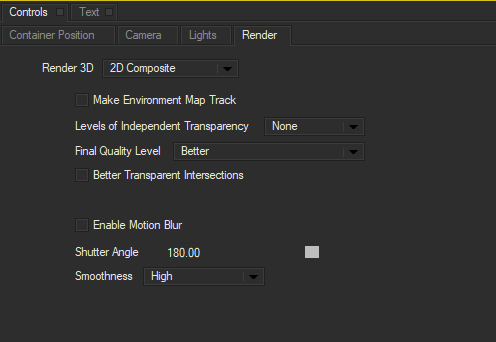
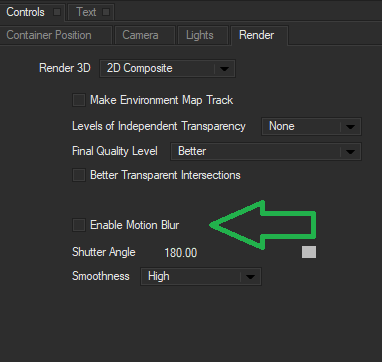
The Render Tab provides parameters that affect playback, transparency in certain cases, motion blur and the overall image quality of your effect. The tab becomes available only when the scene container has been selected in the timeline. Parameters in the render tab allow you to fine-tune the finished look of your effect. Here we will break down each of the parameters native to this tab.
Composite and Scene Parameters
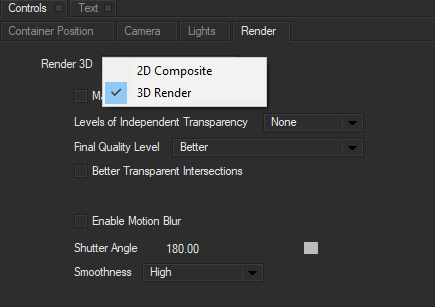
The Render 3D parameter allows you to select 2D or 3D composite options for your project. By default Title Studio projects are 2D, which provides an ideal environment for lower thirds and other basic motion graphics. 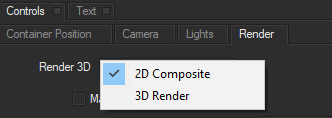
While in 2D Composite mode, objects in the Title Studio timeline will not composite in 3D Space. In the example below, track order plays an important role in 2D Compositing. Objects at the top of the stack are composited in front of those below.
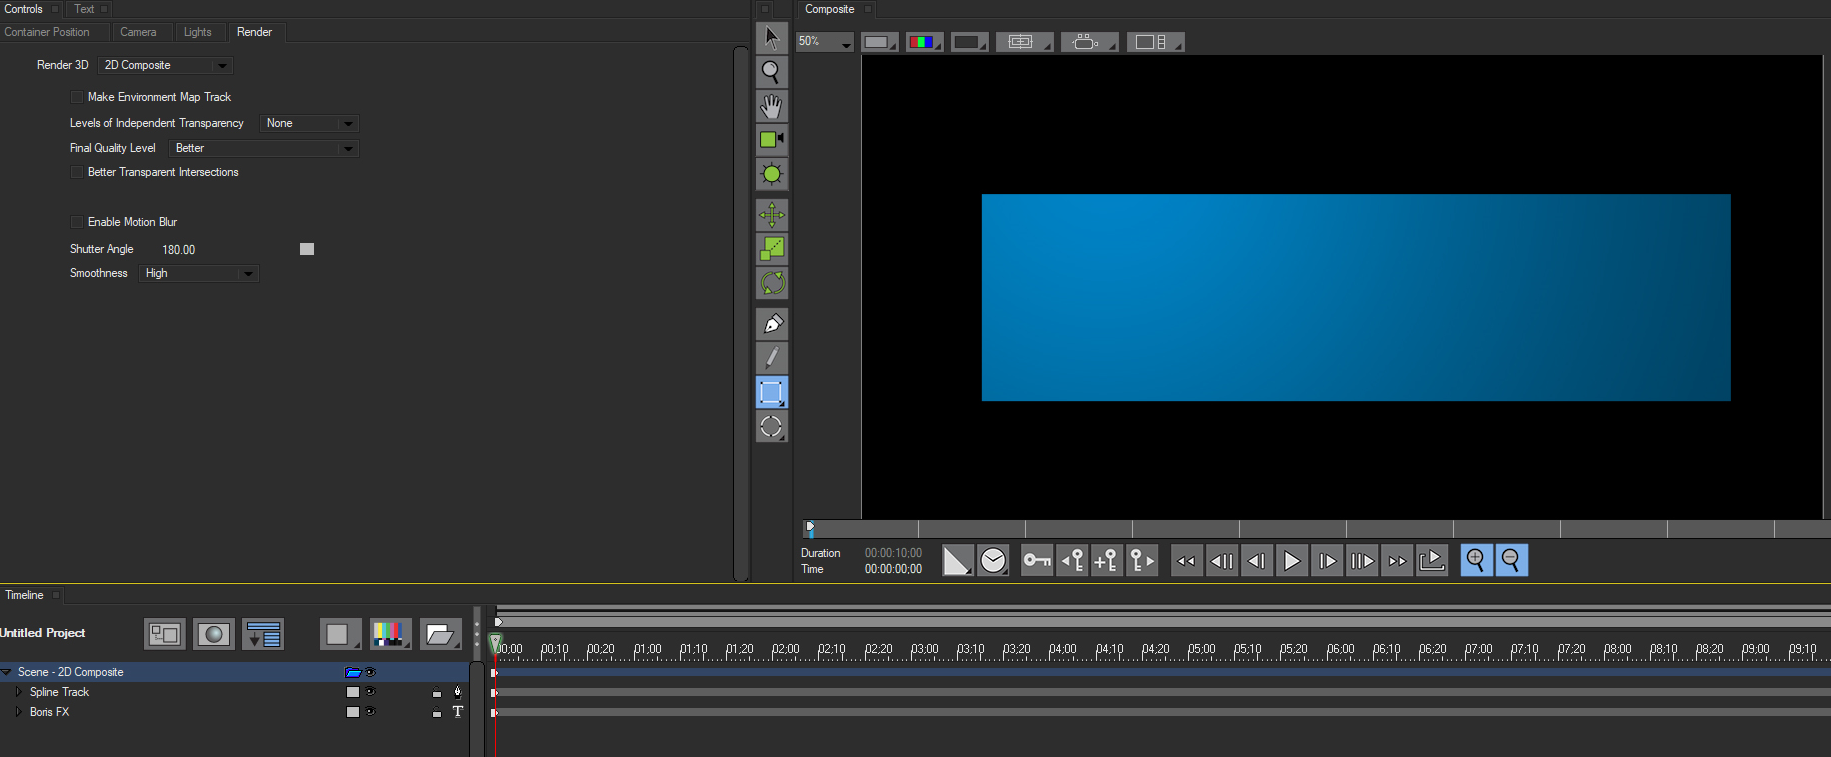 In this example, the blue Spline Object is placed above the Text Track in the time line; it will composite on top of any tracks below it.
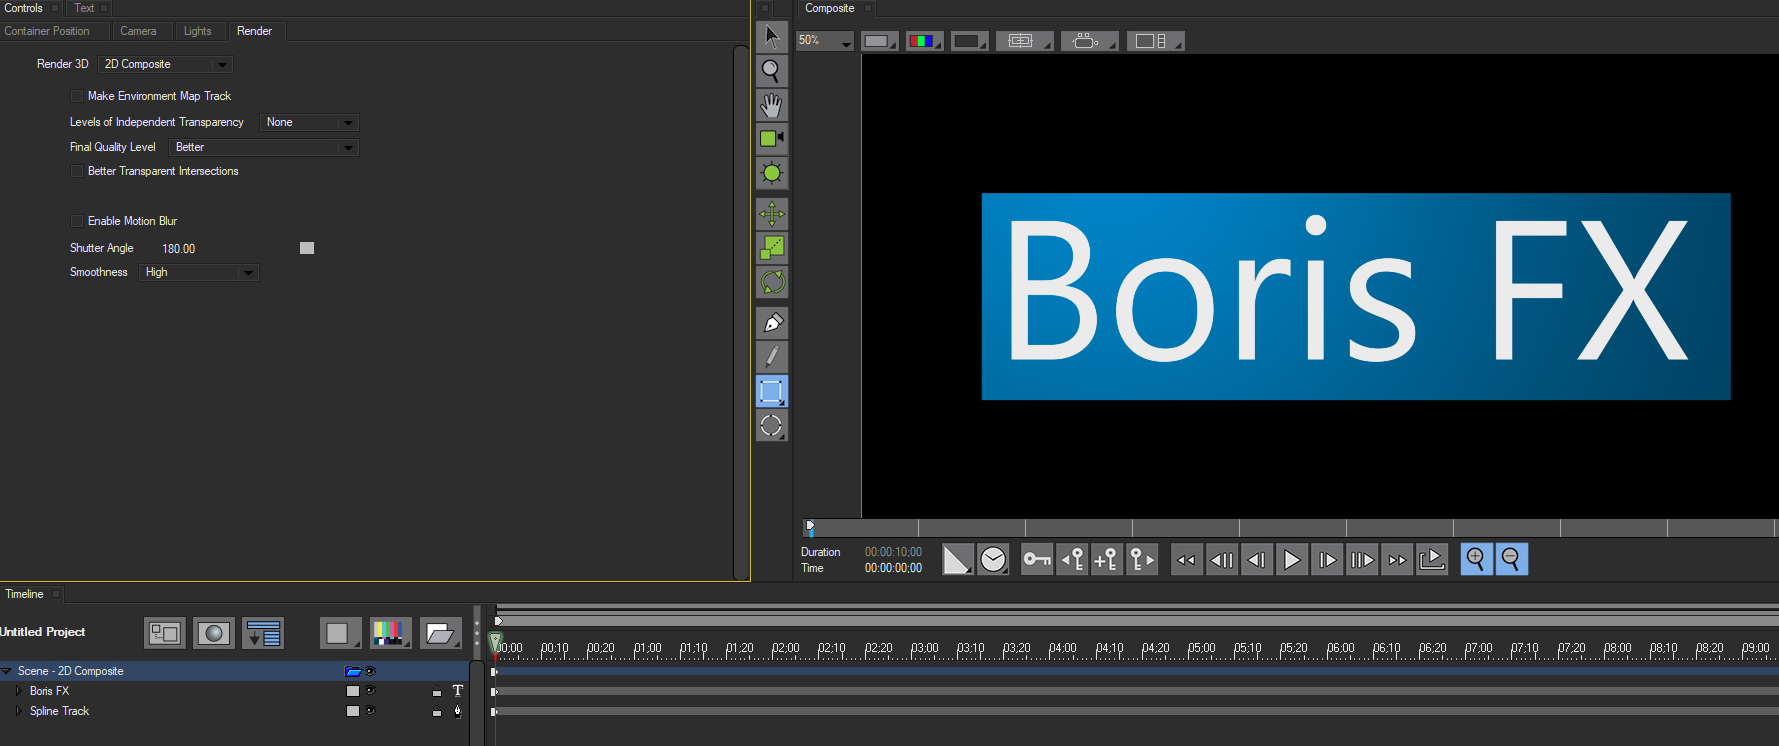 If the blue Spline Object is moved to the bottom of the stack, for example below the Text Track seen here, it will composite behind it.
It should be noted that while stacking order determines priority in 2D Composite mode, you are still able to re-position individual tracks in Z-Space using the on-screen interactors or the position tab parameters. However, their compositing will always remain 2D. Adjustments to an object’s Z-Position will only affect it relative to the camera, not to other objects in the effect.
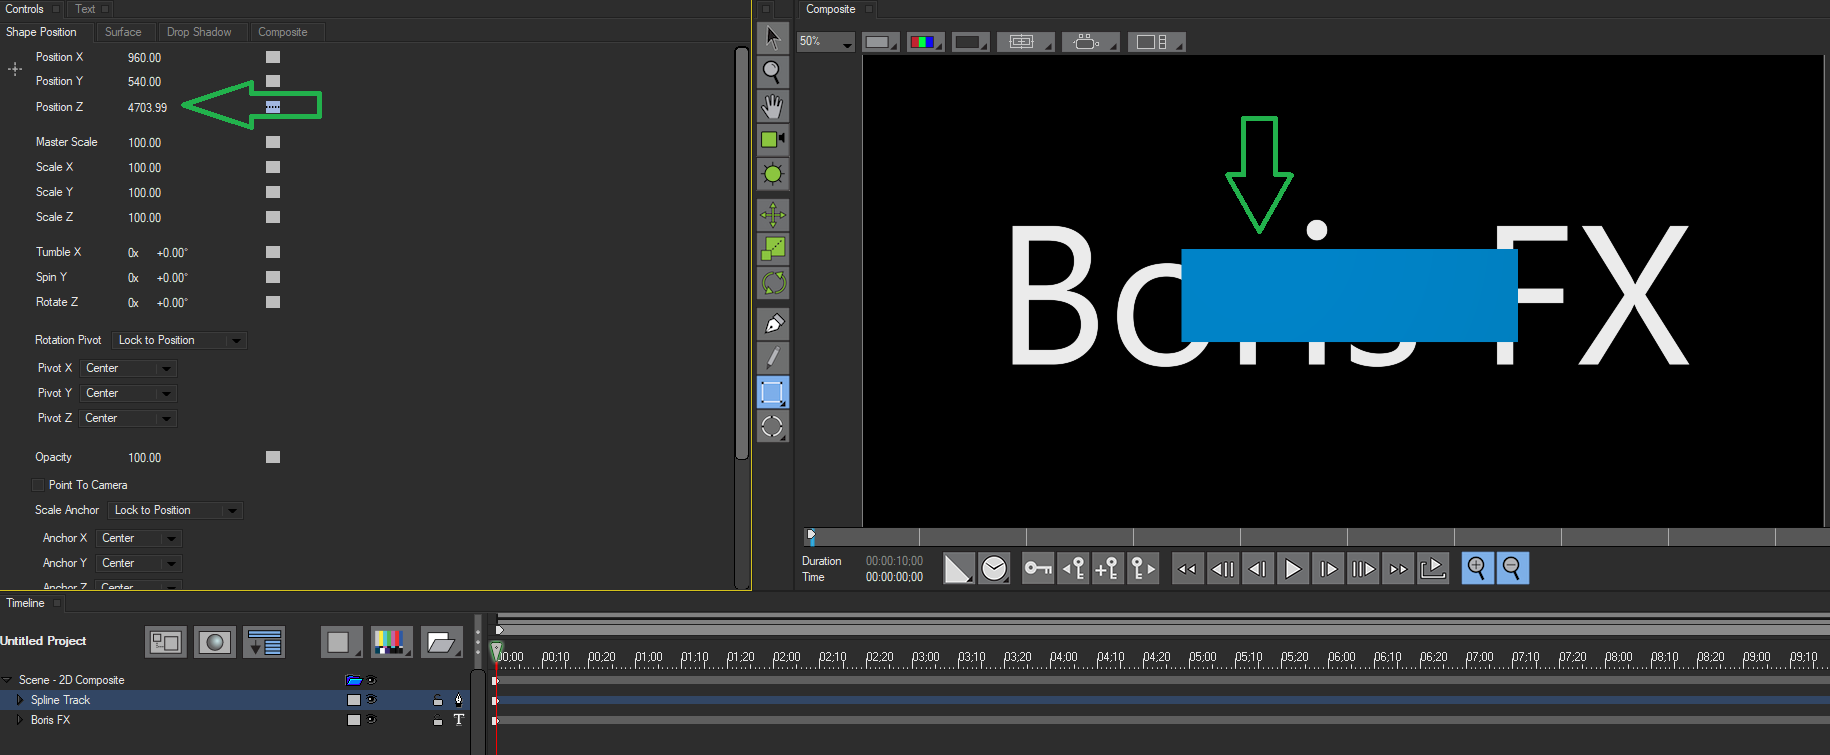 In this example, the blue Spline Object has been moved further away from the camera in z-space. Despite this, it remains composited in front of the Text Track due to it’s position in the stacking order.
By selecting the 3D Render mode, objects will now composite within 3D Space. 3D Render mode can be used with most objects in Title Studio, but provides the best results when compositing extruded objects.
If we look at the previous example, the same adjustments to the blue Spline Object’s Z-Position now alter it’s position in relation to the text.
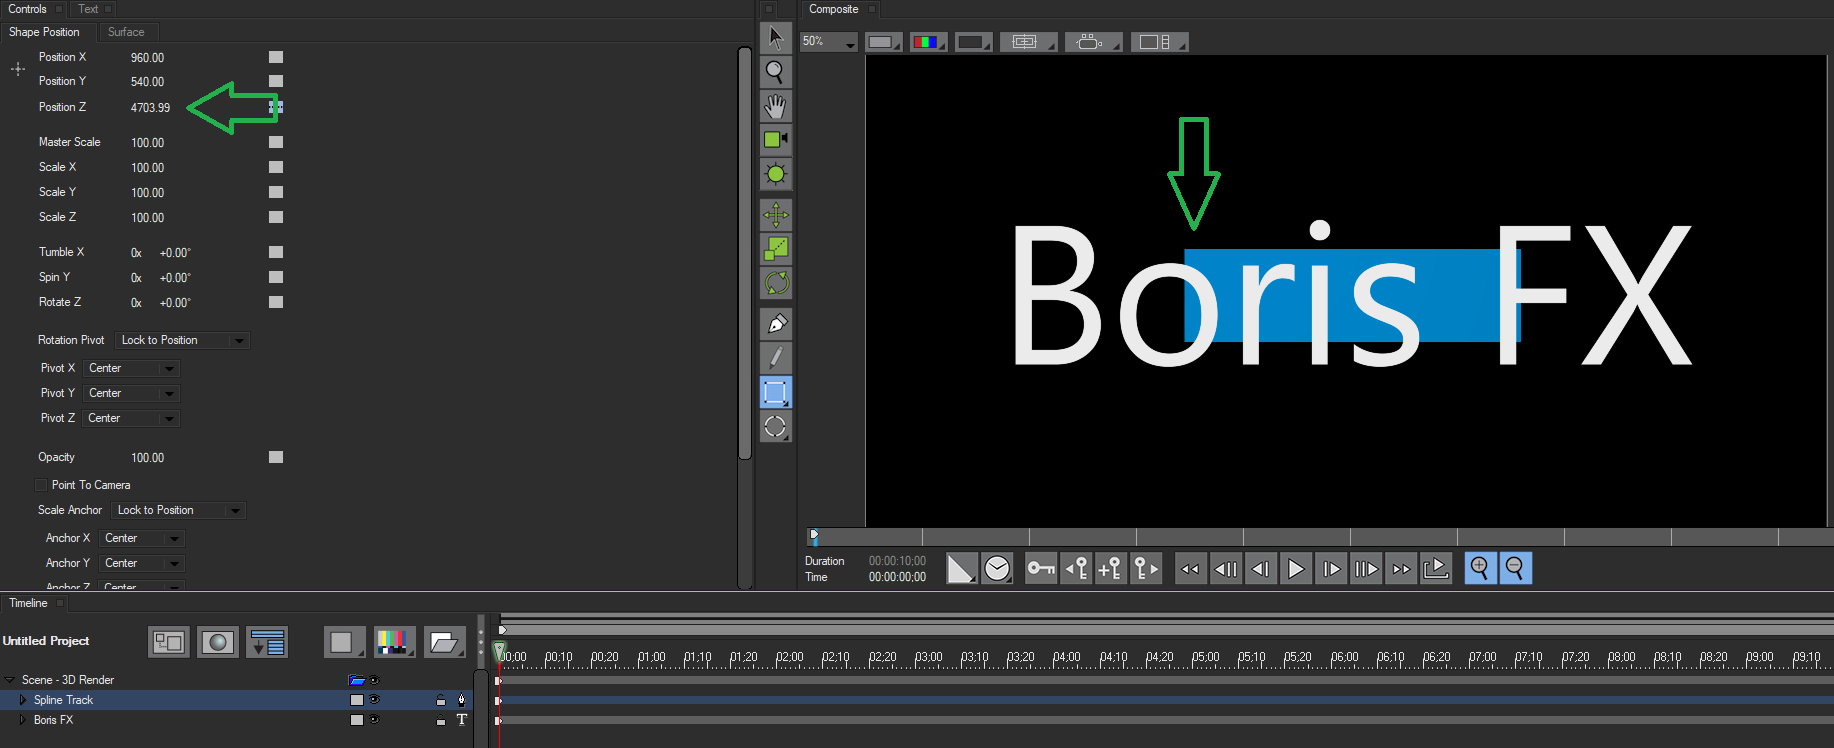 The blue Spline Object’s is now positioned behind the Text Track in 3D space. Track order no longer takes priority when compositing.
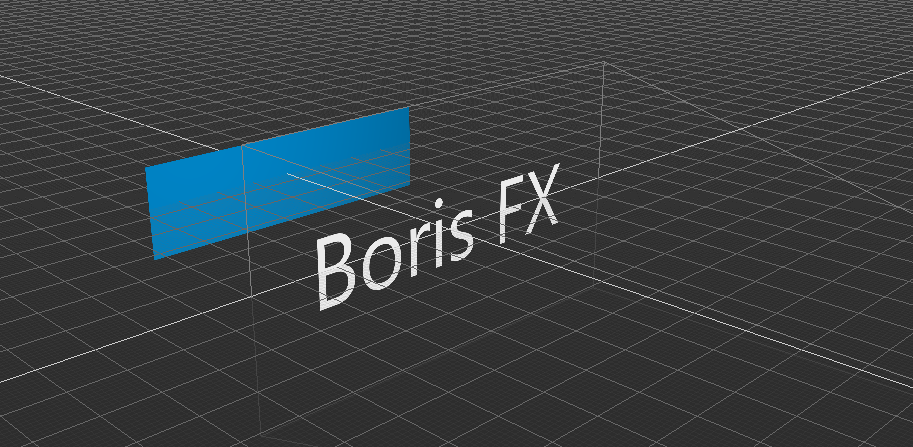 By Selecting World View we can see the position of the blue Spline Object relative to the Text Track.
NOTE: Certain features such as drop shadow are not available in 3D Composite mode. To allow objects in 3D render to cast shadows, enable Shadow Lights in the Lighting Tab.
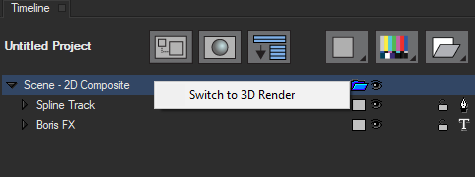
PRO TIP: You can bypass the Render Tab and quickly change the composite mode by right-clicking on the scene container in the timeline.
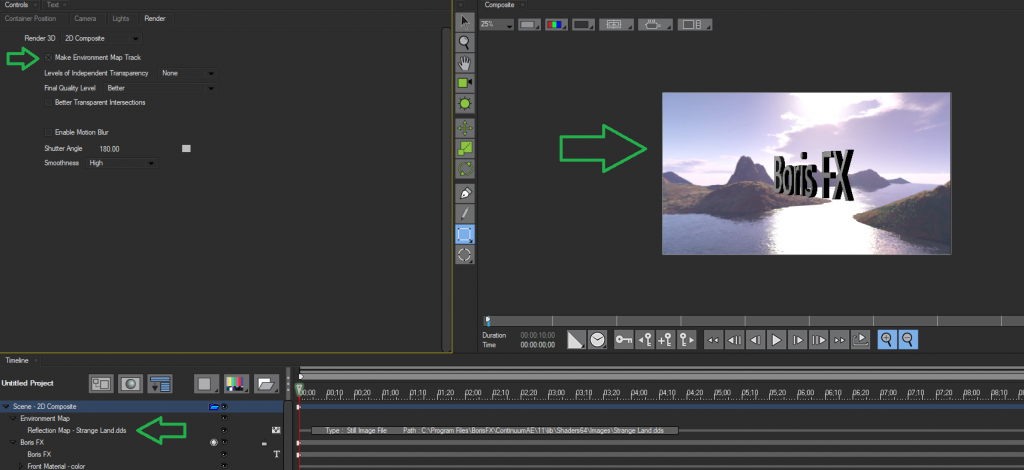
Make Environment Map Track. This checkbox allows you to import an environment map for your scene. An environment map is a 360 degree panoramic image applied to the scene container that creates a virtual environment for your effect.When this checkbox is enabled, a new environment track is created in the timeline.
Adjustments to the Scene Camera will allow you to view your object in a 360 degree environment. You can import custom environment maps by clicking on the Change Track Media button.
NOTE: Environment maps must be a .dds file format.
Final Quality Level sets the quality of playback and render when you are in high quality mode. The menu has no affect when you work in draft mode.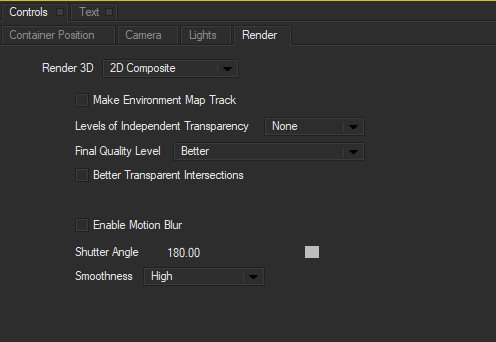
- Good provides a moderate amount of anti-aliasing
- Better provides a greater amount of anti-aliasing
- Best provides the maximum amount of anti-aliasing for increased immage quality. It will, however, increase playback and render time.
Motion Blur
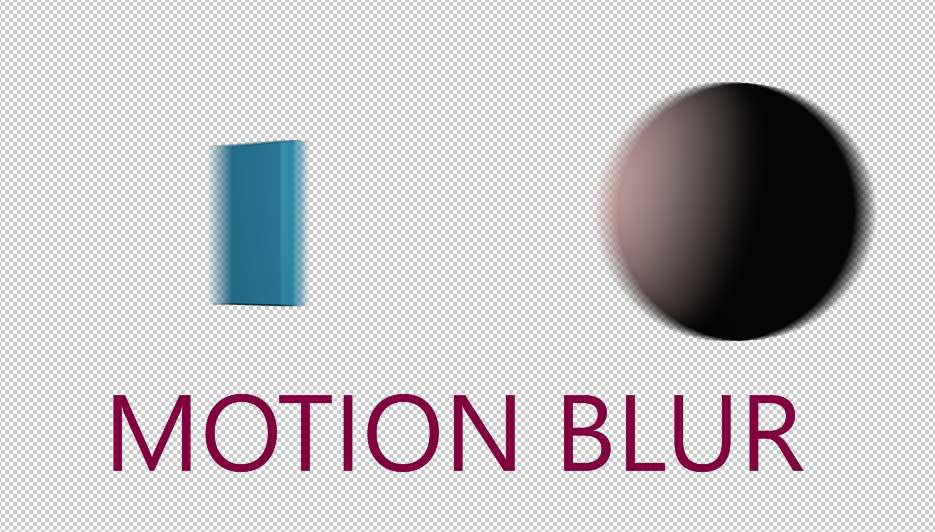
Enabling Motion Blur will allow you to create a realistic blur effect on animated objects and containers, simulating the effect of shooting a moving objects on film. The blur is more pronounced when the object moves quickly or rotates through space, and less pronounced when the object or objects move slowly. Motion Blur has no effect if the container is static.
Adding motion blur can make the motion of animated tracks appear smoother and more natural. It should be noted that the controls in this tab do not affect motion within the media itself, rather it creates blur based on the motion of the object itself.
 Because Motion Blur is so processor intensive, it is recommended that you leave it disabled while you work, and only enable it once completed.
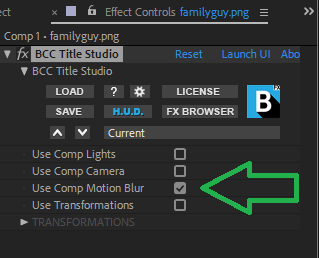
PRO TIP: Adobe After Effects Users can use the host’s built in motion blur feature on Title Studio effects. To enable this feature enable Use Comp Motion Blur in the the Title Studio parameter panel. Don’t forget to also enable motion blur for the layer, as well as the composition. You can adjust your shutter speed in the After Effects Composition Settings window
Shutter Angle refers to the workings of a conventional film camera. Normally the shutter is open 180°, meaning that the shutter is open for half of each frame. Increasing the angle opens the shutter longer, creating a wider blur. Decreasing the angle produces a thinner blur. The default value of 180 models a typical movie camera.
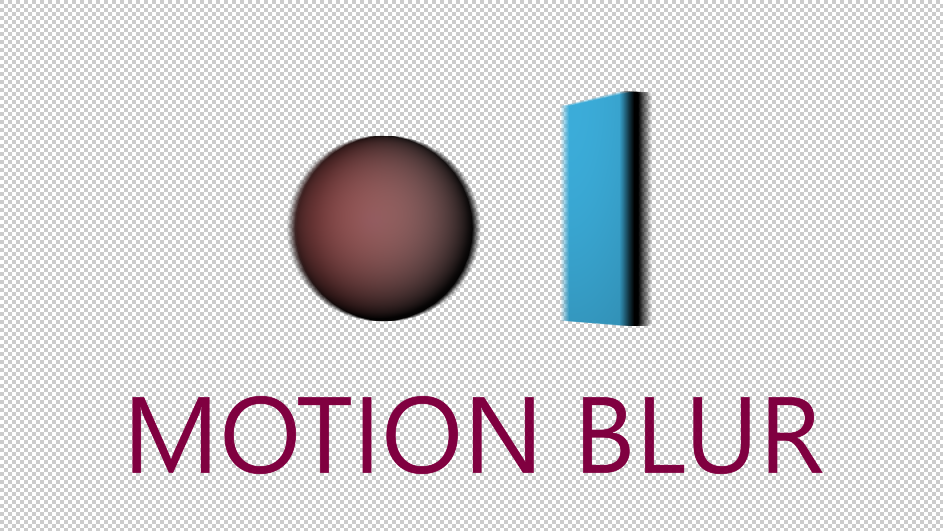 A Shutter Angle of 50° produces a thin blur.
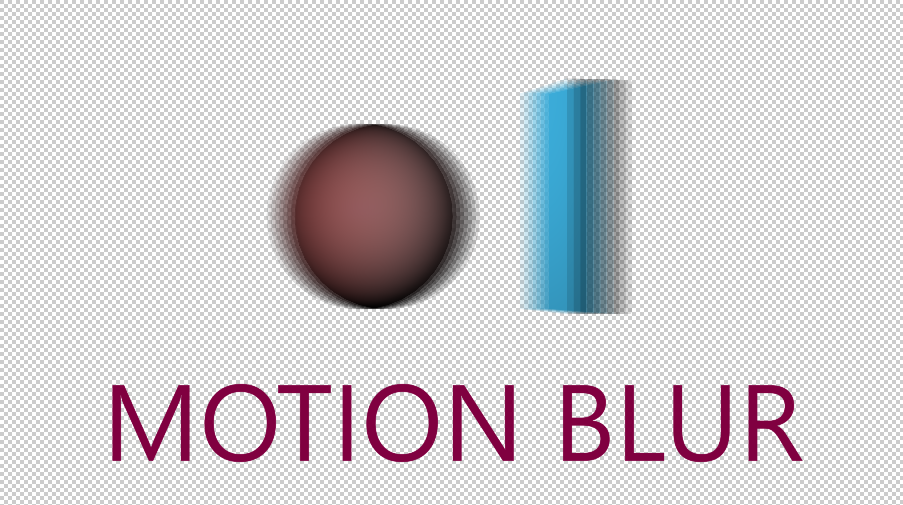 A Shutter Angle of 180° produces a wider blur
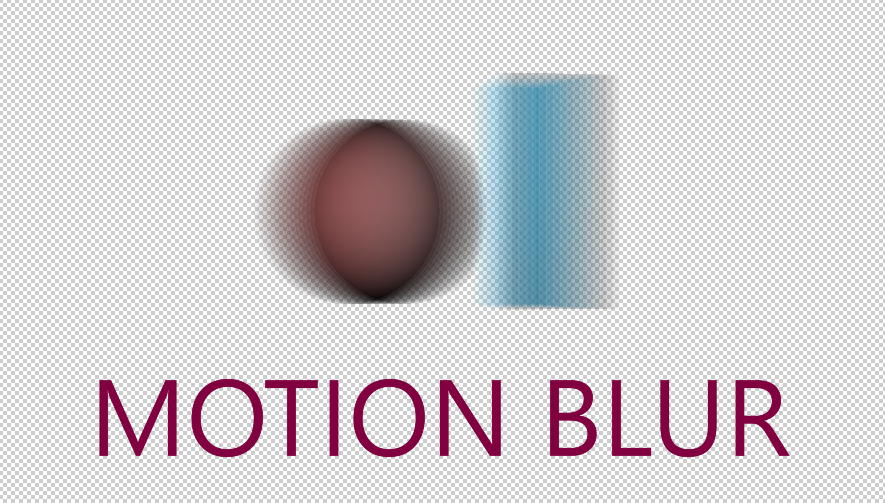 A Shutter Angle of 360° produces the widest amount of blur
PRO TIP: For the smoothest motion, set Shutter Angle to 360. You can also overdrive it for special effects.
The Smoothness menu determines how many samples are taken between the time the “shutter” opens and the time it closes. Increasing the number of samples creates a smoother blur but increases preview and render time proportionally. The choices are Low, Medium, High and Highest. Low uses the fewest samples, while Highest uses the most.
The above example show the image at the Low setting. You can see that only two snapshots are taken. Increasing the smoothness to Highest exponetially increases the number of snapshots.
NOTE: Working in Draft mode limits the Smoothness to Medium, so at most four snapshots are rendered in Draft mode.
Return to Main Title Studio Page.


