The Tools Window contains a number of tools which you can use to create and edit spline objects. Several tools in this window can be used regardless of the selected track’s media type, but most work exclusively with the Spline Object media type. Many tools perform several different functions, which are accessed by pressing modifier keys on the keyboard while clicking and/or dragging the tool in the Composite window.When you set a track’s media type to Spline Object, the Tool window opens automatically. You can also open the Tool window by choosing Window > Show Tool Window.
Using the Title Tool
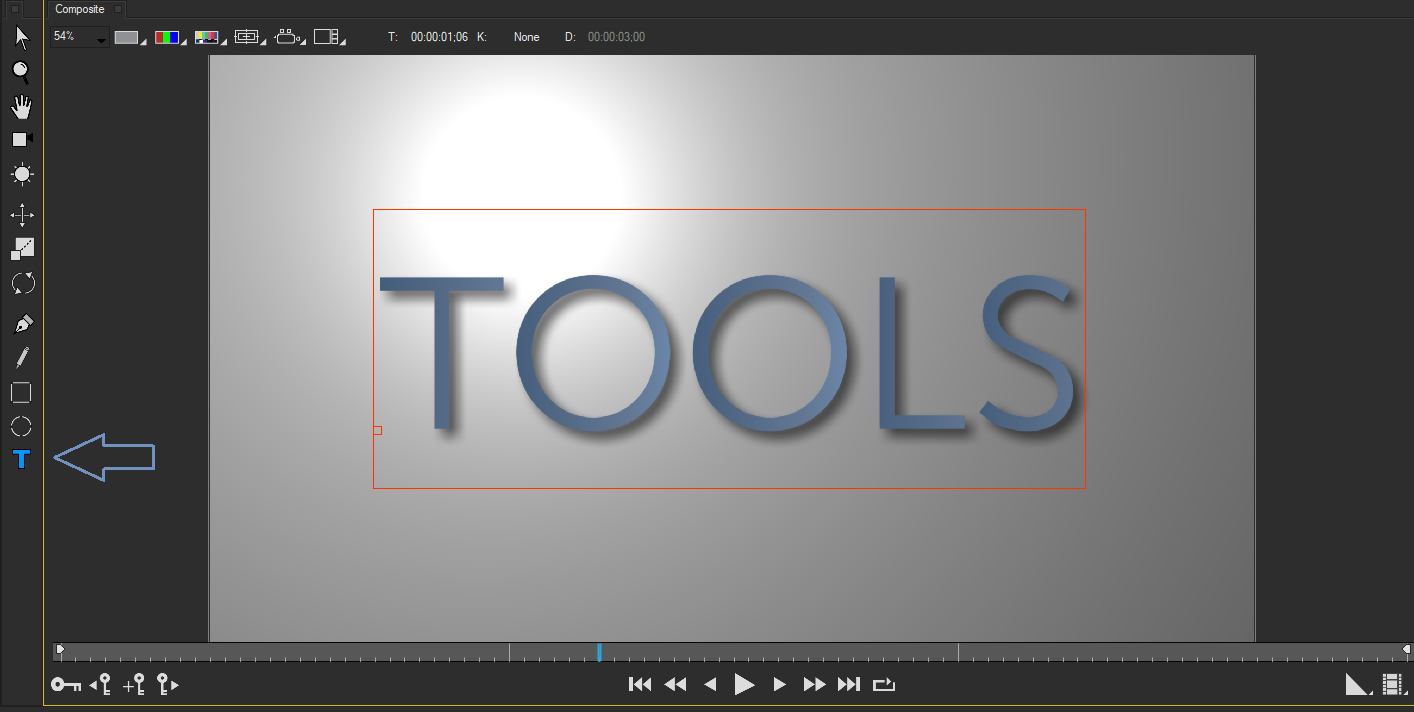
New in Continuum 2019, the Title Tool allows you to type text directly over the image in the Composite window. The keyboard shortcut for the Text tool is T.
When you create text with the Text tool, a new Text track appears at the top of the timeline. The new Text track offers the same controls as any other Text track and is most useful when you want to accurately position text over a background image. A detailed look at this new tool for artists and editors may be found here.
Using the Solid Arrow Tool
The Solid Arrow tool is the default tool and is mainly used to adjust on-screen controls, such as position points, motion paths, and shape outlines, or to select shape tracks in the timeline by clicking in the Composite window. The Solid Arrow tool works with all shapes and media types, not just splines. The keyboard shortcut for the Solid Arrow tool is V.
Using the Hand Tool
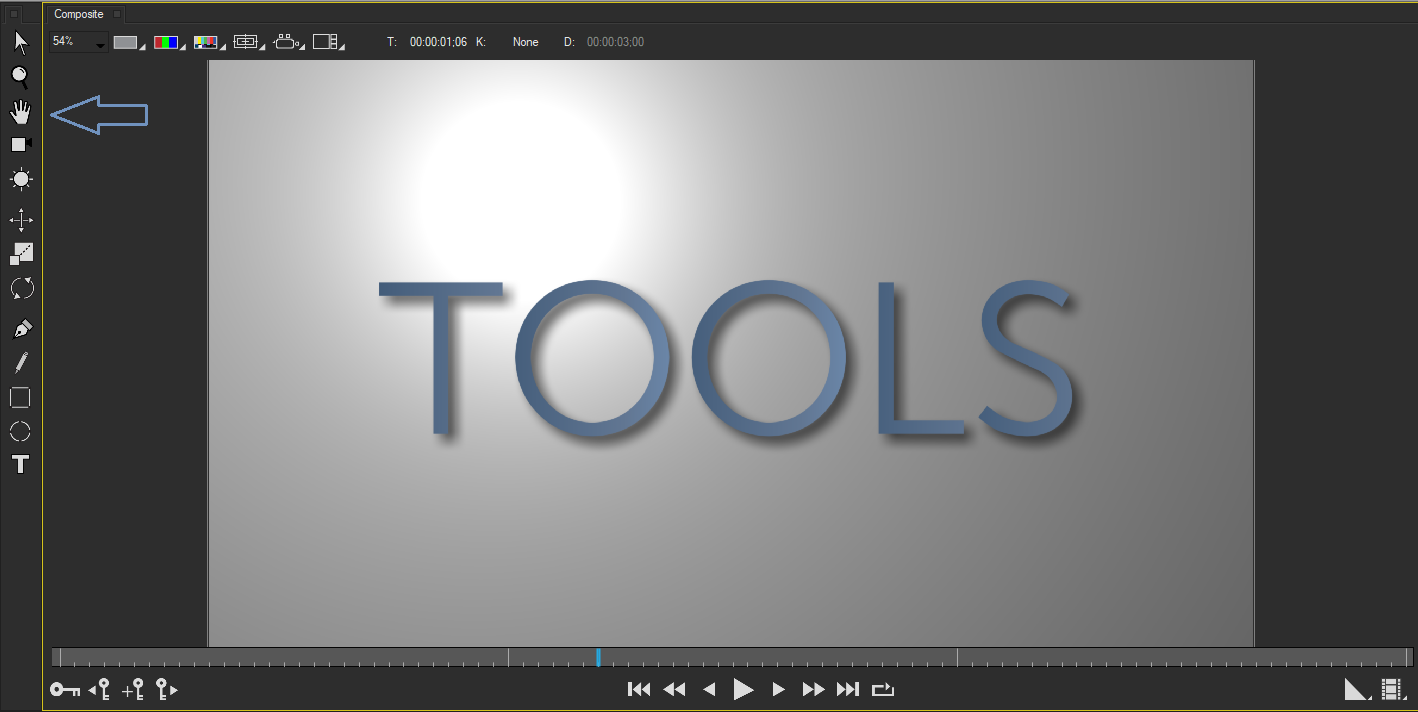
The Hand Tool changes the view of the effect in the Composite window, allowing you to pan around the image. It functions identically to the hand tool in After Effects. To use the Hand tool, simply click the Composite window and drag the hand in the direction you want to pan. The keyboard shortcut for the Hand tool is H. You may also hold down the spacebar to quickly switch to the hand tool. In this instance, the hand tool will be disabled once you release the spacebar.
Using the Hollow Arrow Tool
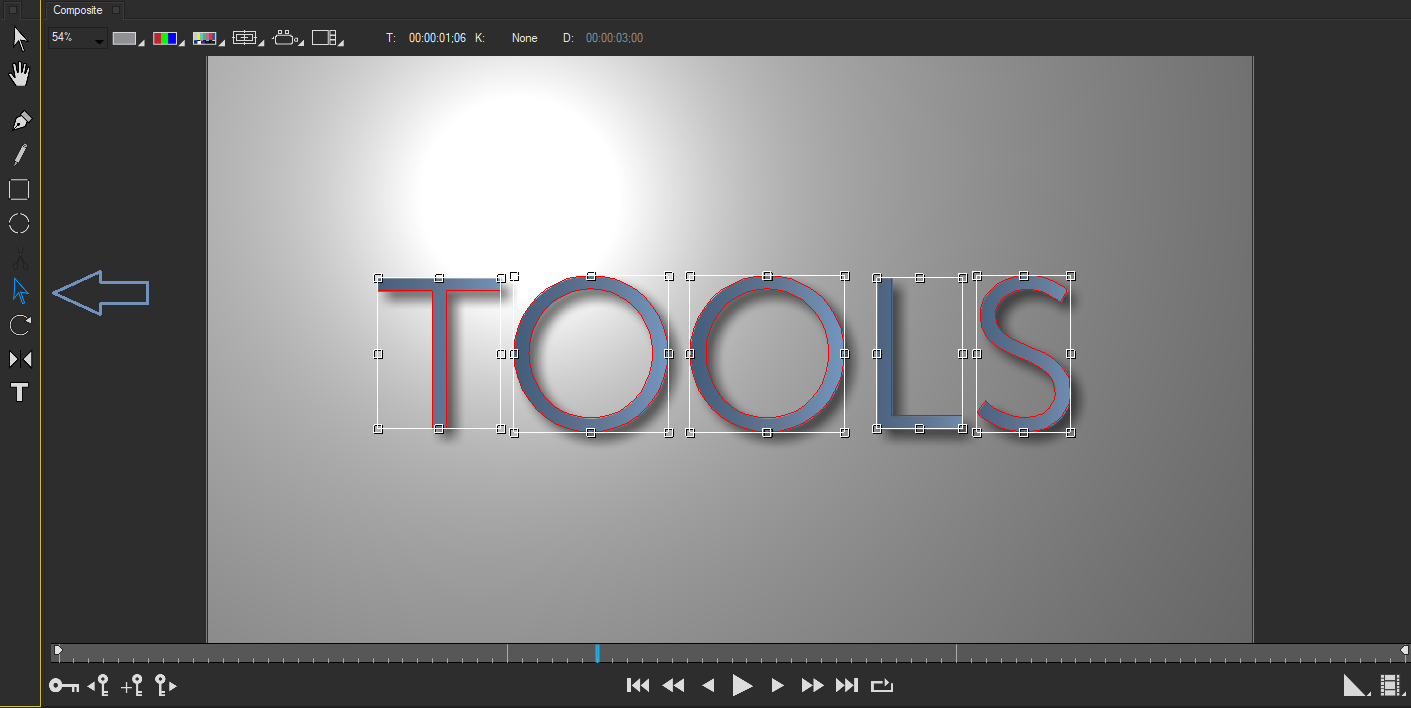
The Hollow Arrow tool is used only with splines and therefore only appears when working with spline media. When a spline is selected with the Hollow Arrow Tool, a bounding box automatically appears around the spline, allowing you to transform the spline. The keyboard shortcut for the Hollow Arrow tool is A.
Tips and Modifiers:
- Drag a horizontal midpoint of the bounding box to adjust the scale of the object on the X axis.
- Drag a vertical midpoint of the bounding box to scale the object on the Y axis.
- Drag a corner point of the bounding box to adjust the X and Y scale of the spline simultaneously.
- Shift-drag to maintain the spline’s aspect ratio.
- Press the Control key while dragging a corner point to rotate the object.
- Press the Control key while dragging a midpoint to skew the object.
- Drag the spline outline itself to reposition the object.
- When the Hollow Arrow tool is selected, you can press Control-A to select all the splines in the Composite window. Press Shift–A to deselect the splines.
- You can also “nudge” splines by one pixel at a time when the Hollow Arrow tool is selected. To nudge a spline, select the spline using the Hollow Arrow tool and press an Arrow key. The spline moves in the appropriate direction by one pixel per keystroke. Shift-clicking an Arrow key nudges the spline by ten pixels.
Using the Oval Tool
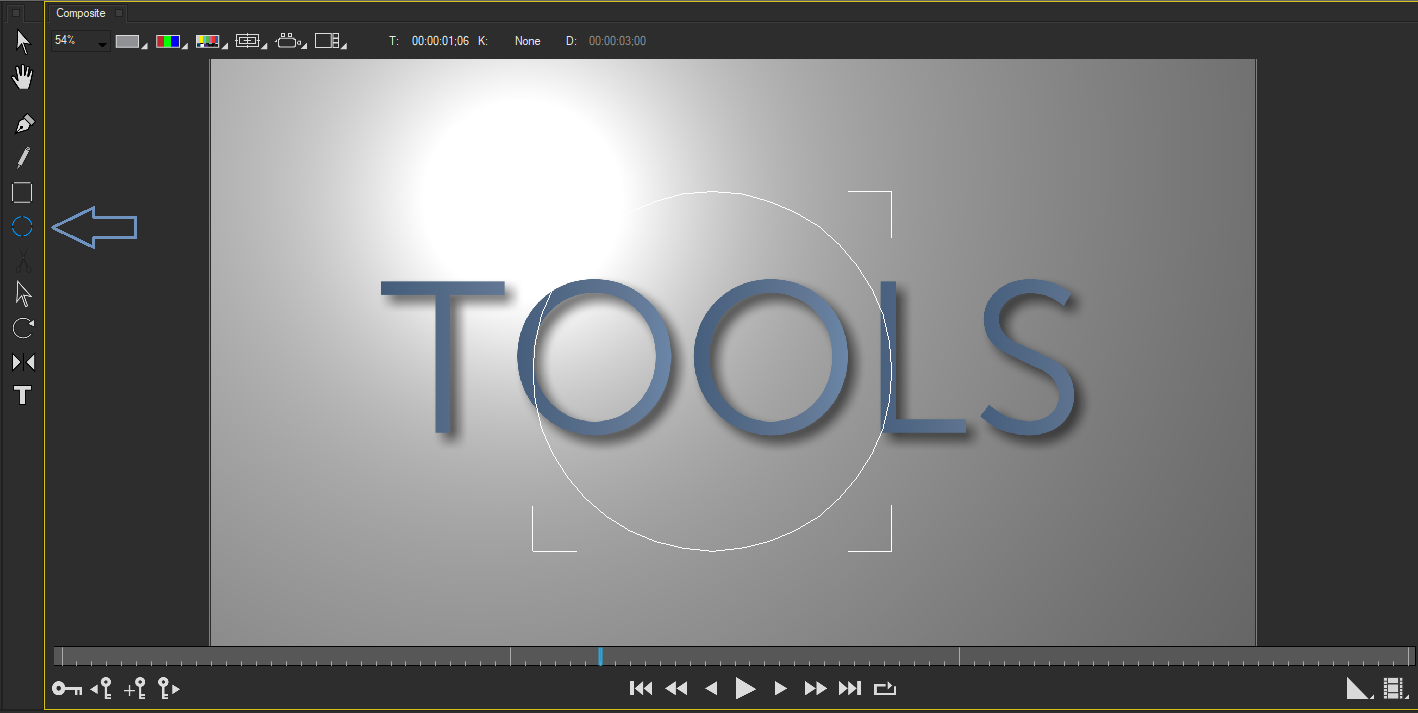
The Oval tool creates oval and circle spline shapes. The keyboard shortcut is L.
Tips and Modifiers:
- To create an oval, click and drag diagonally in the Composite window.
- To create an oval centered around the cursor, press the Control key while dragging.
- To create a circle, Shift-drag in the Composite window.
- To create a circle centered around the cursor, Shift-Control-drag.
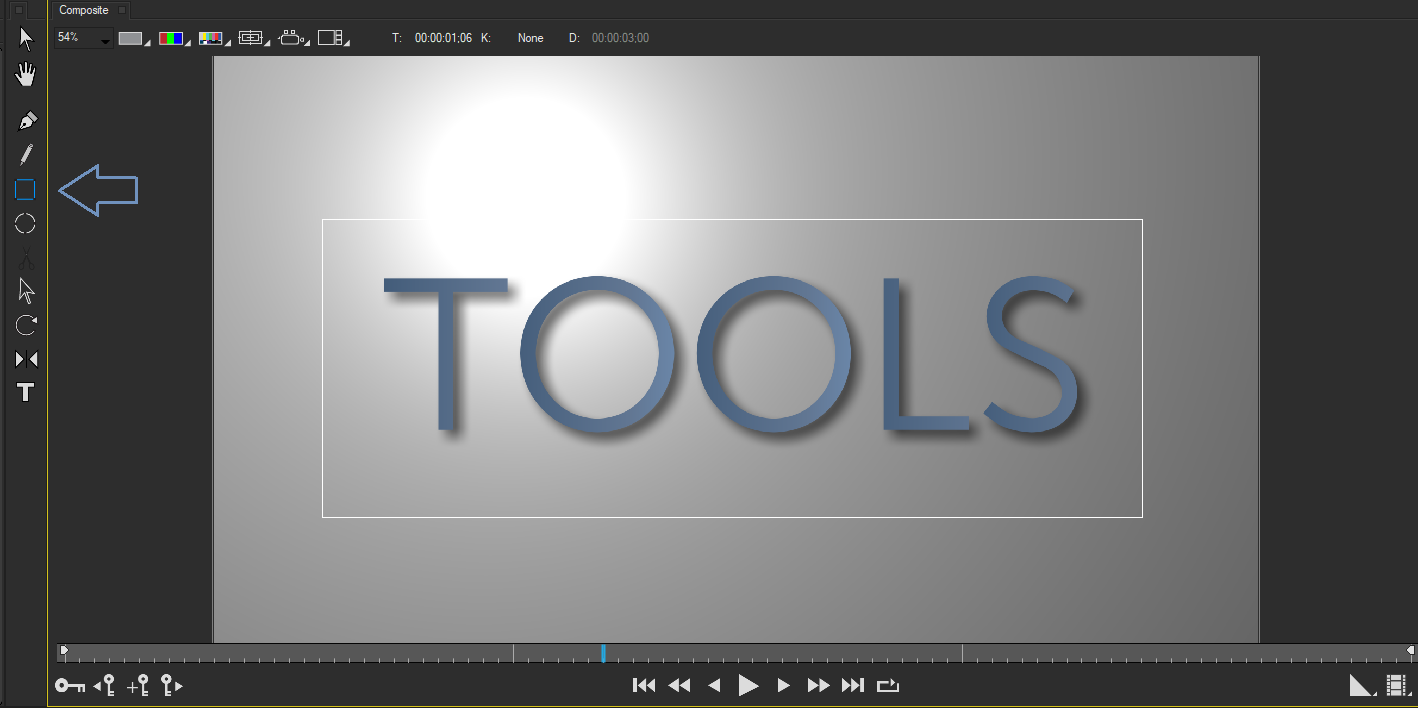
Using the Rectangle Tool
The Rectangle tool creates rectangular or square spline objects. The keyboard shortcut for the Rectangle tool is M.
Tips and Modifiers:
- To create a rectangle, drag the Rectangle tool diagonally in the Composite window.
- To create an rectangle centered around the cursor, press the Control key while dragging the Rectangle tool.
- To create a square, press the Shift key as you drag the Rectangle tool in the Composite window.
- To create an square centered around the cursor, Shift-Control-drag the Rectangle tool.
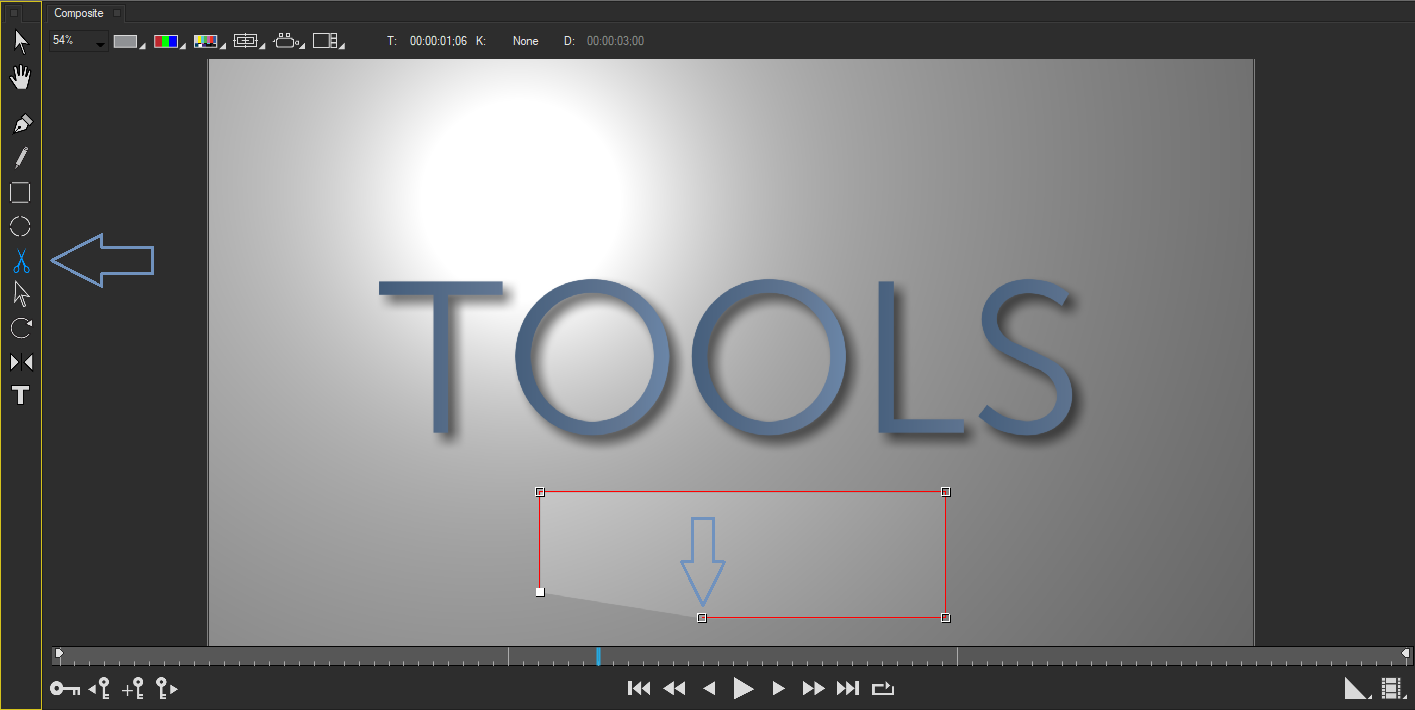
Using the Scissors Tool
The Scissors Tool cuts splines in two. To use the Scissors tool, click one of the spline’s control points in the Composite window. The spline is cut at the control point, and two new control points are created, one on each cut end of the spline. The Scissors tool only cuts splines at control points. If you want to cut a spline between control points, use the Pen tool to create a new control point at the desired location, and then cut the spline.
The keyboard shortcut for the Scissors tool is C.
Using the Pen Tool
The Pen Tool creates spline objects by setting control points. A spline automatically joins the control points in the order in which they are created. You can also use the Pen tool to add or delete control points on splines, add or remove bézier handles on each control point, adjust bézier handles to create curving or straight lines between control points, and position control points in the Composite window.
The keyboard shortcut for the Pen tool is P.
Tips and Modifiers:
- To begin a new spline with the Pen tool, click a point in the Composite window. A single click creates a cusp point–that is, a control point without bézier handles. To create a smooth point–a point with two bézier handles–click a point in the Composite window and drag the Pen away from the point before releasing the mouse. To create a tangent point–a point with one bézier handle–press the Alt key as you drag in the Composite window.
- To continue the spline, click another point in the Composite window to create a second control point. The first and second control points are joined automatically by a spline. Continue creating control points until the shape is outlined.
- To close the spline, click the initial control point.
- To end the spline without closing it, select another tool from the Tool window, or press the Esc key.
- To adjust a control point’s bézier handles, click to select the control point. Bézier handles appear. Drag the handles to adjust the shape and tension of the line. If the point is a smooth point, you can adjust one handle independently of the other by pressing the Alt key while dragging the handle. To convert a cusp or tangent point to a smooth point, select the point, then press the Control key while clicking and dragging out from the control point. Alternately, select the point and choose Tools > Smooth Points.
- To convert a cusp point to a tangent point, select the point, then Alt-drag out from the control point.
- To remove a bézier handle from a tangent or smooth control point, select the point, then drag the handle back into the control point. You can also convert a smooth or tangent point to a cusp point by selecting the point and choosing Tools > Cusp Points.
- To reposition a control point, click to select the point, then drag it to the desired location. Press the Shift key to constrain movement to the horizontal or vertical axis.
- To add a control point to an existing spline, Alt-click the spline. • To delete a control point from a spline, select the point, then press the Delete key.
- To extend an open spline path by adding a new control point to one of the ends, select a control point at one end of the spline. Then press the Alt key and click in the Composite window outside of the spline path. A new control point is created at the cursor location and is added to the end of the spline. You can then release the Alt key and continue clicking in the Composite window to add control points. When you finish, close or end the spline as you normally would.
- You can also “nudge” control points, or move the control point in one direction by one pixel at a time, when the Pen tool is selected. To nudge a single control point, select the point using the Pen tool and press the Control key while pressing an Arrow key. The control point moves in the appropriate direction by one pixel per keystroke.
Using the Pencil Tool
The Pencil Tool create free form splines. The keyboard shortcut for the Pencil tool is N. As you draw in the Composite window, Title Studio automatically places control points along the spline. After you finish drawing the spline, you can edit and adjust its control points using the Pen tool.
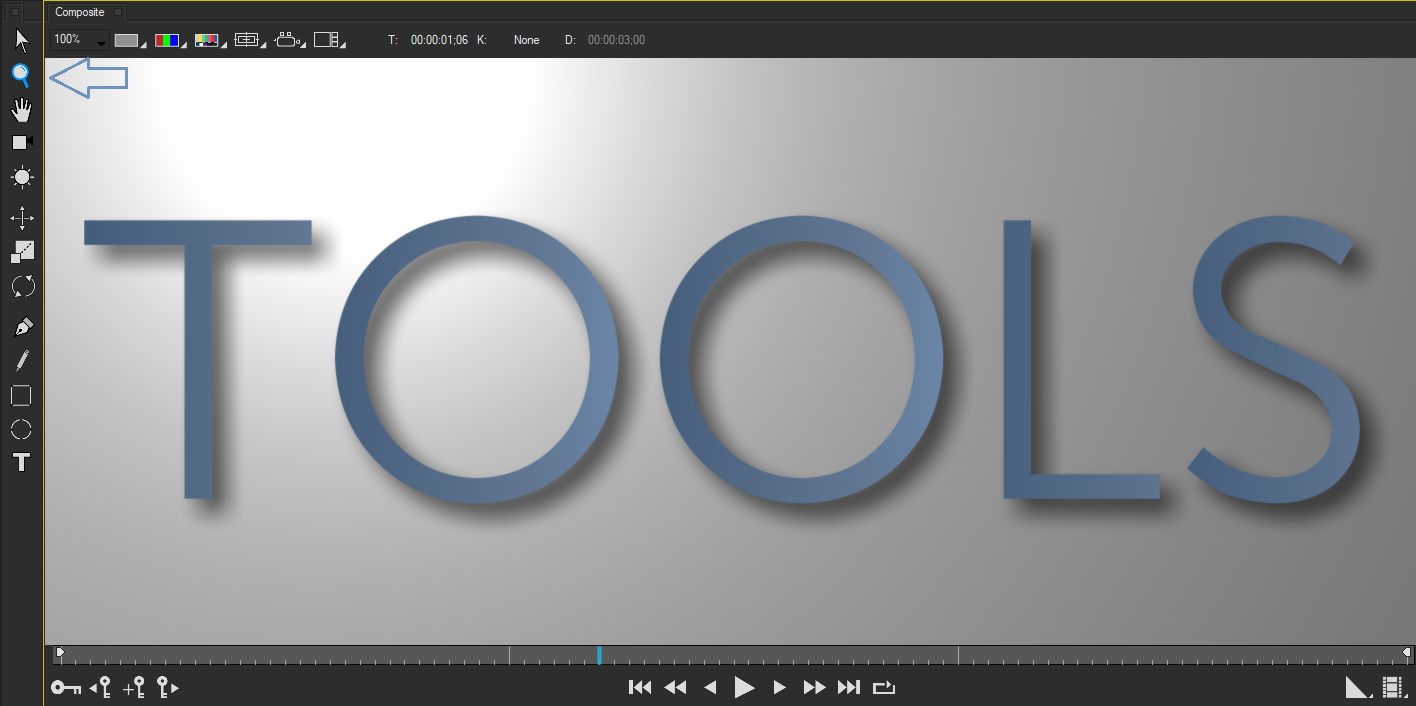
Using the Magnifying Glass Tool
The Magnifying Glass Tool adjusts the scale of the image in the Composite window.The Magnifying glass adjusts the Composite window’s Scale by one setting for each click.
- Click a point in the Composite window to zoom in on the point.
- Press the Alt key while clicking to zoom out.
- If you Shift-click, the Composite window zooms to exactly fit the image.
The keyboard shortcut for the Magnifying Glass tool is Z.
Return to Main Title Studio Page


